
Part 1. 파이썬 필수 문법 & 백엔드의 이해
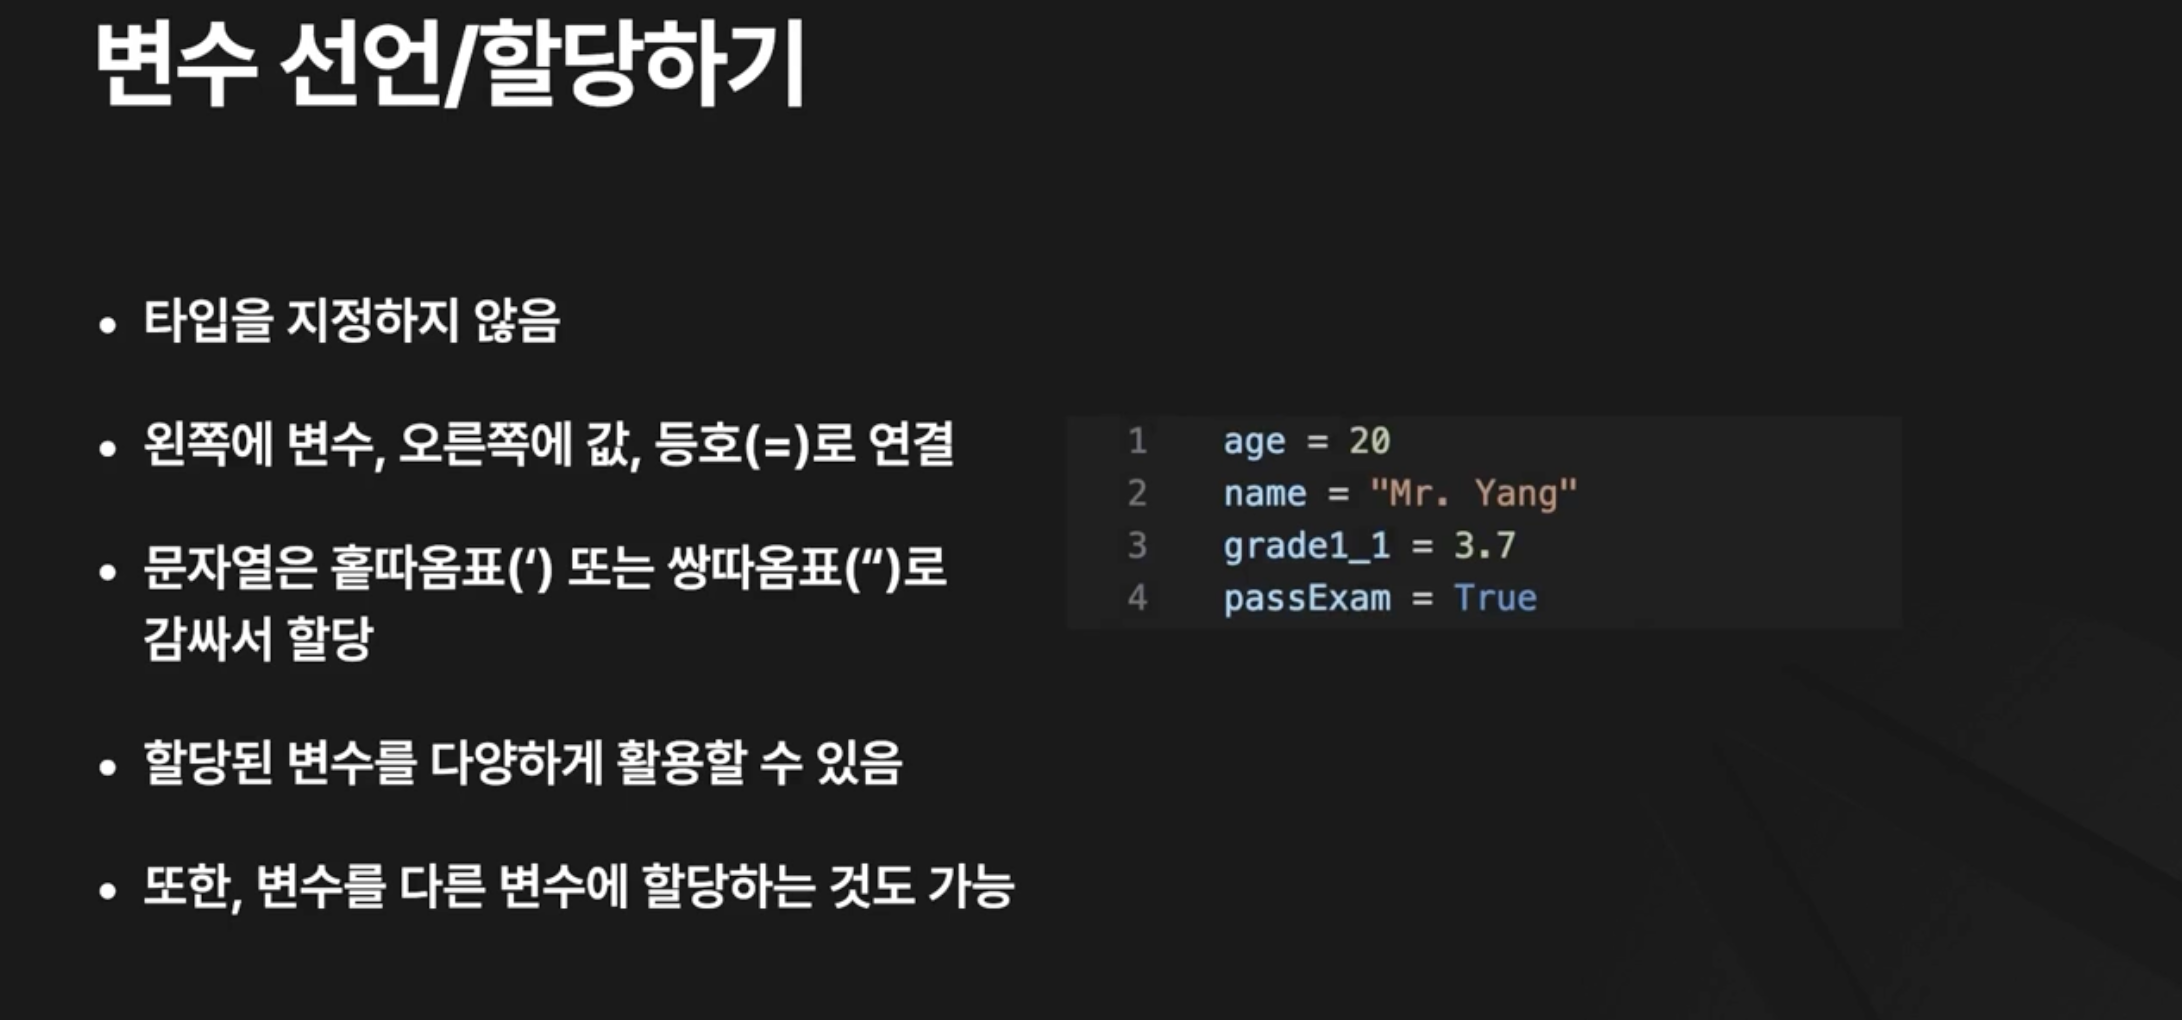
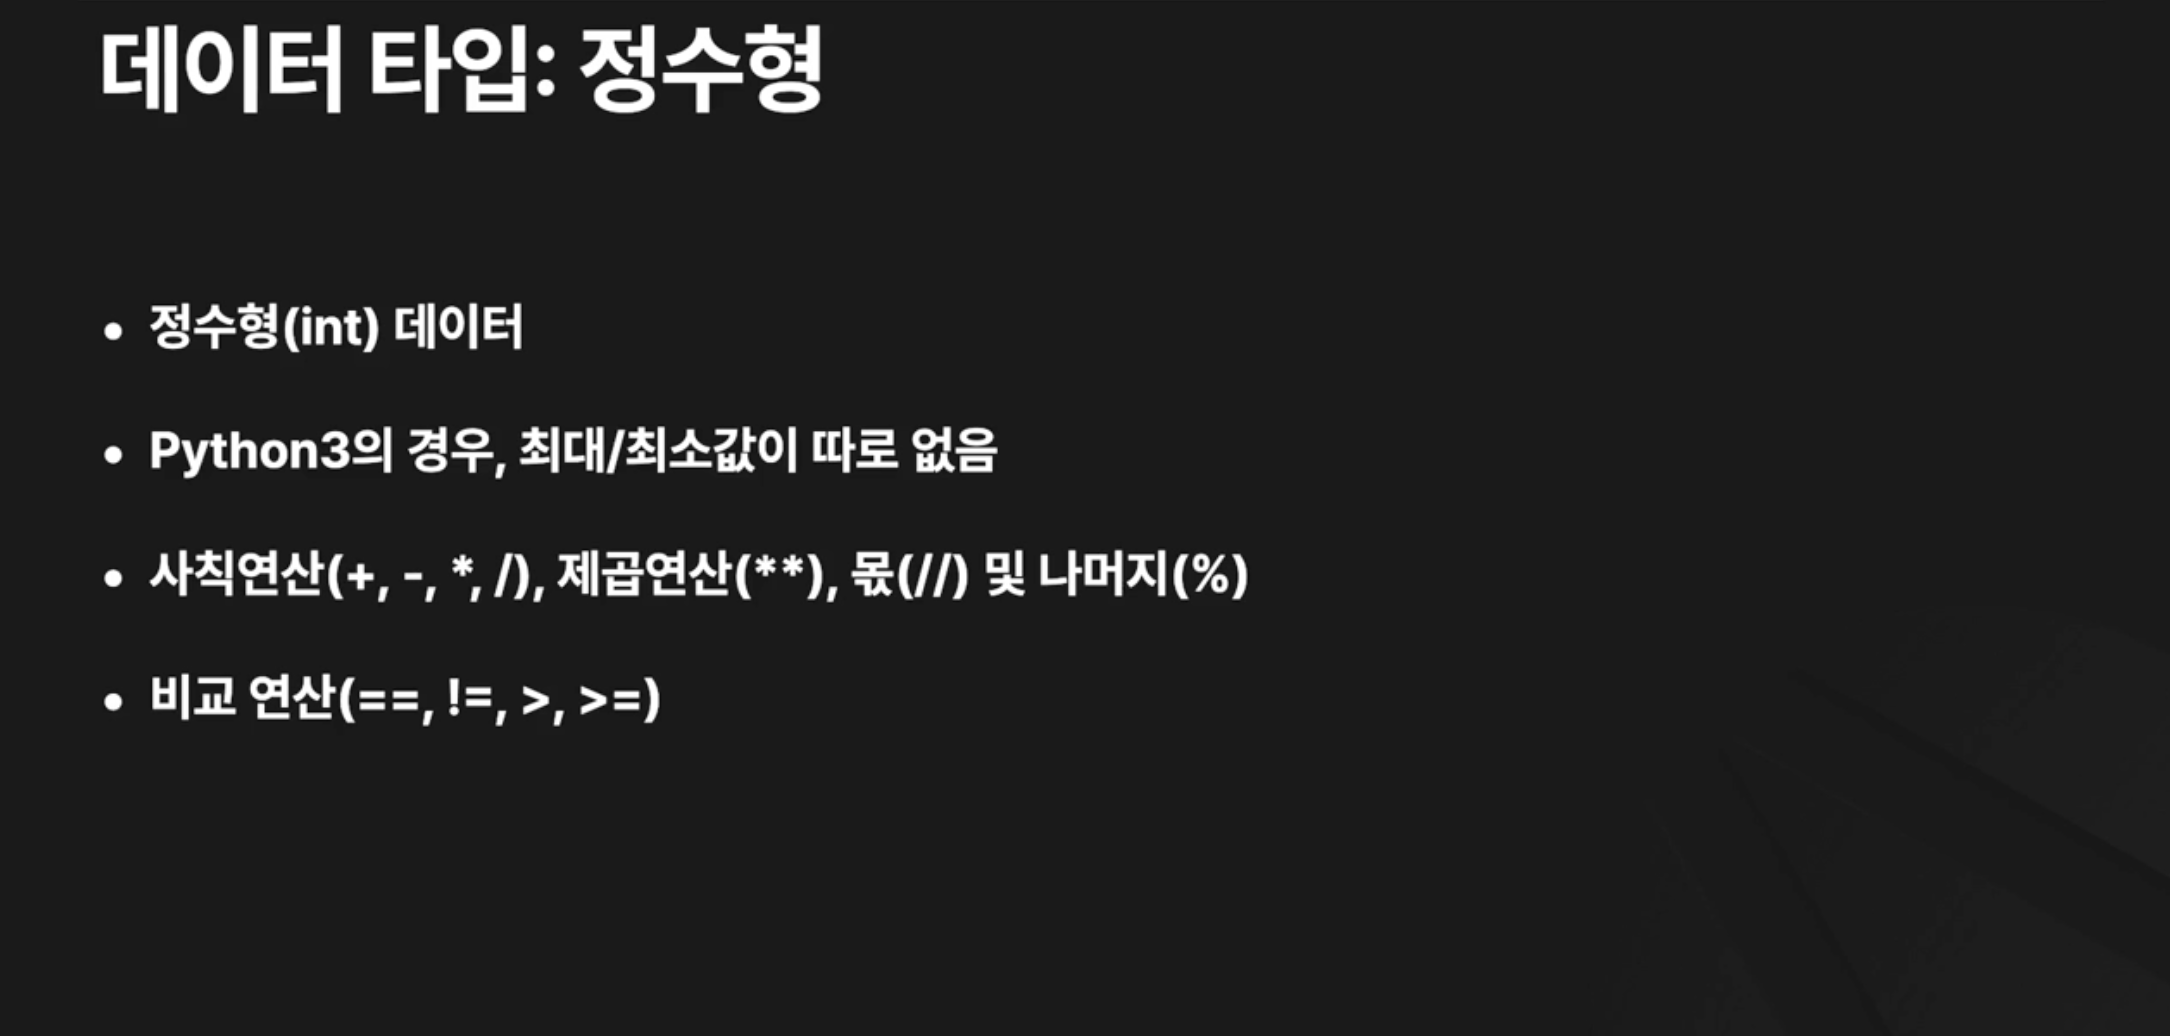
Ch 2. 변수와 데이터타입

미리 정의된 예약어들


Dynamic Typing 은 생산성을 올려주지만, 예기치 못한 이슈가 생길 수 있다.

파이썬은 기본적으로 스네이크 케이스를 사용한다.


% 연산자 사용하기

c언어에서 사용하던 방식과 유사
format 함수

포맷 스트링: f-문자열

직관적이고, 가독성이 좋다.
Ch 4. 흐름제어 (조건문, 반복문, 예외처리)
예외처리

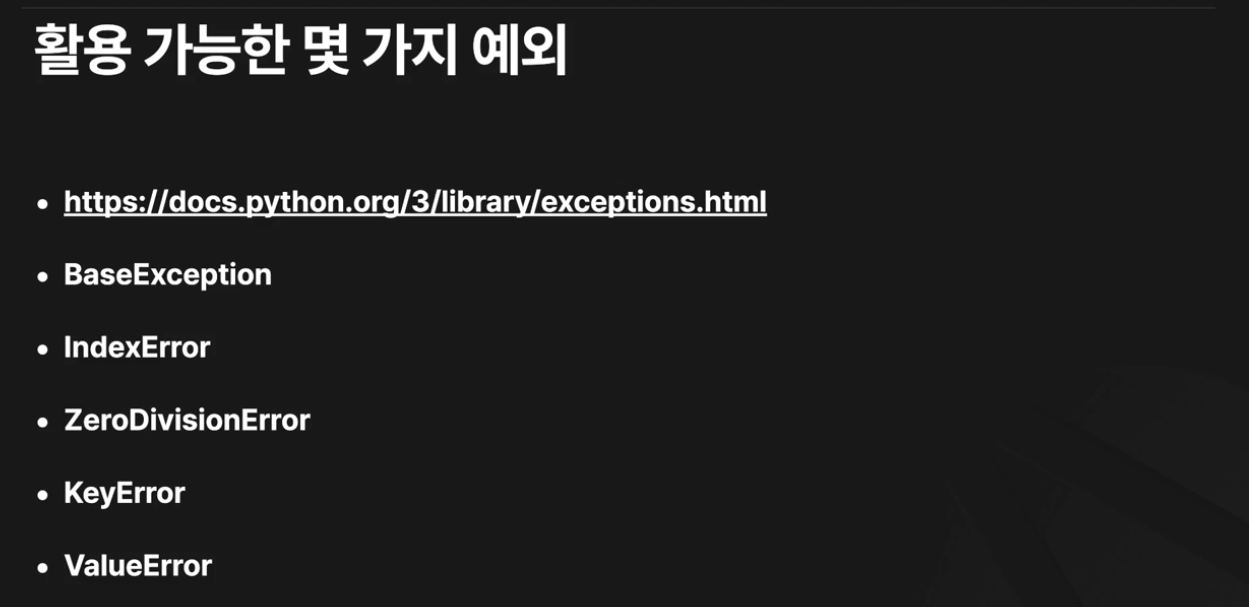
간단한 예외처리를 실습해보자.

Ch 5. 함수와 모듈
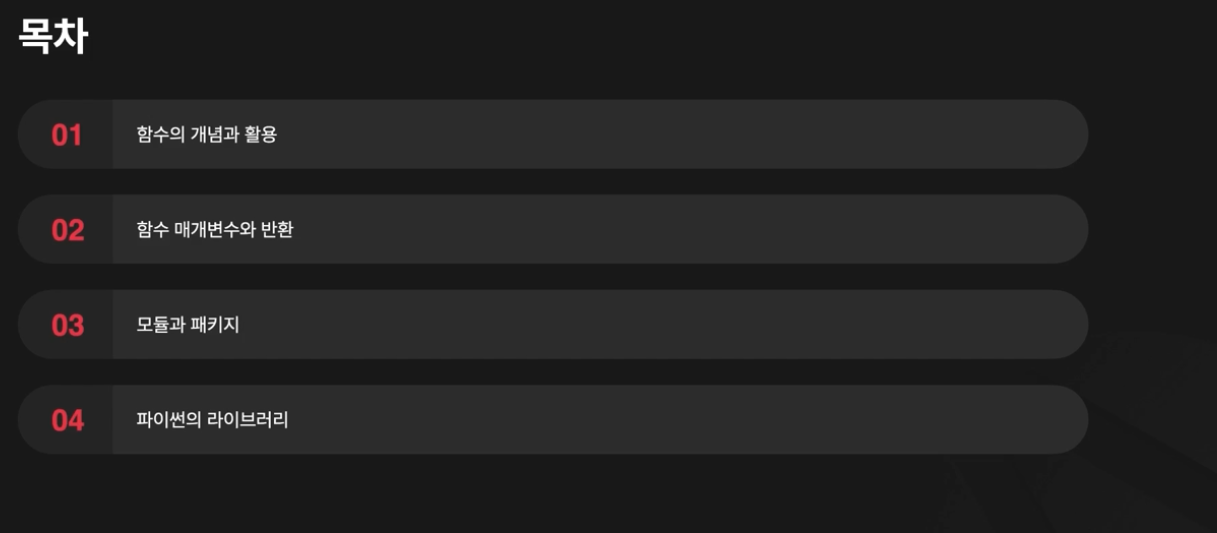

03. 함수 매개변수와 반환


04. 다양한 매개변수 실습

- 기본 매개변수는 일반 매개변수 뒤에 둬야한다.
- 기본 매개변수에는 가변객체를 넣을 때 조심하자.

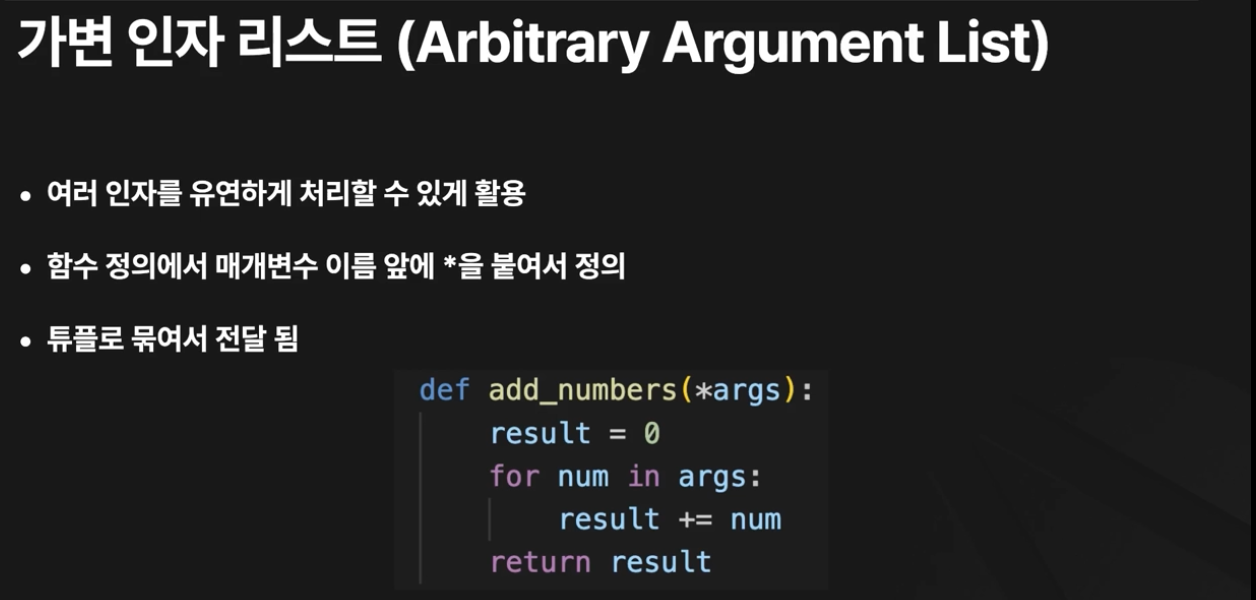
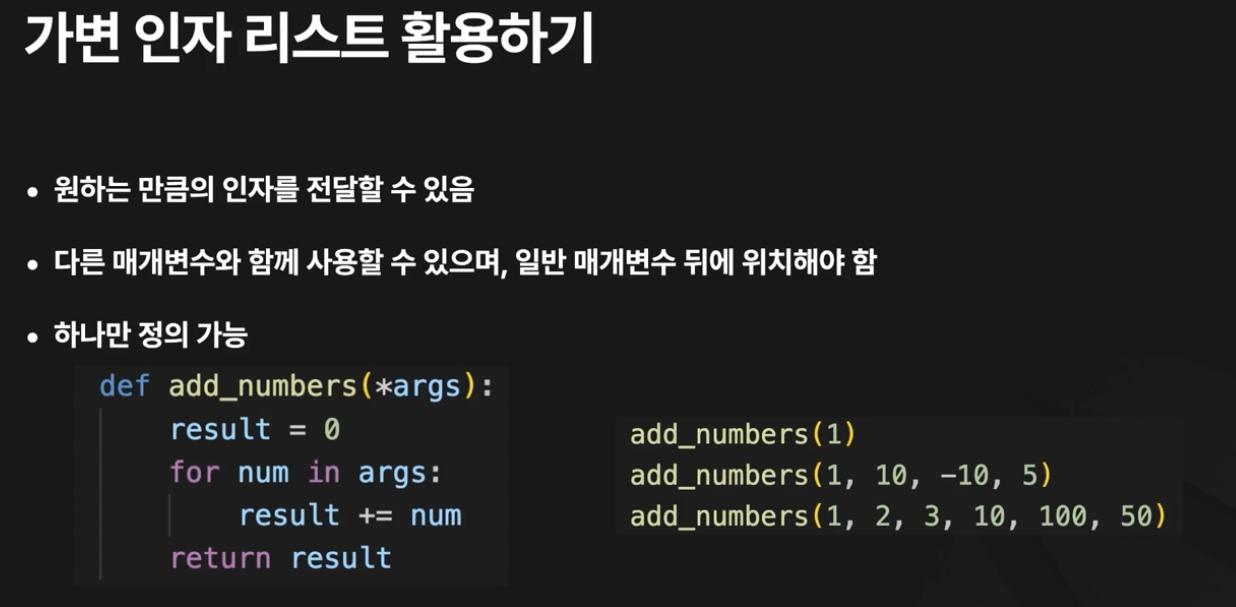
가변인자 리스트

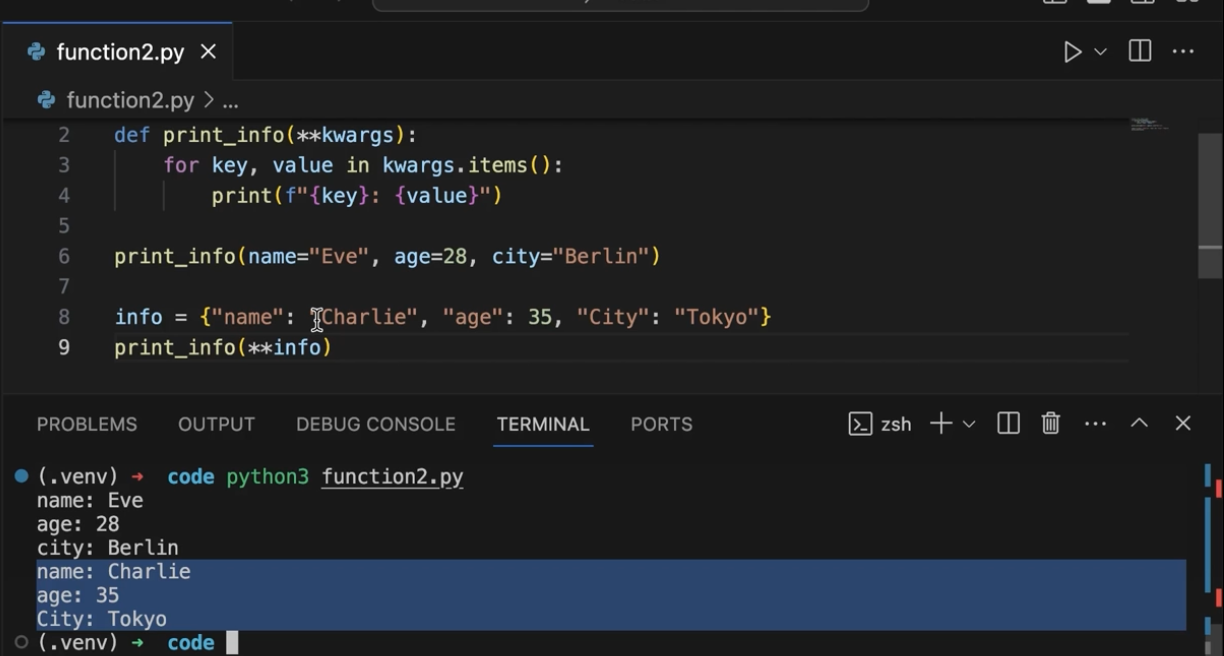
dictionary 로 전달해도 된다.
전달하려면 앞에 ** 를 붙여야 한다.
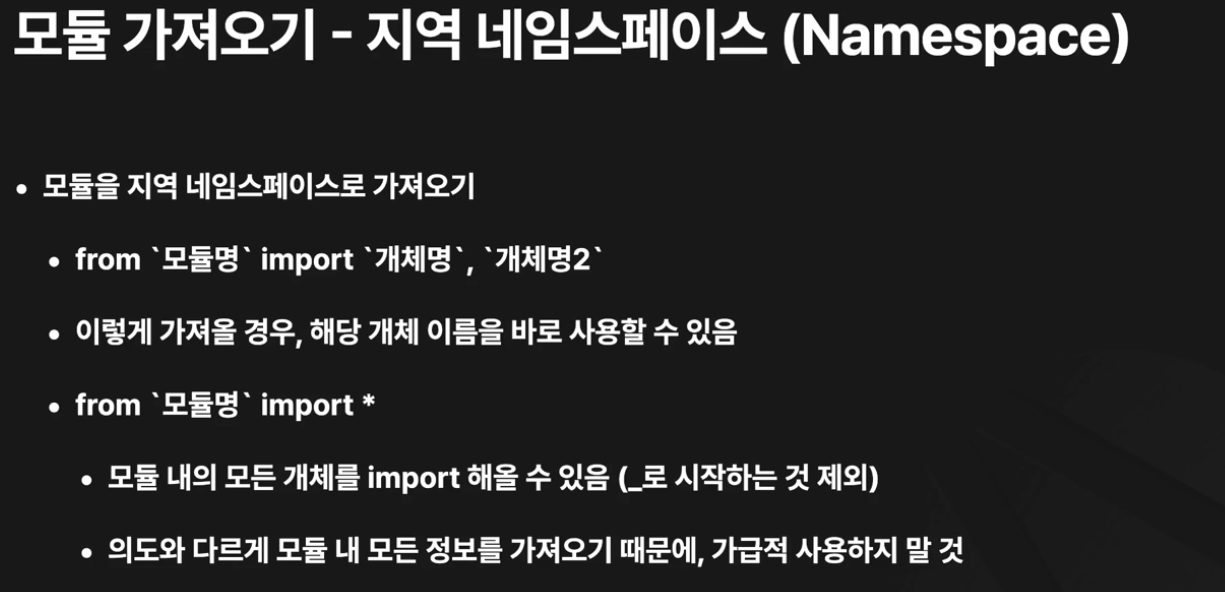
05. 모듈과 패키지


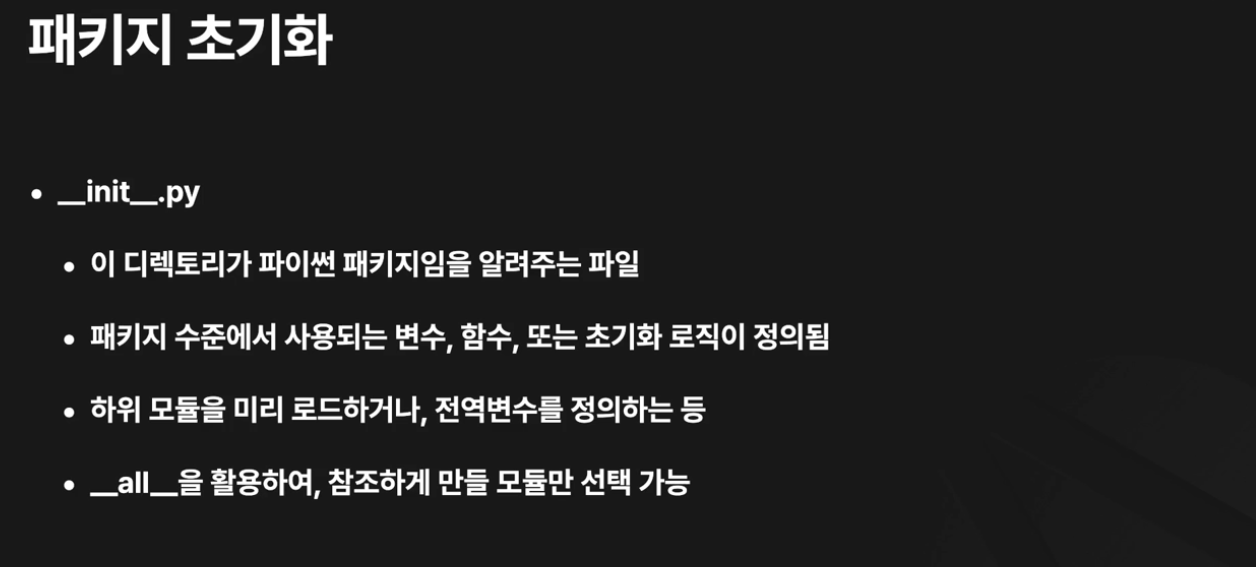
패키지 3.3 이후 버전에서는 init 파일 없이도 패키지로 인식할 수 있다.

06. 모듈과 패키지 실습

07. 파이썬의 라이브러리


문서: https://docs.python.org/ko/3/library/index.html


pip 는 파이썬을 설치할 때 함께 설치된다.


Ch 6. 객체 지향 프로그래밍
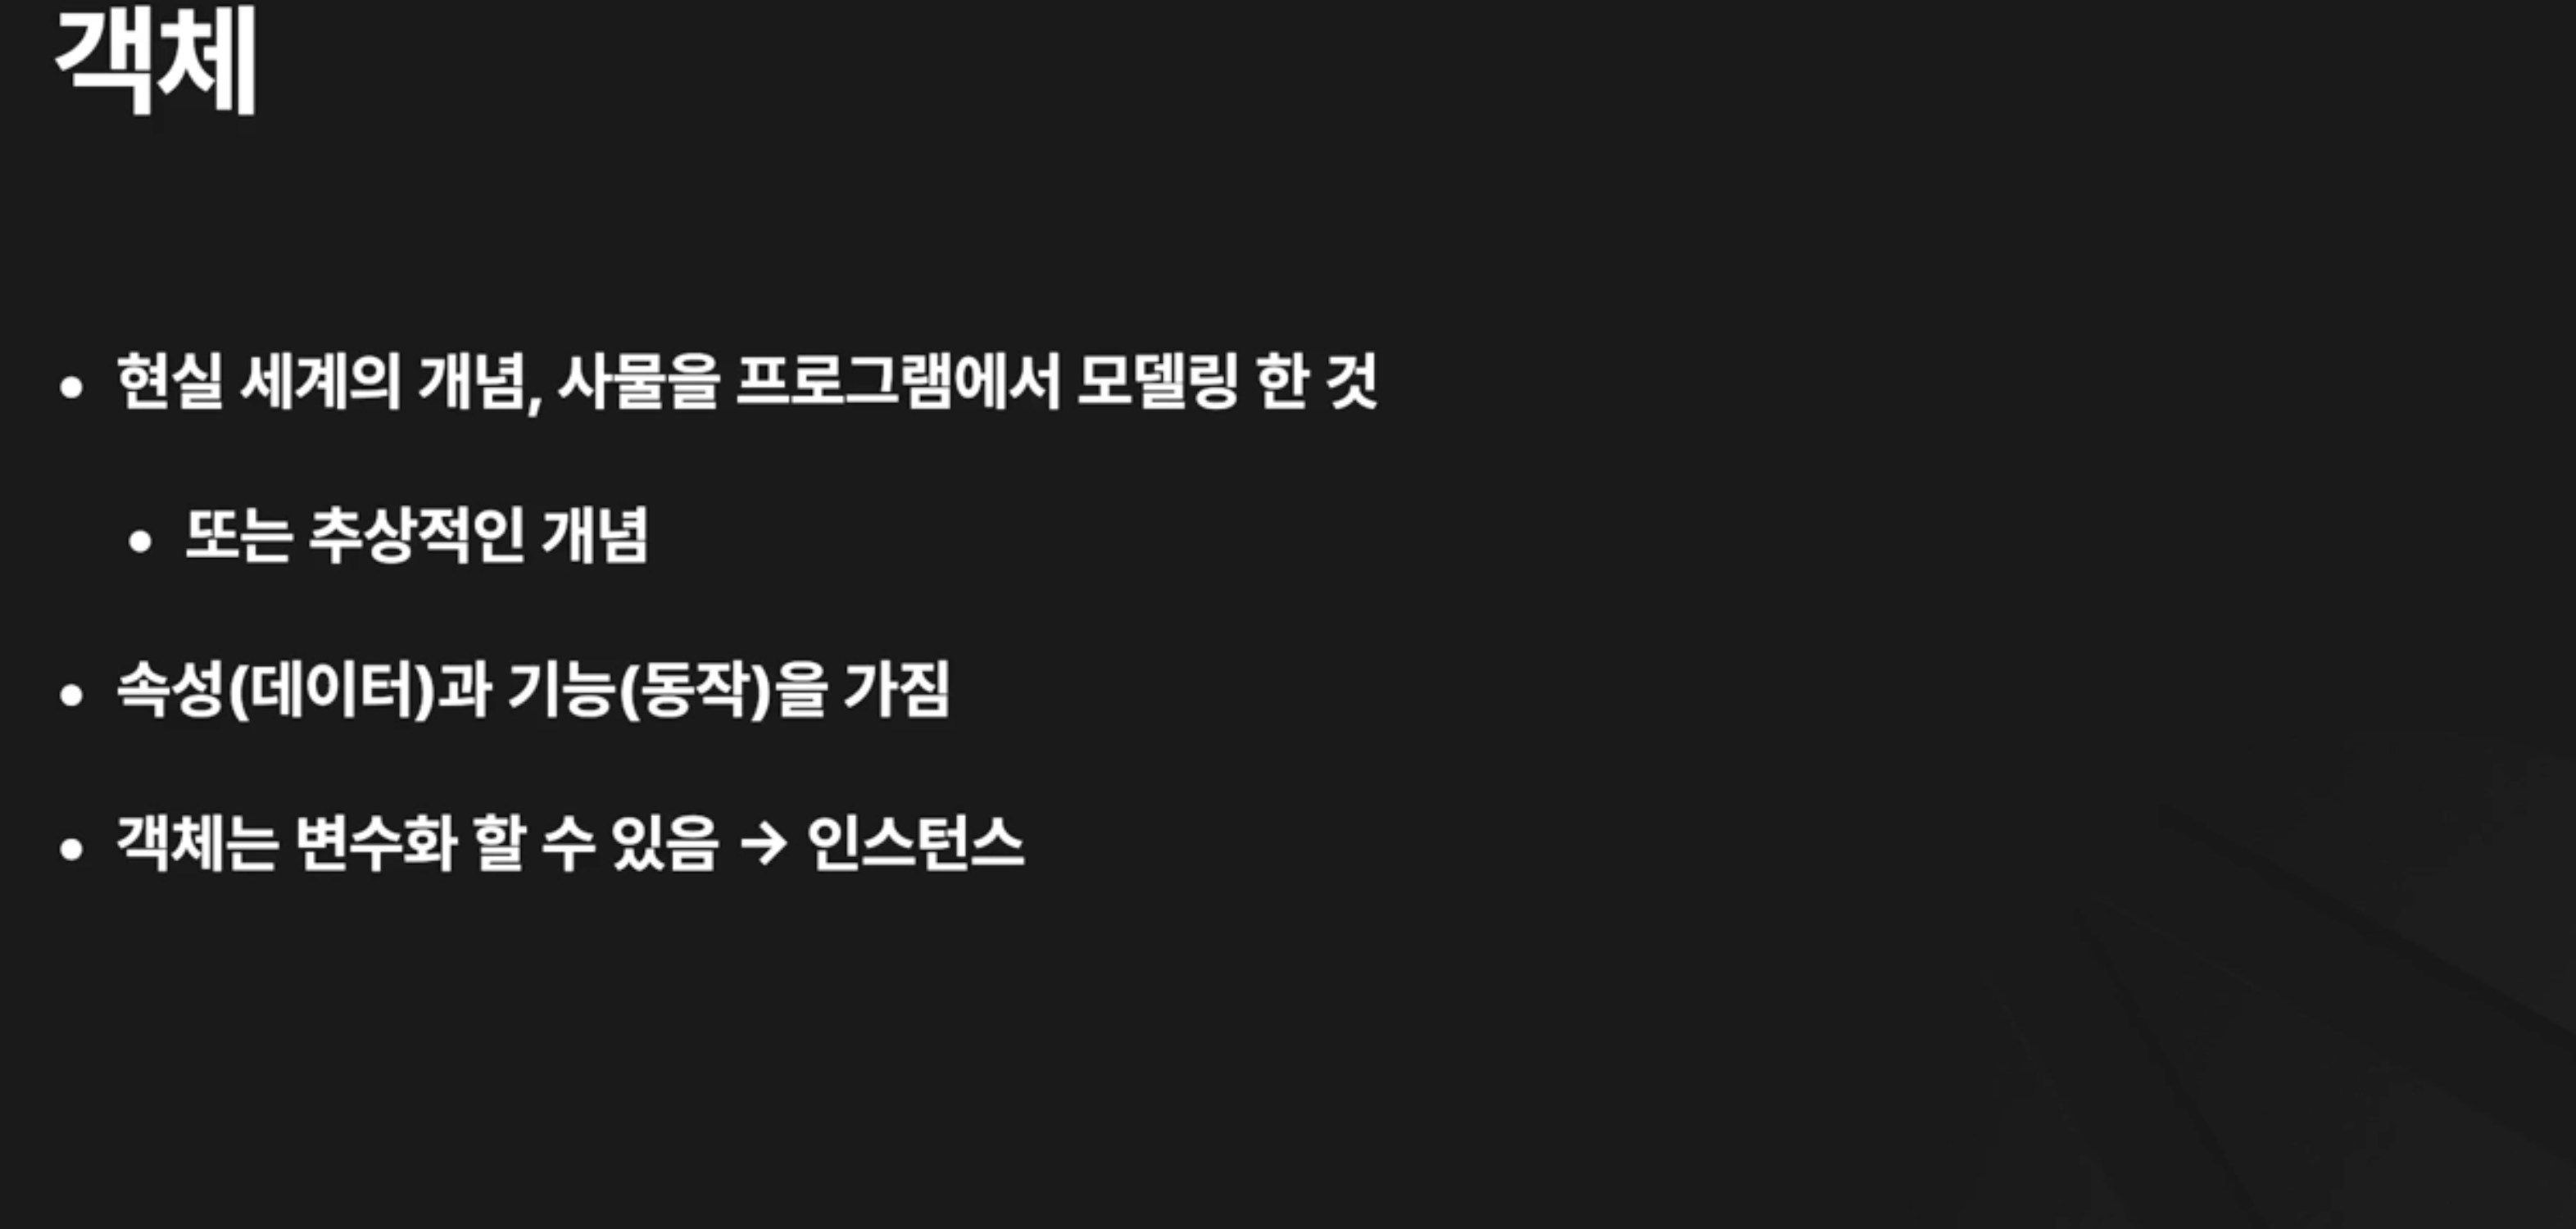
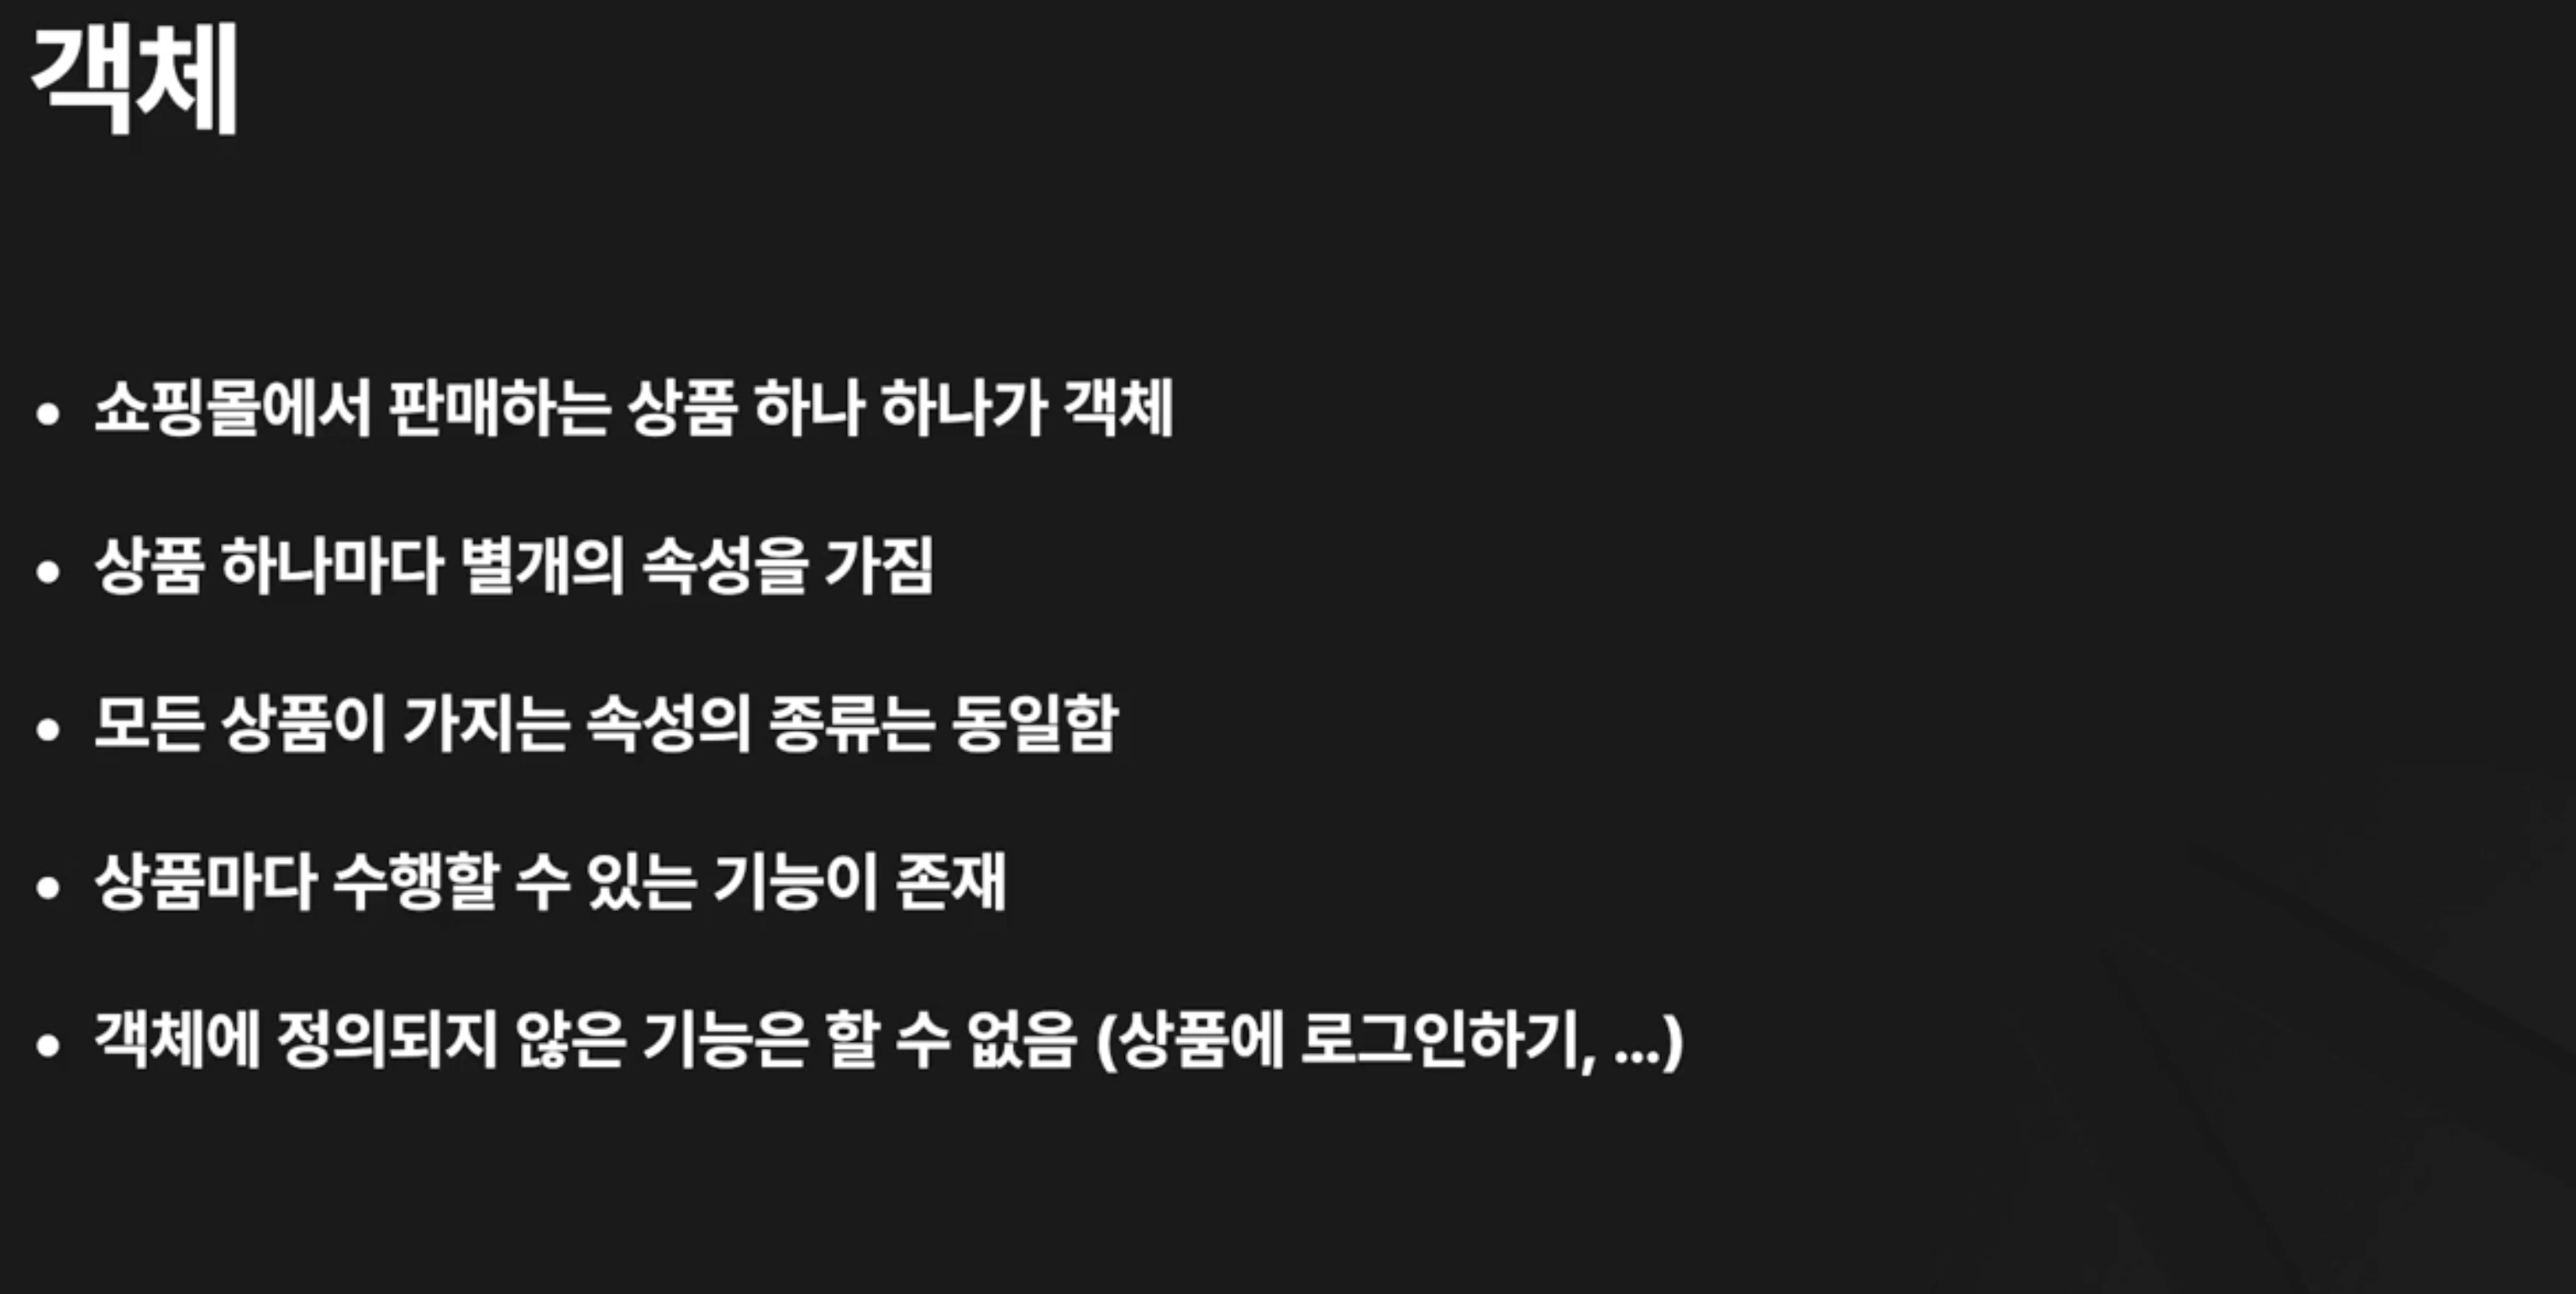
01. 객체지향 프로그래밍

02. 객체와 클래스
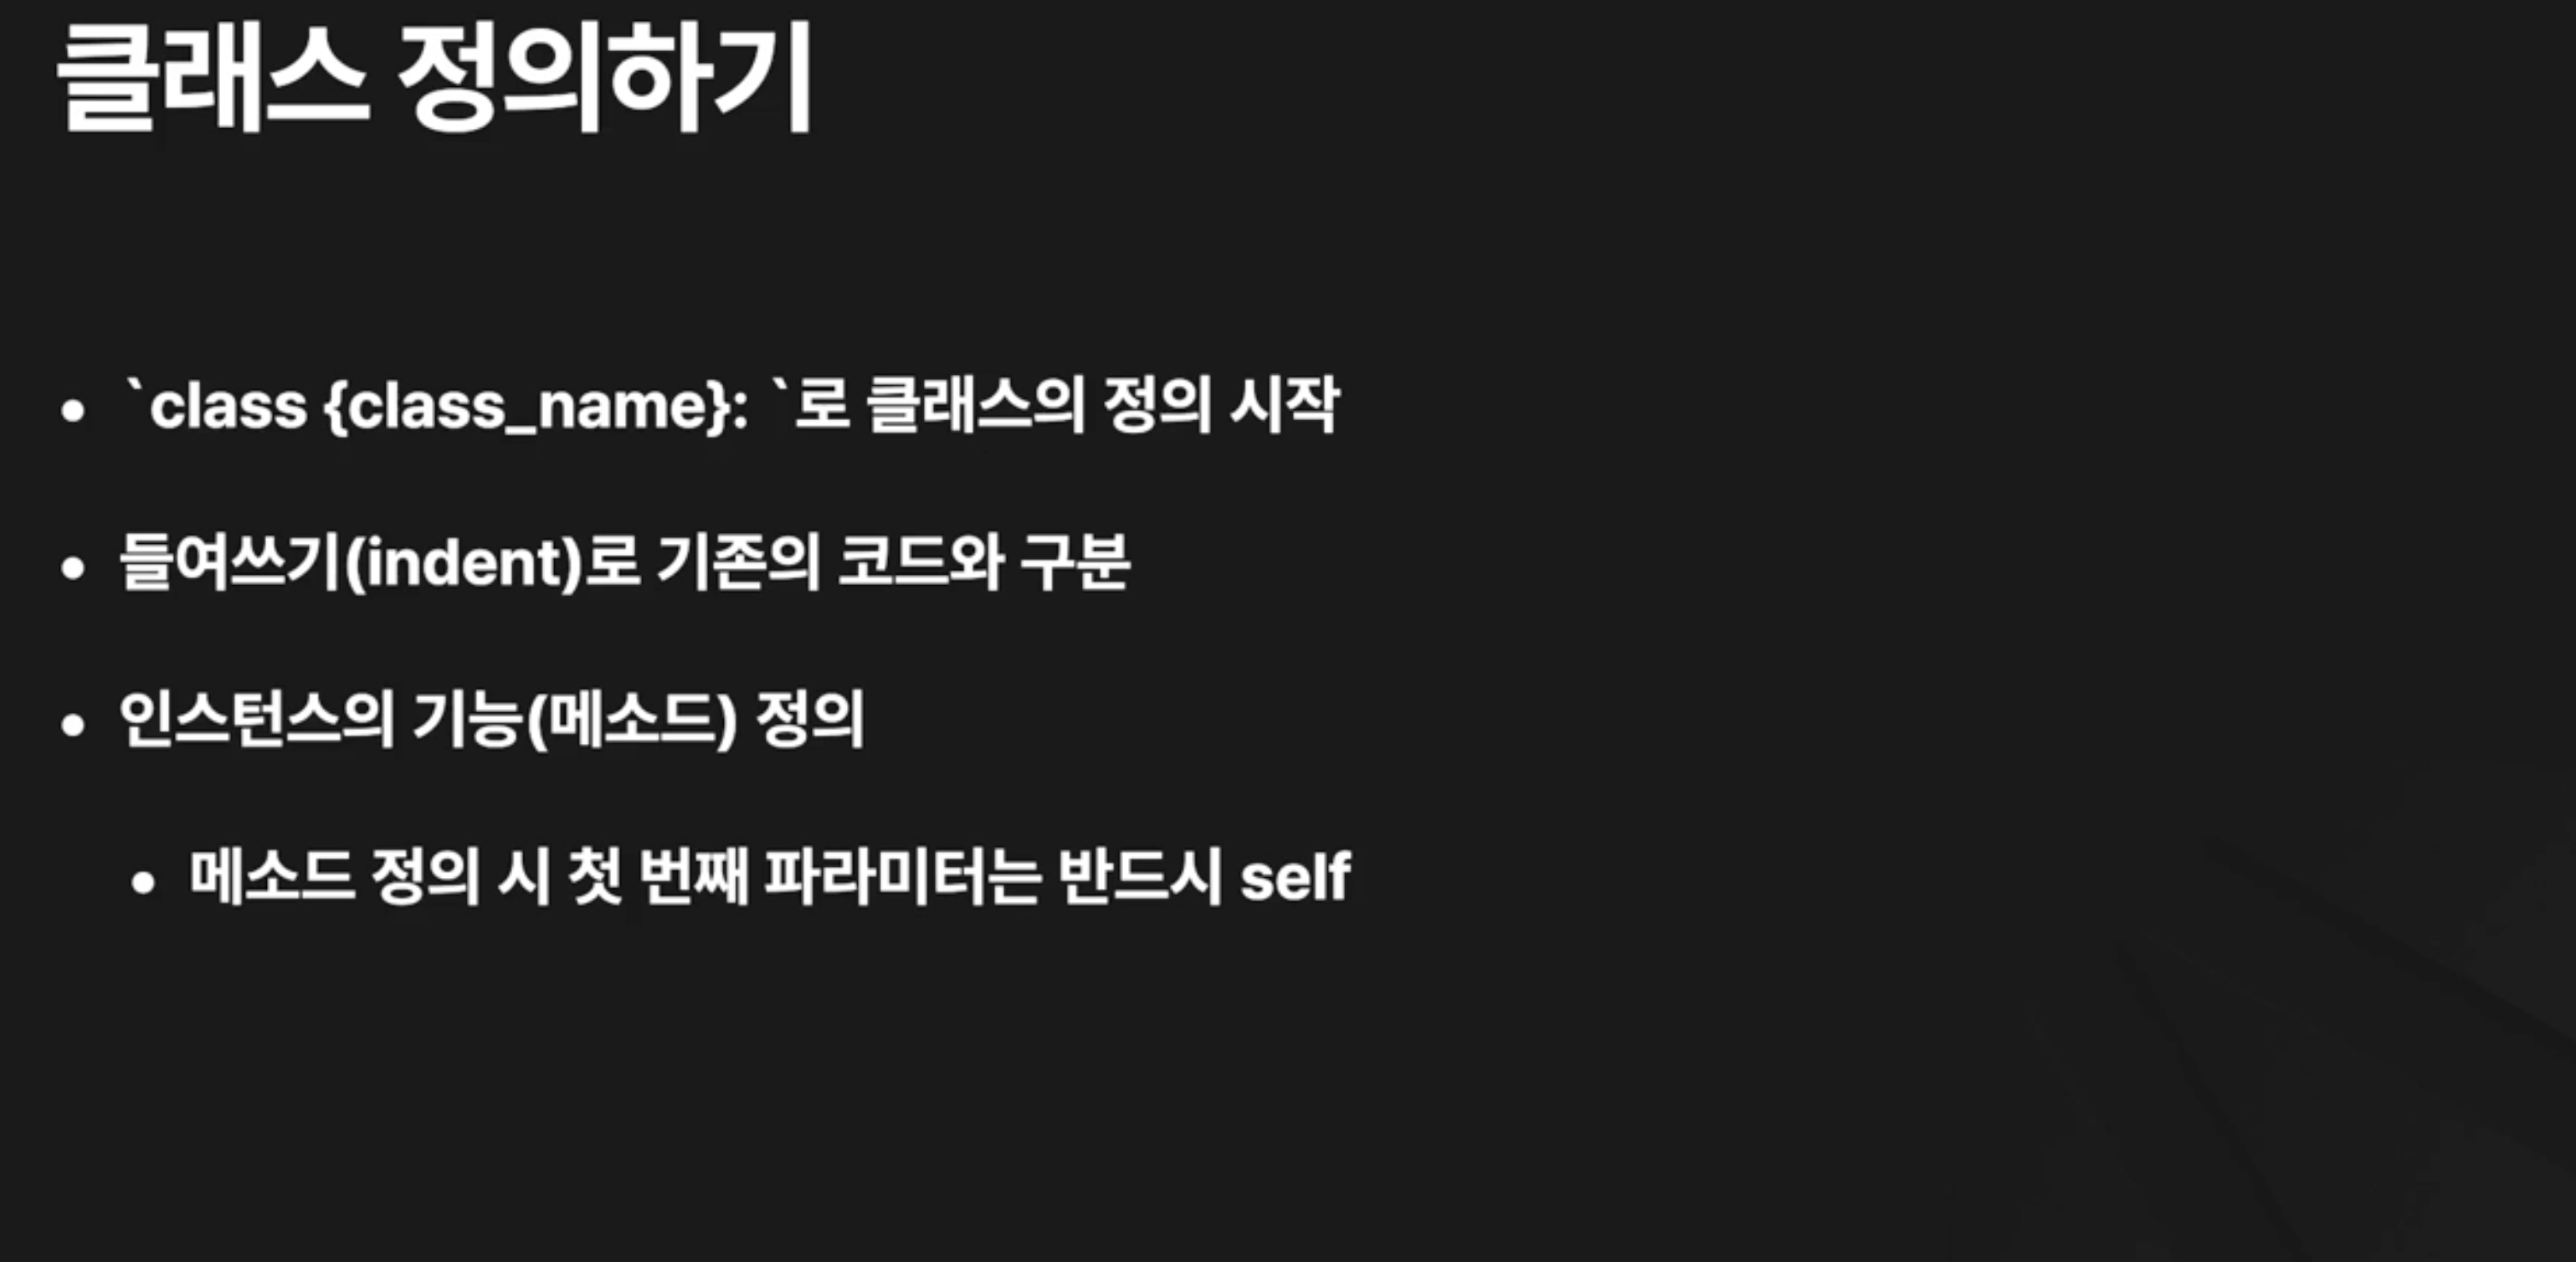
03. 멤버변수와 메소드

05. 객체지향 프로그래밍 주요 오소


speed 가 음수가 되어버렸다.

06. 객체지향 프로그래밍 주요 요소 실습


Person 추상 클래스로 만들어보자.

추상 클래스는 추상 메서드를 만들 수 있다.

추상 메서드를 구현하지 않았다면 에러가 나게 된다.

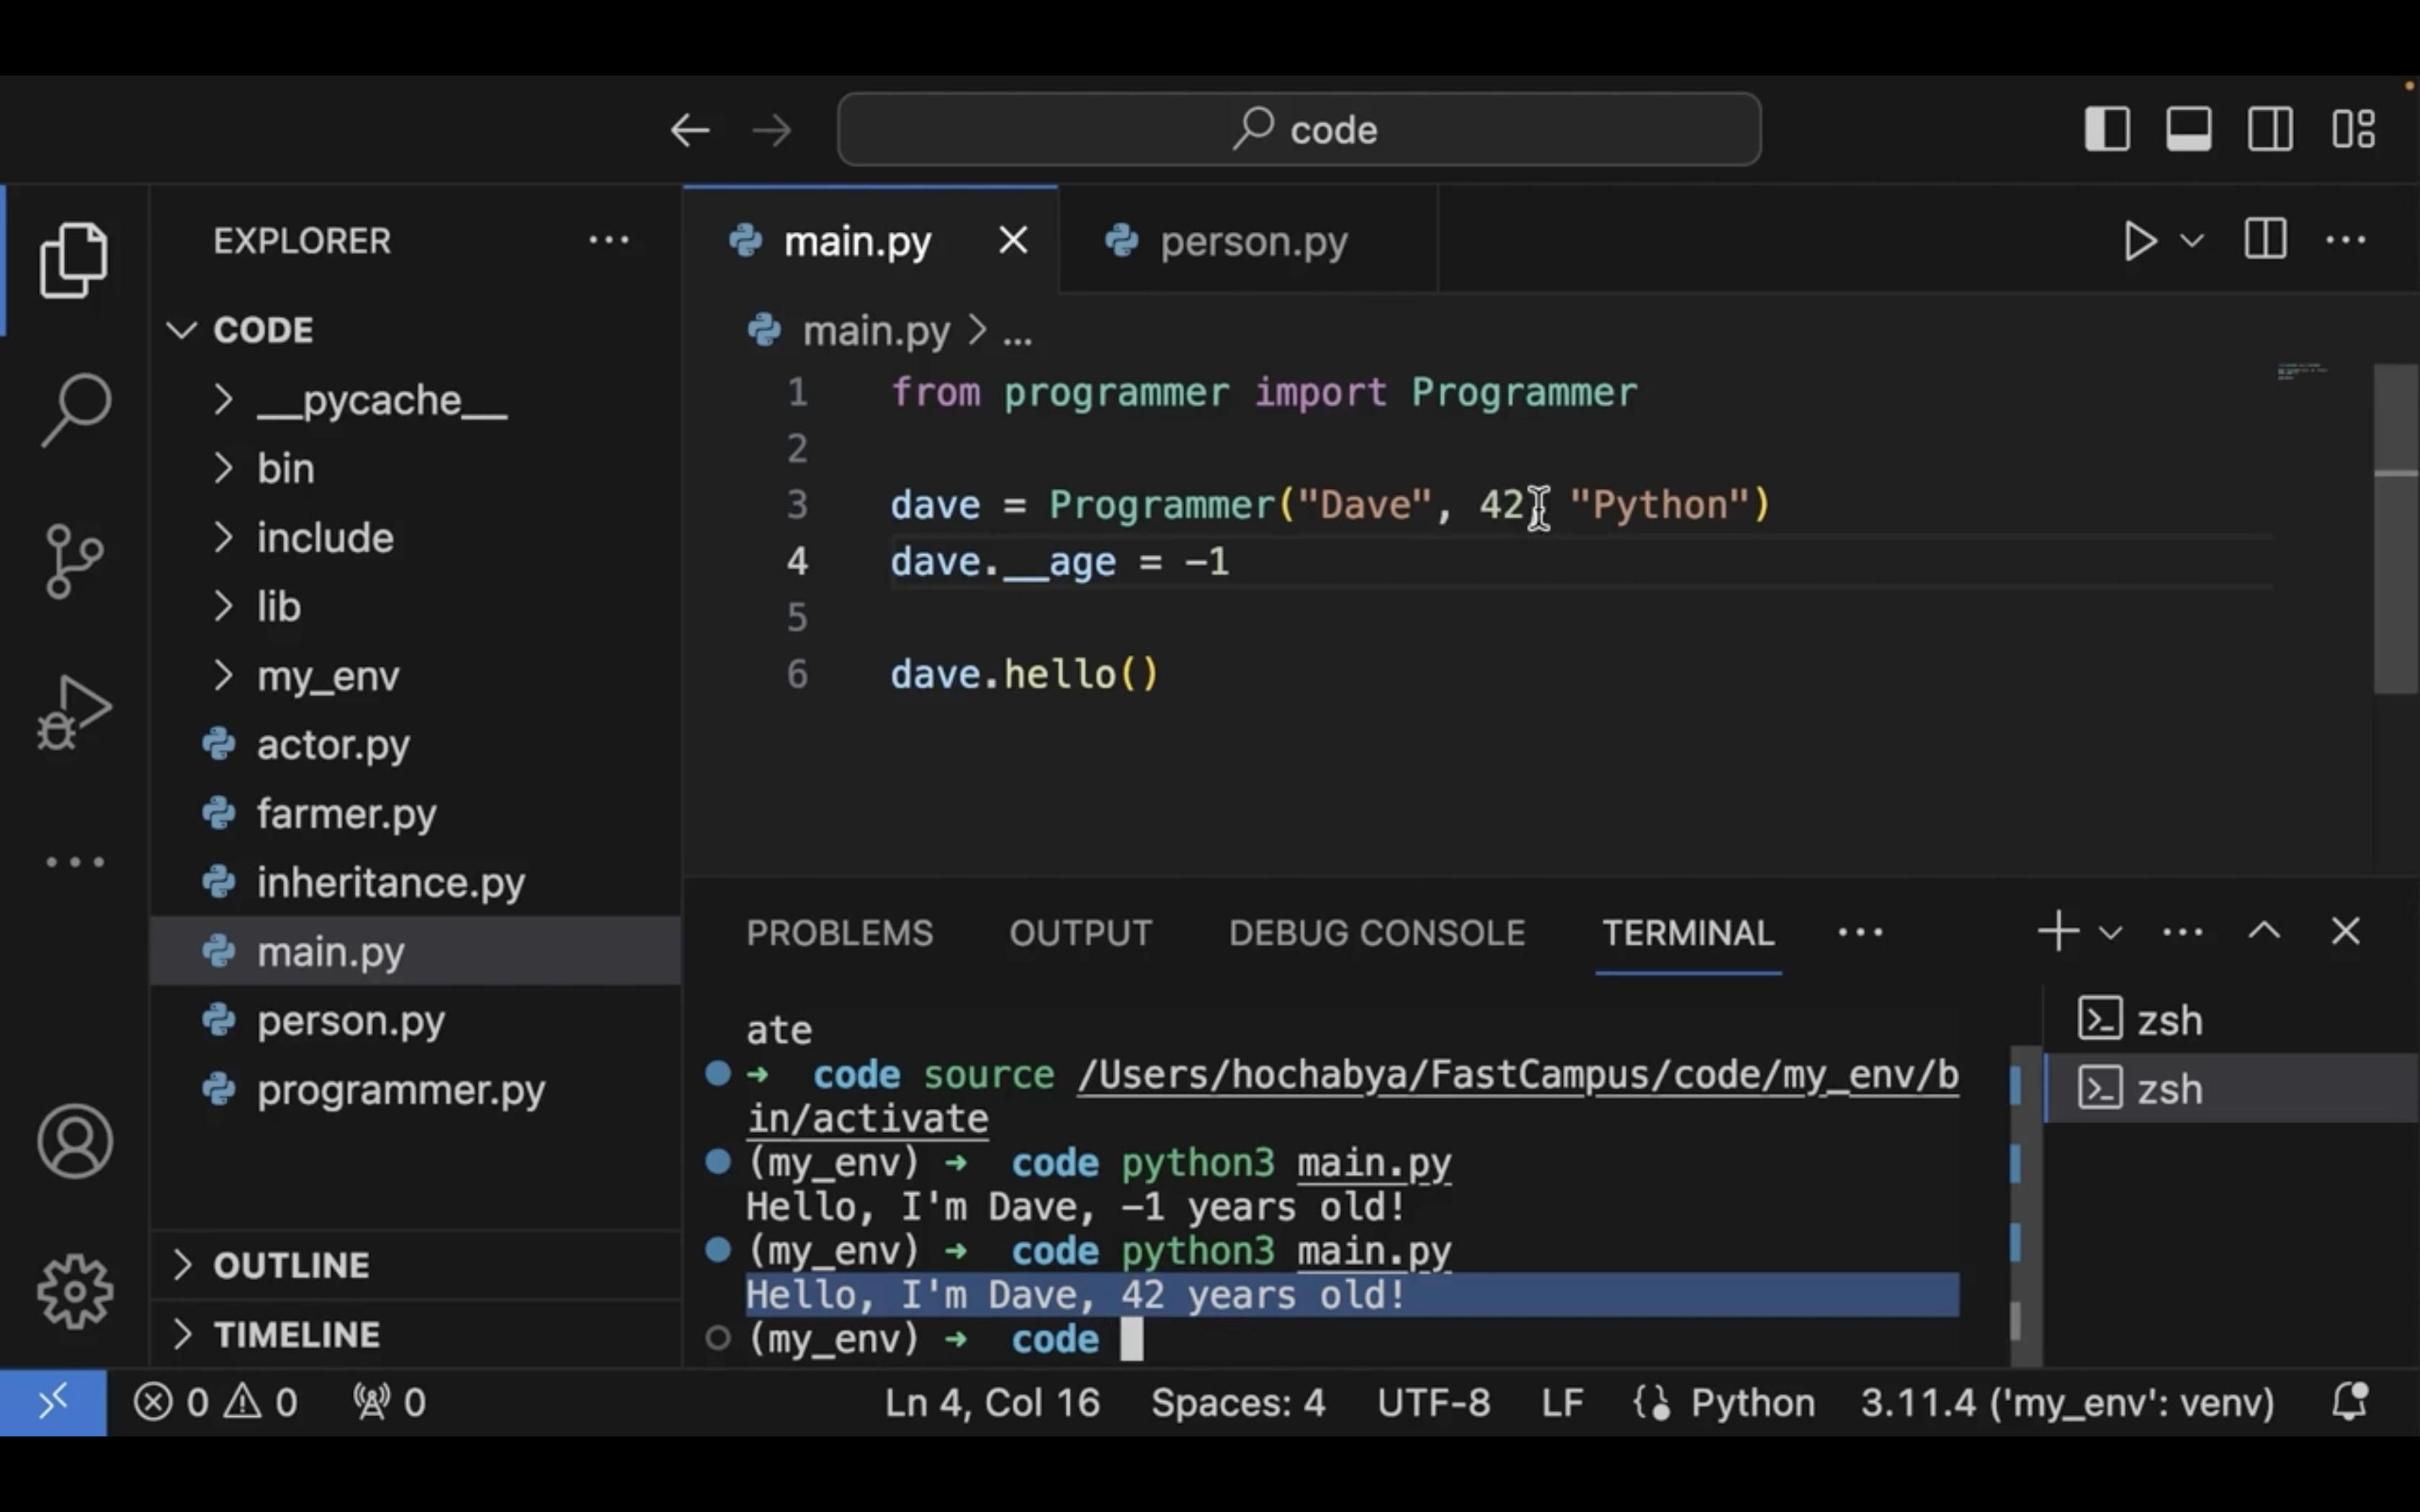
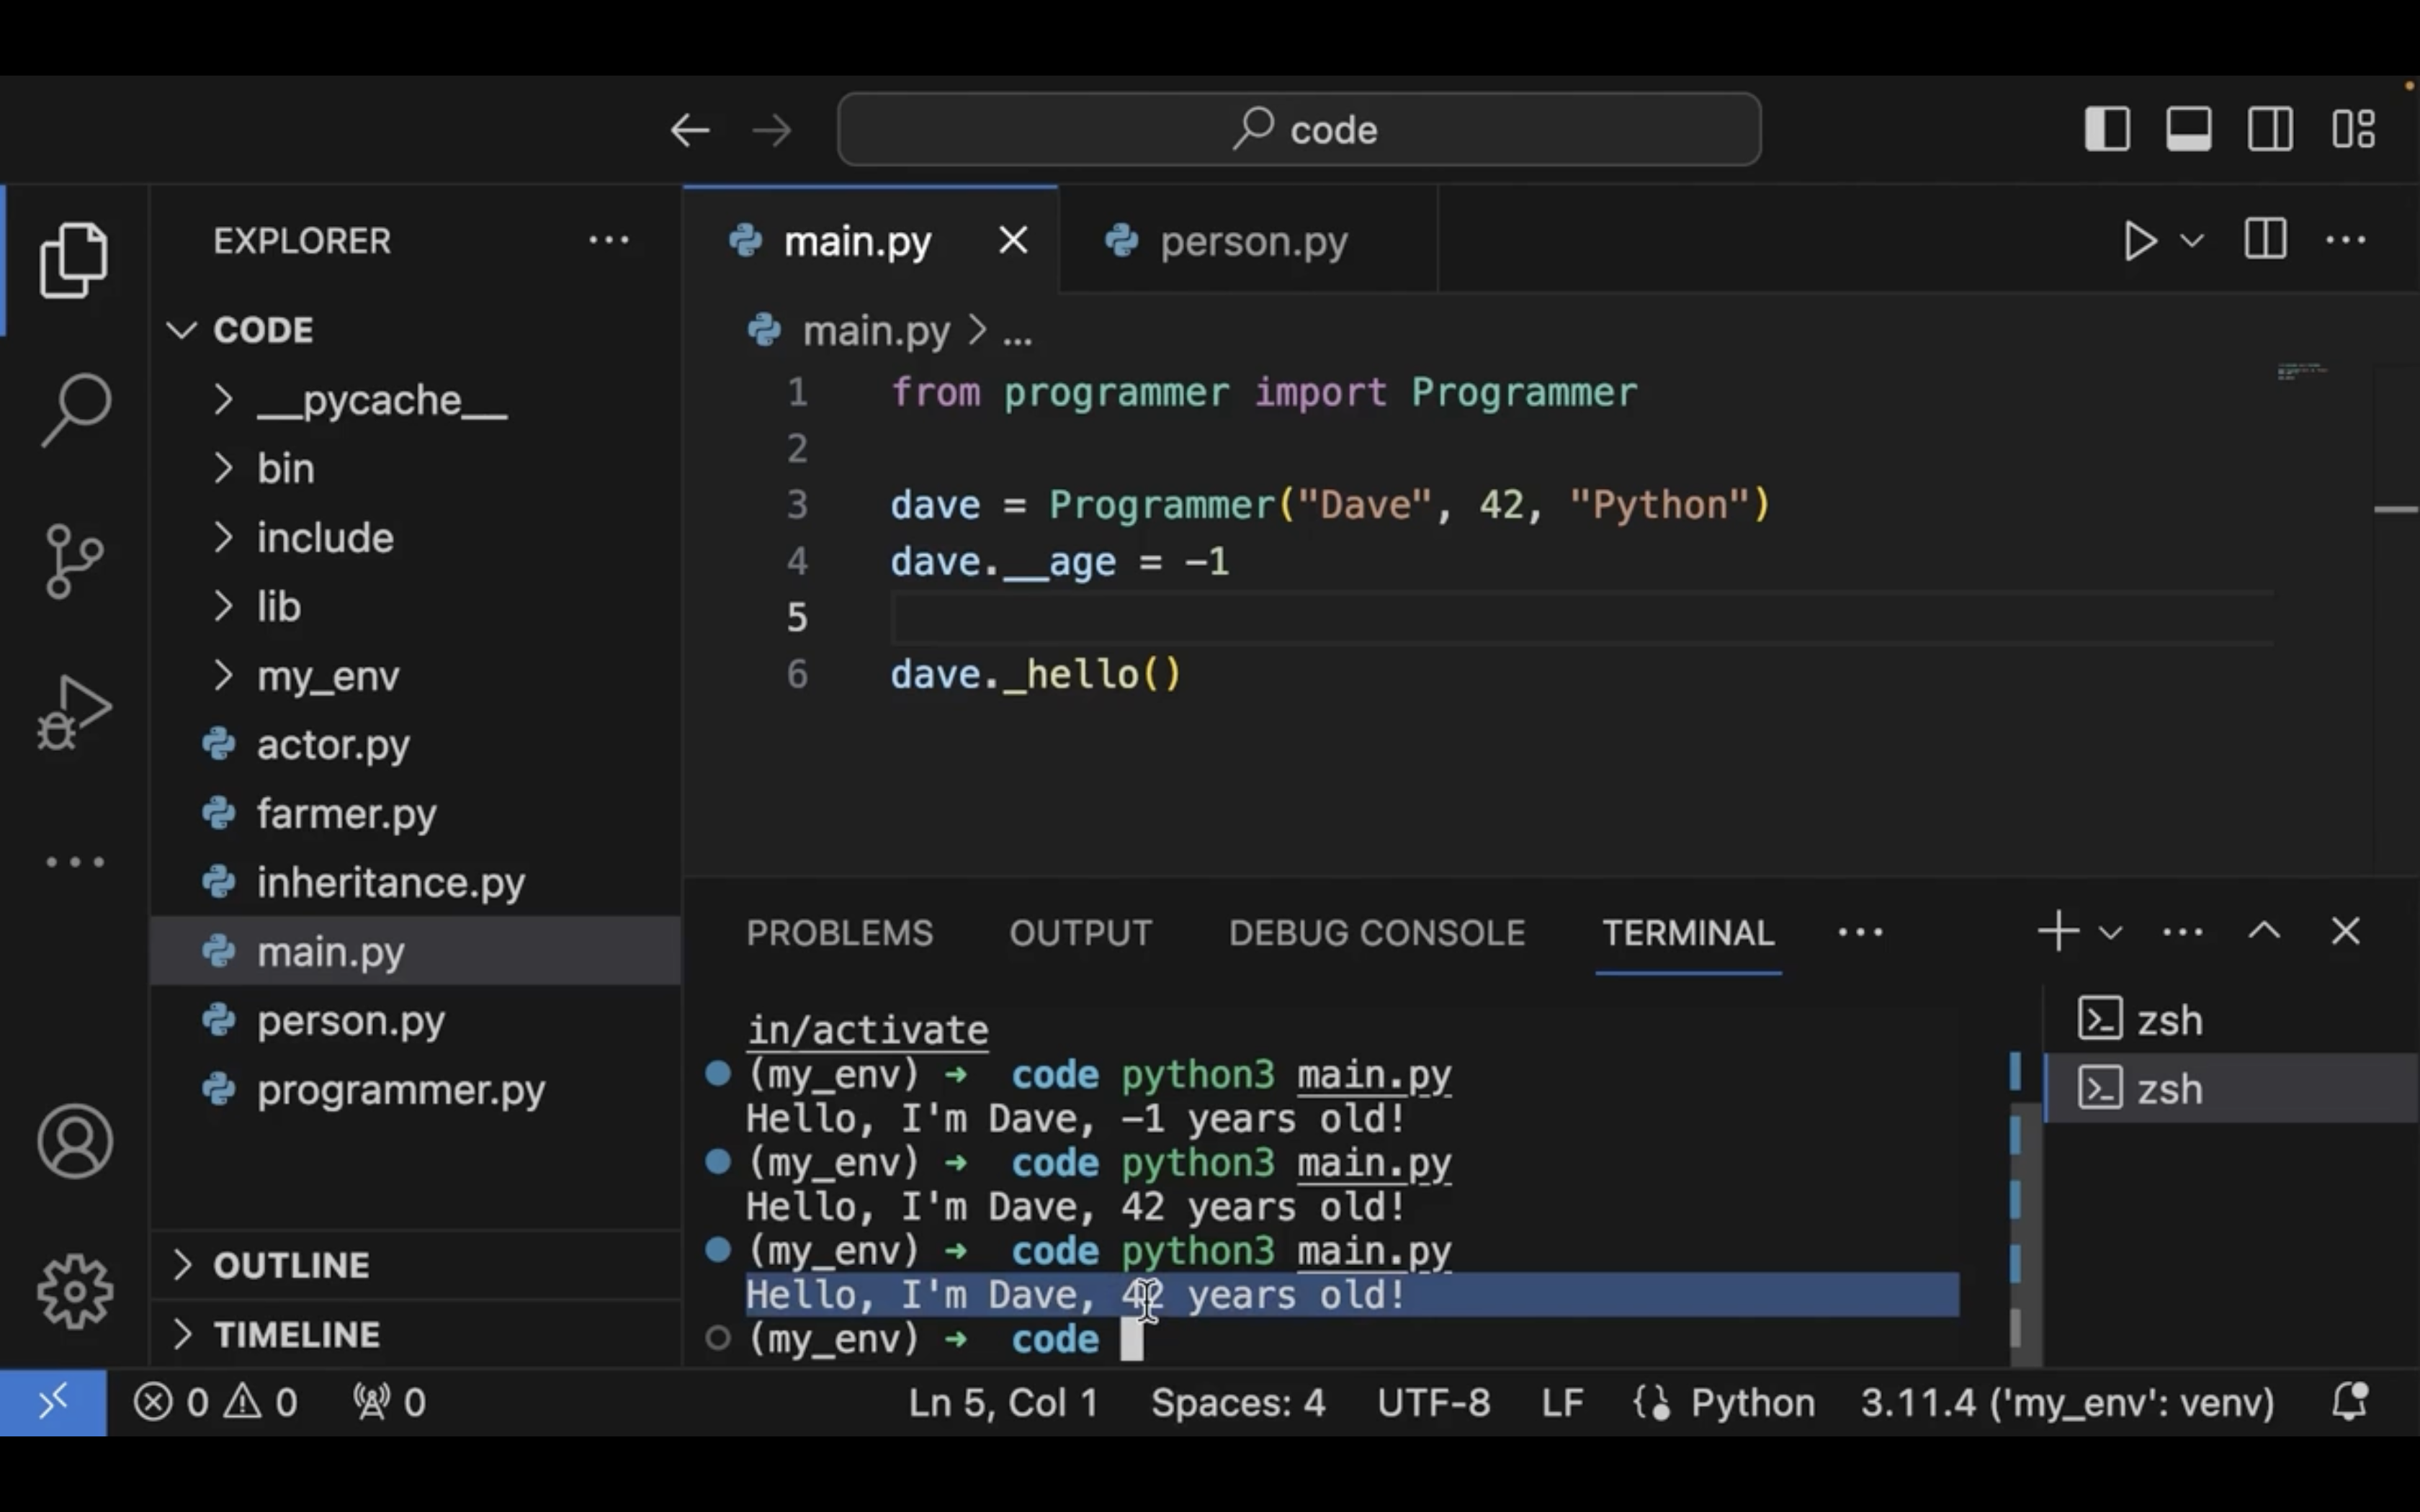
private 멤버변수는 언더바를 두개 붙인다.
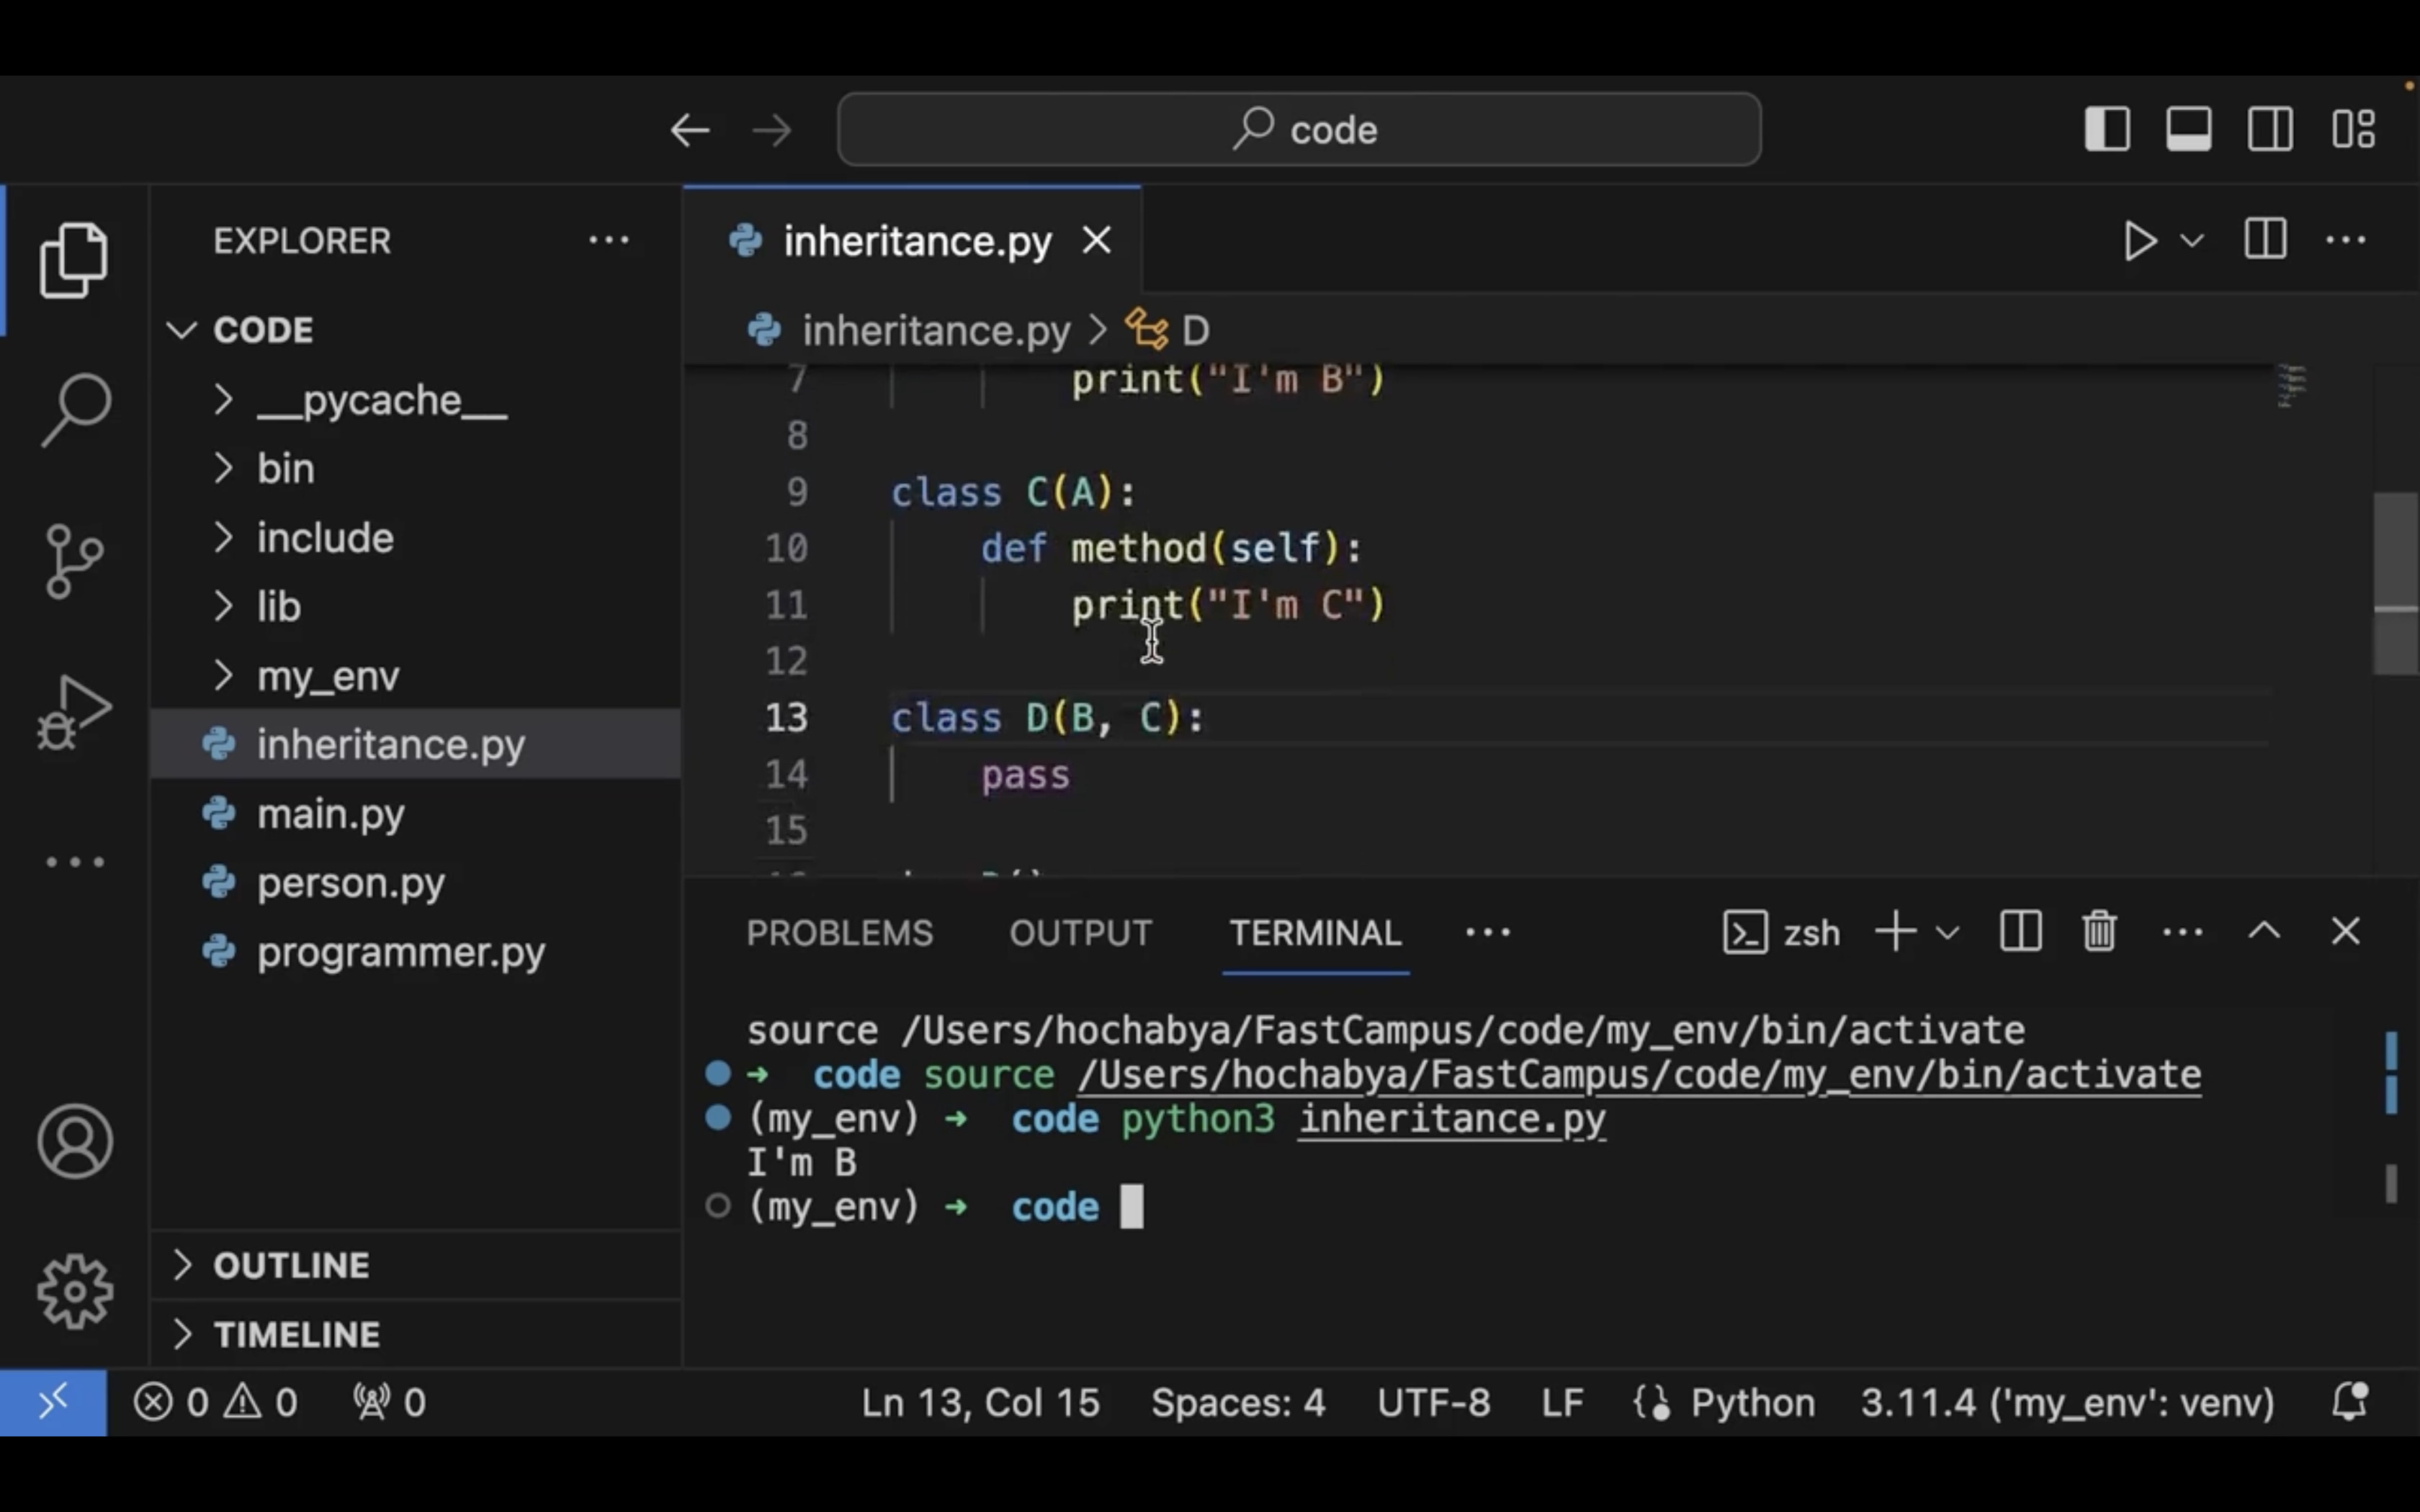
상속 시 사용가능한 메서드는 protected 메서드라고 한다.
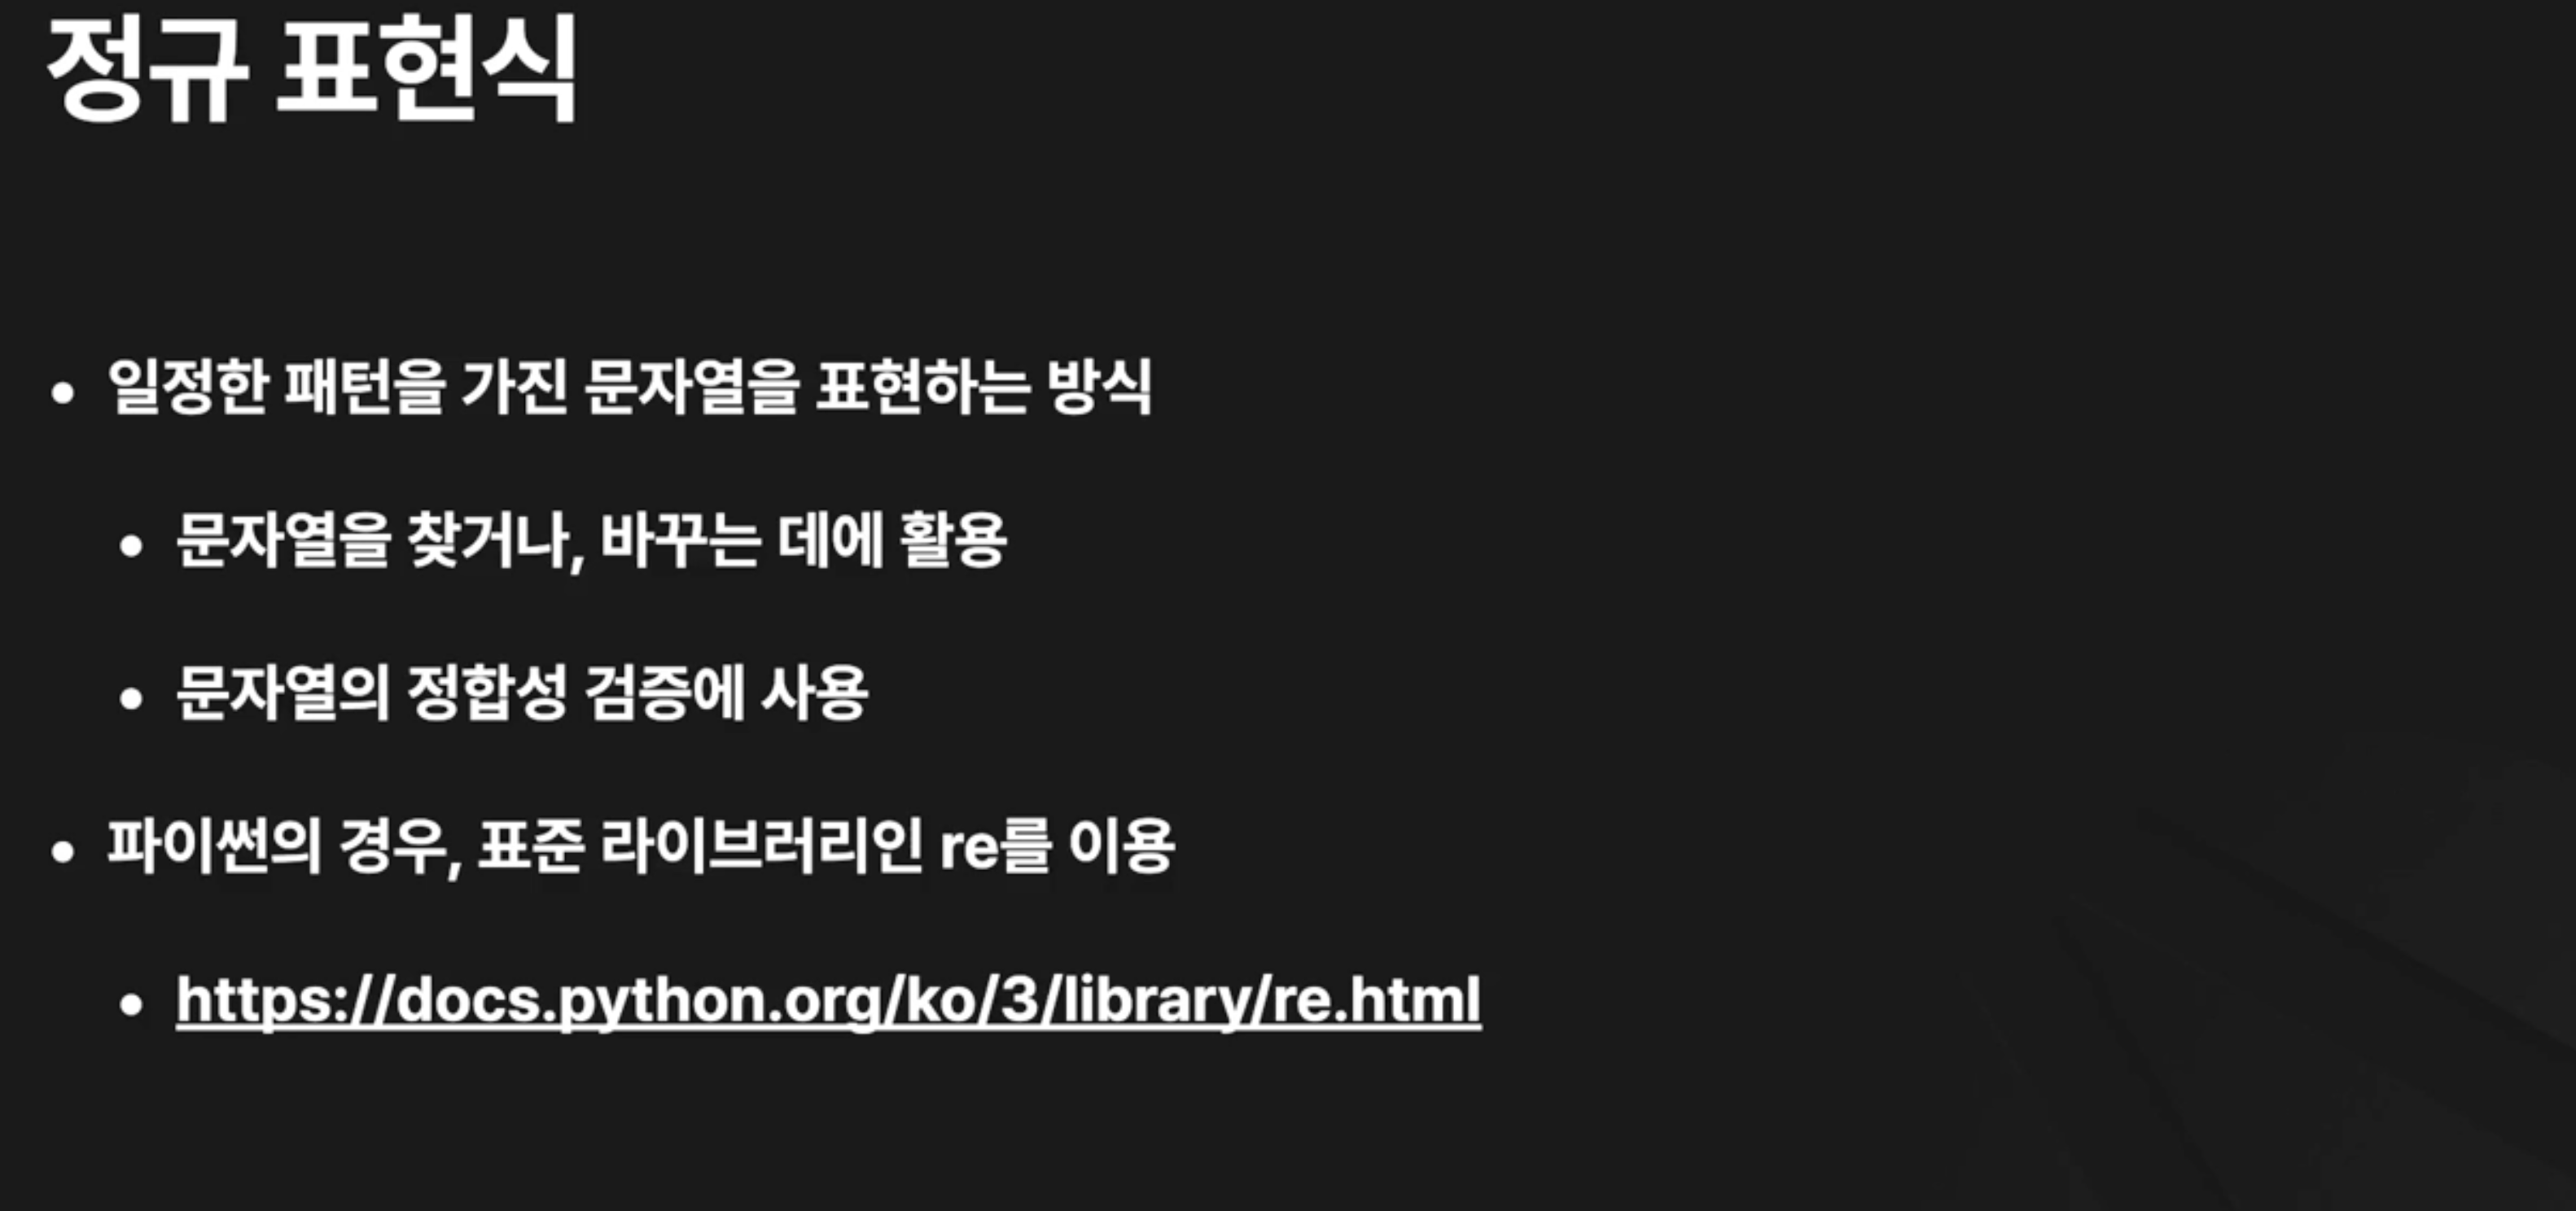
Ch 8. 정규표현식
01. 정규 표현식이란


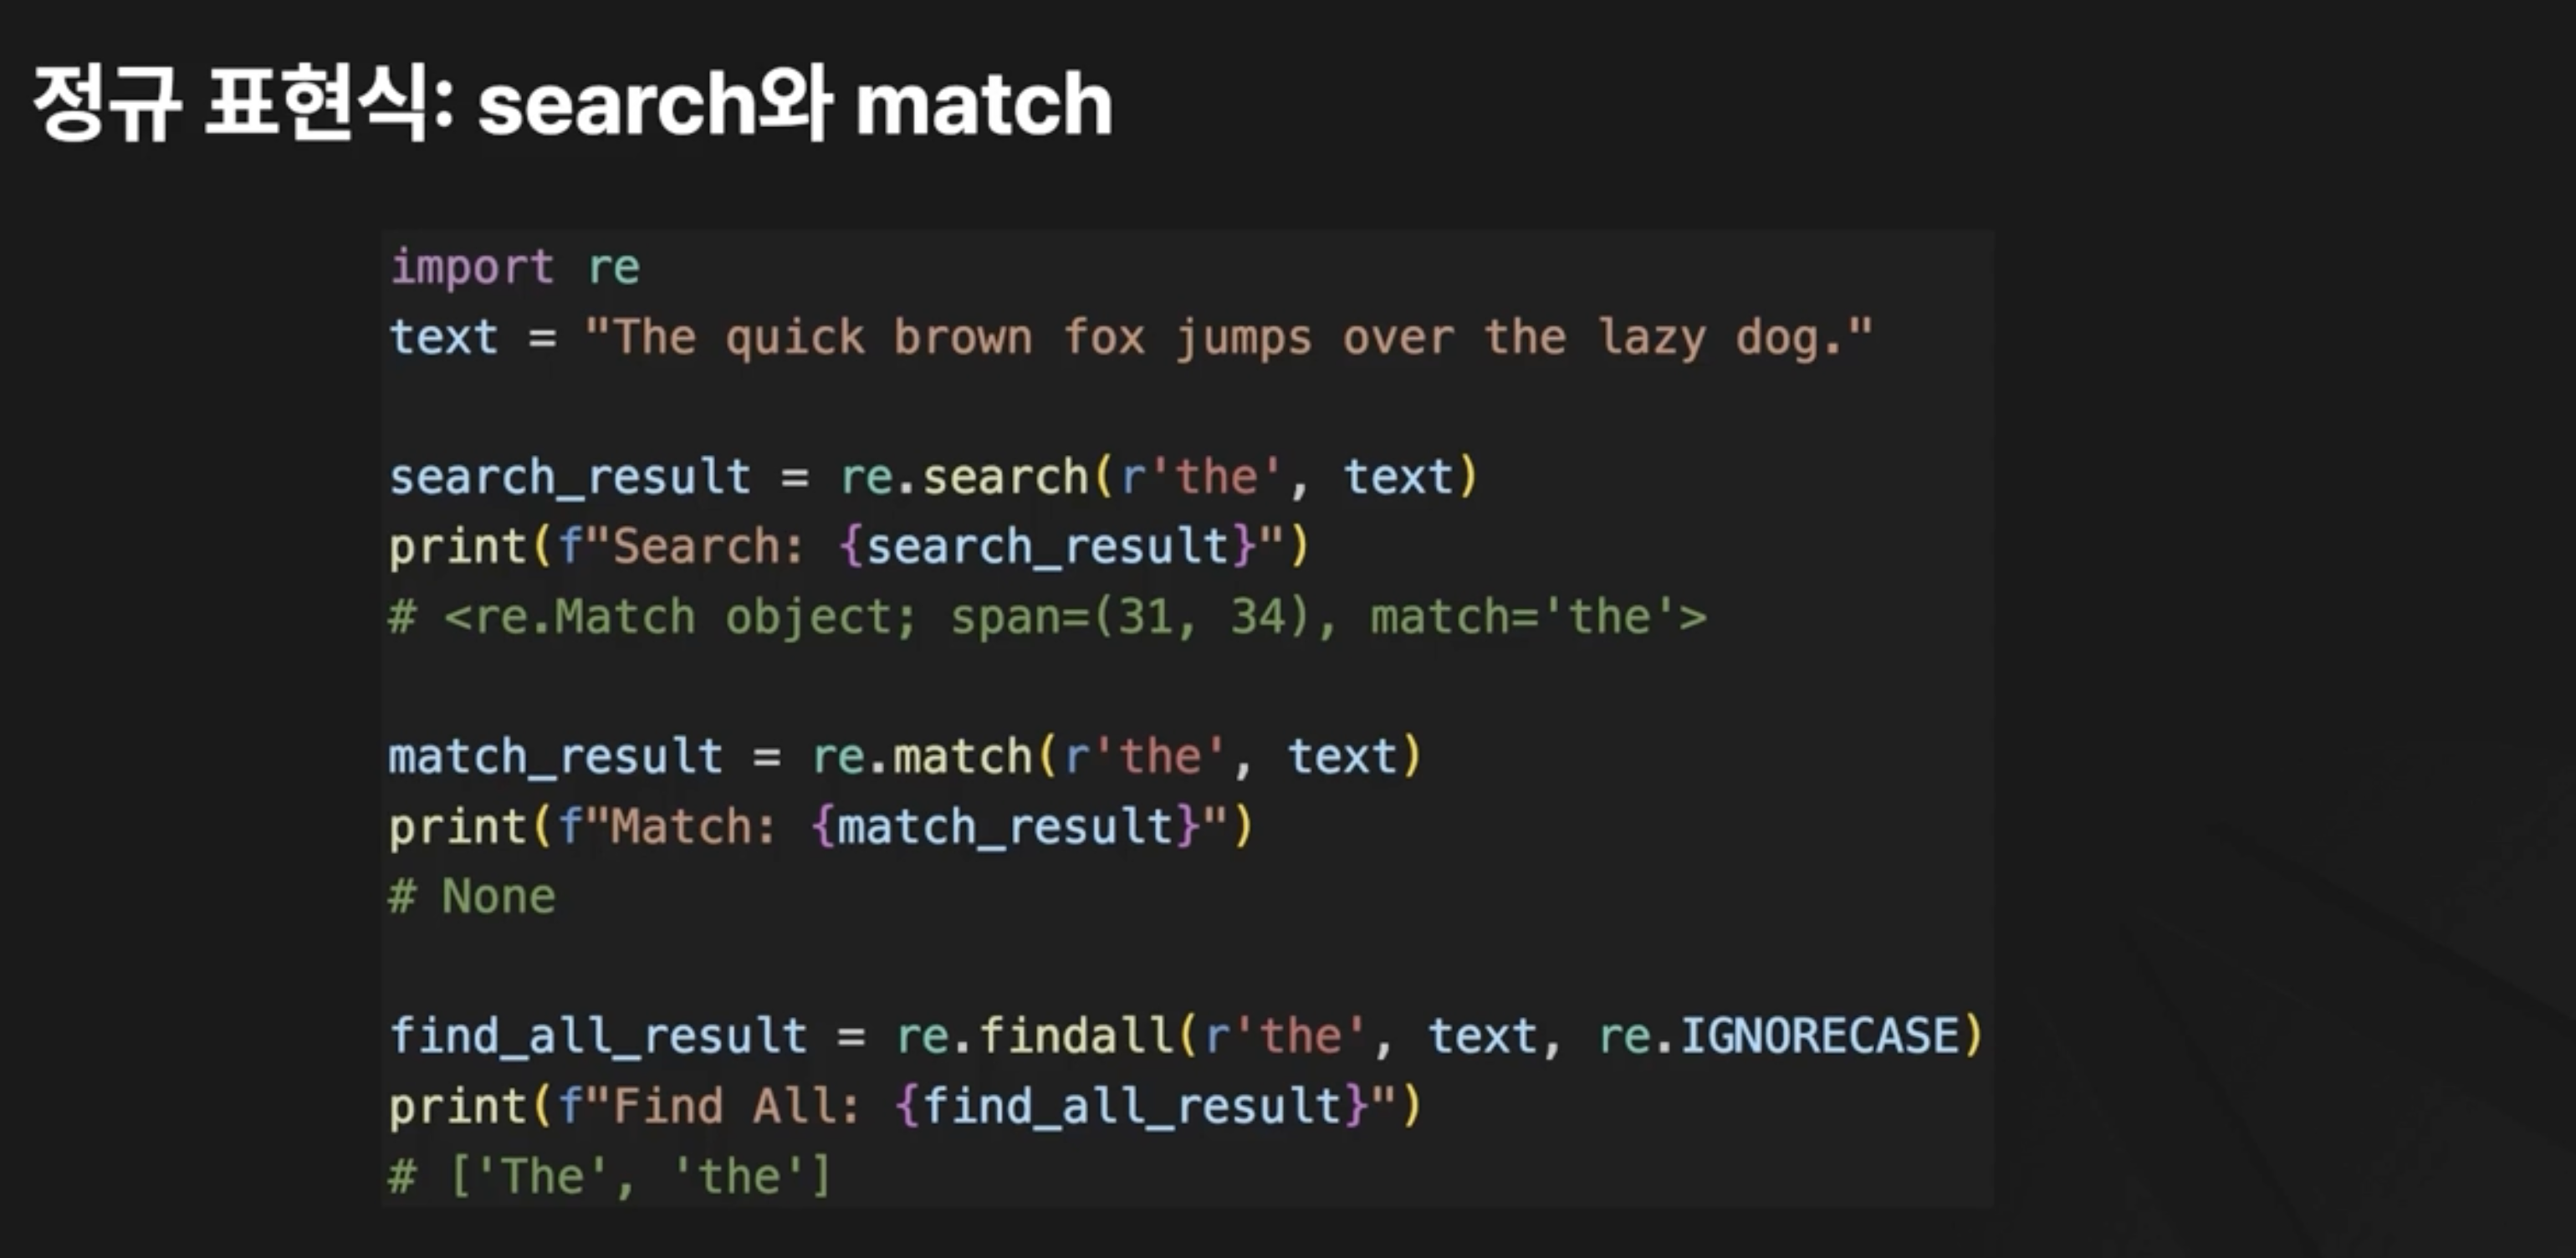
02. 정규 표현식 사용하기


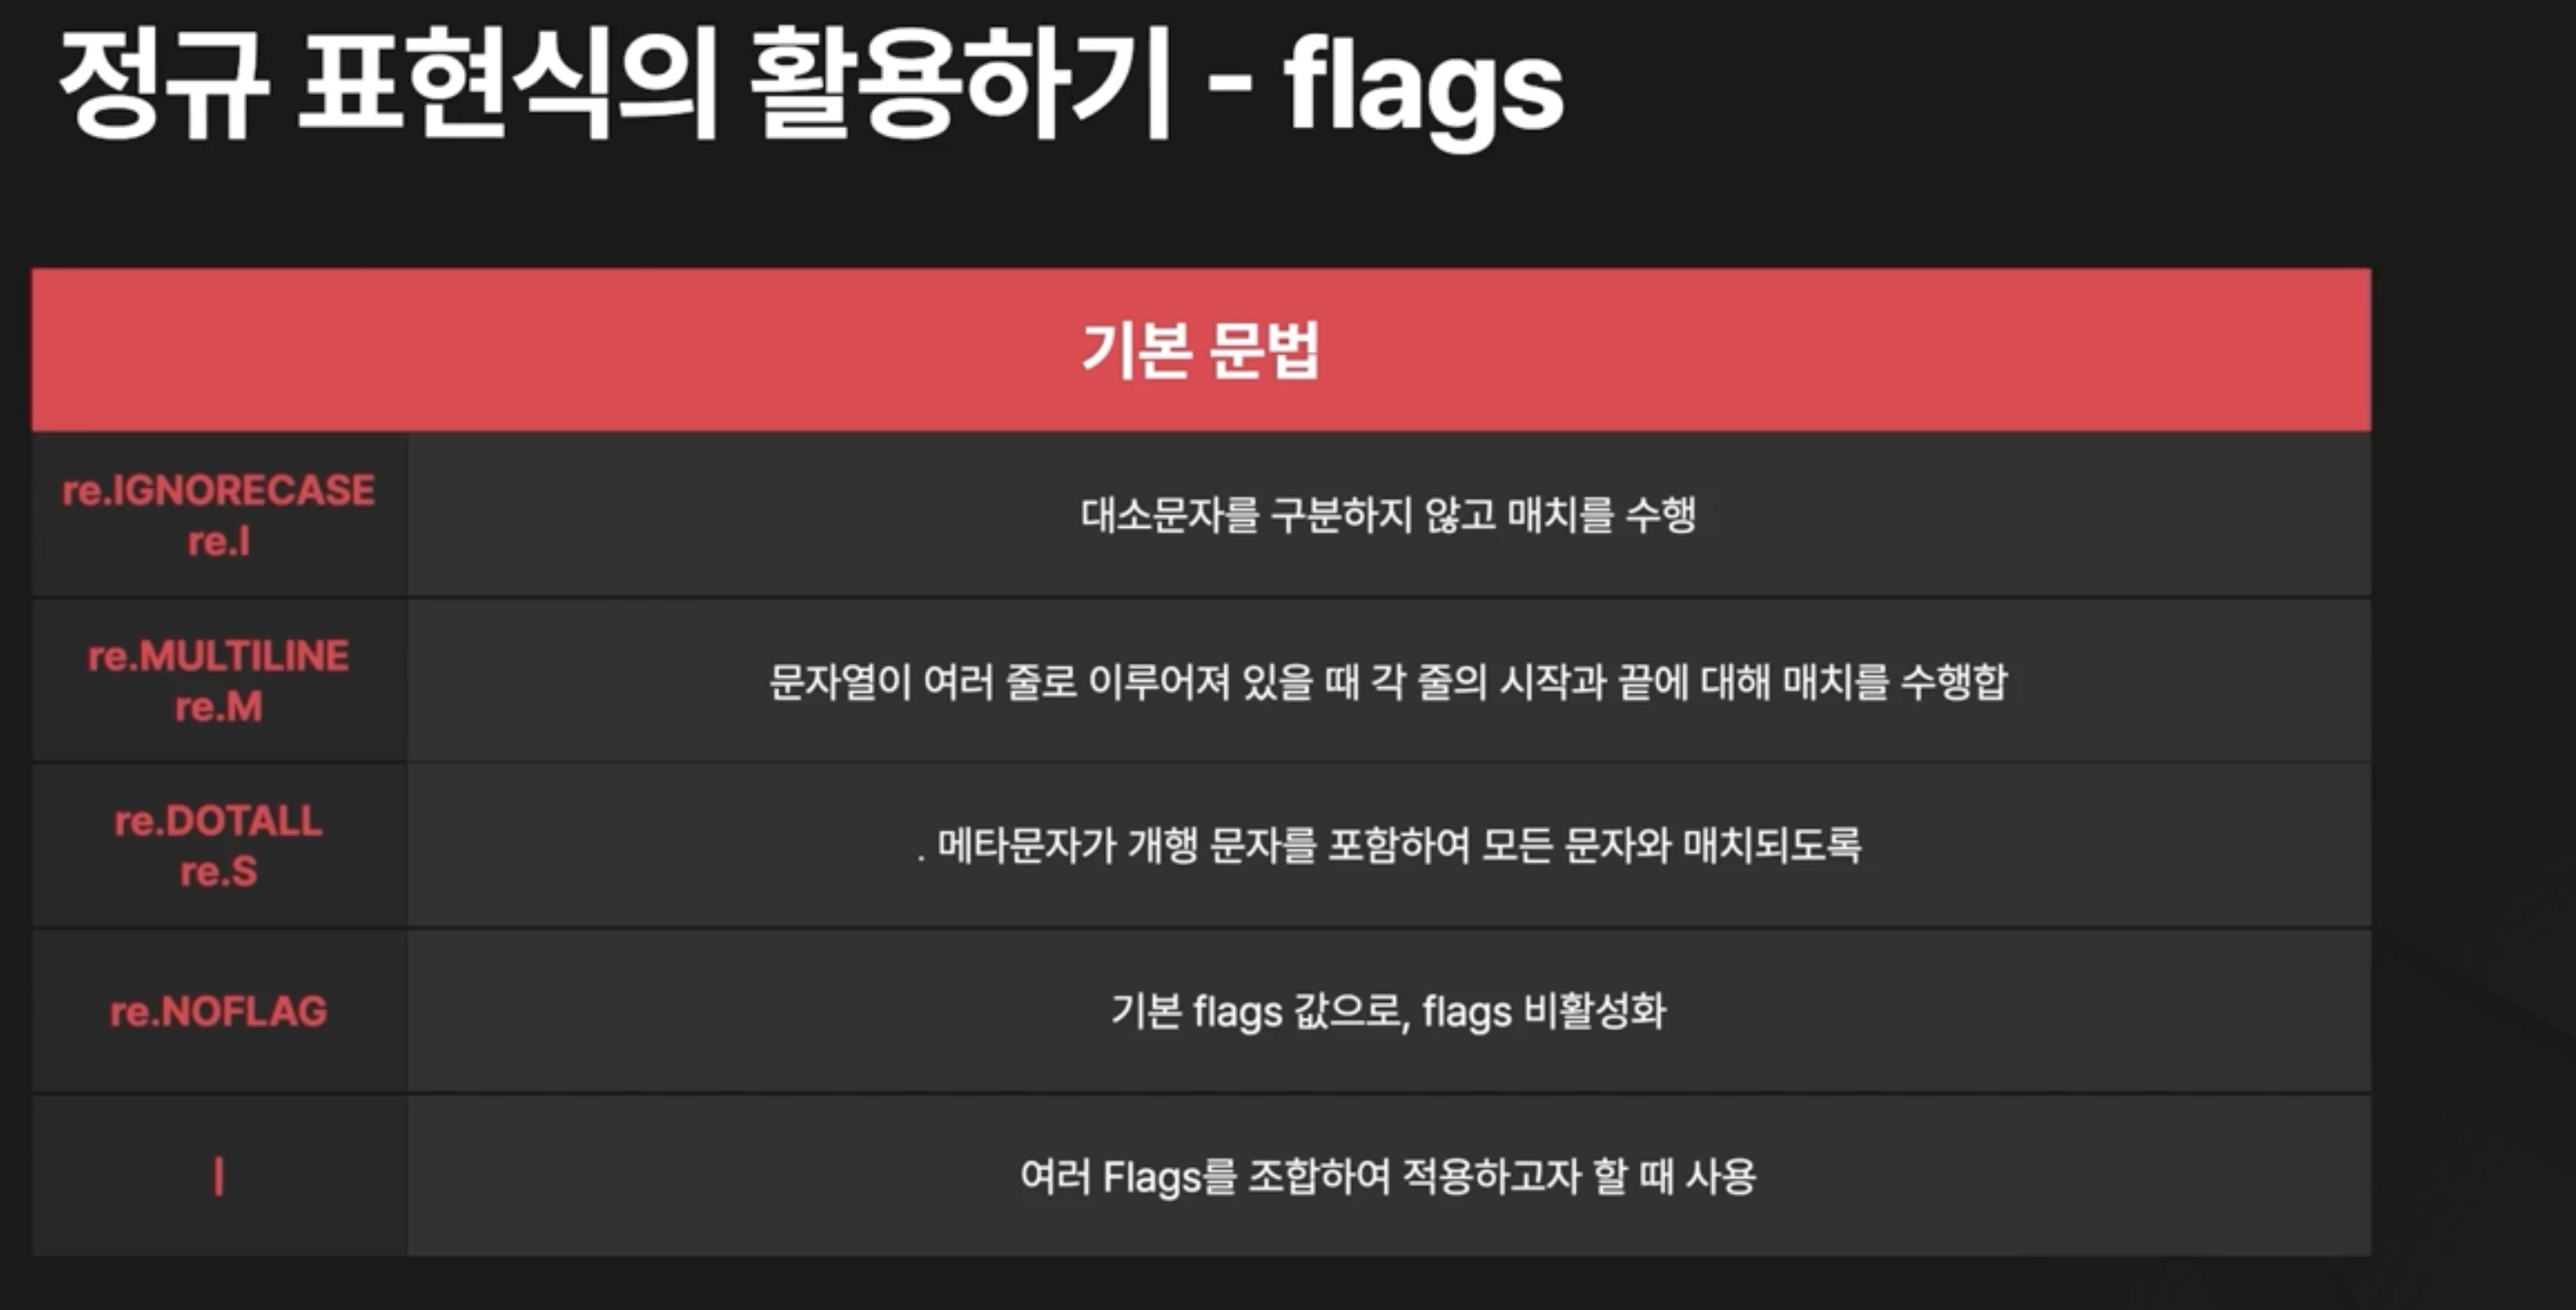
- I: ignore case
- M: multiline
- S: dot all
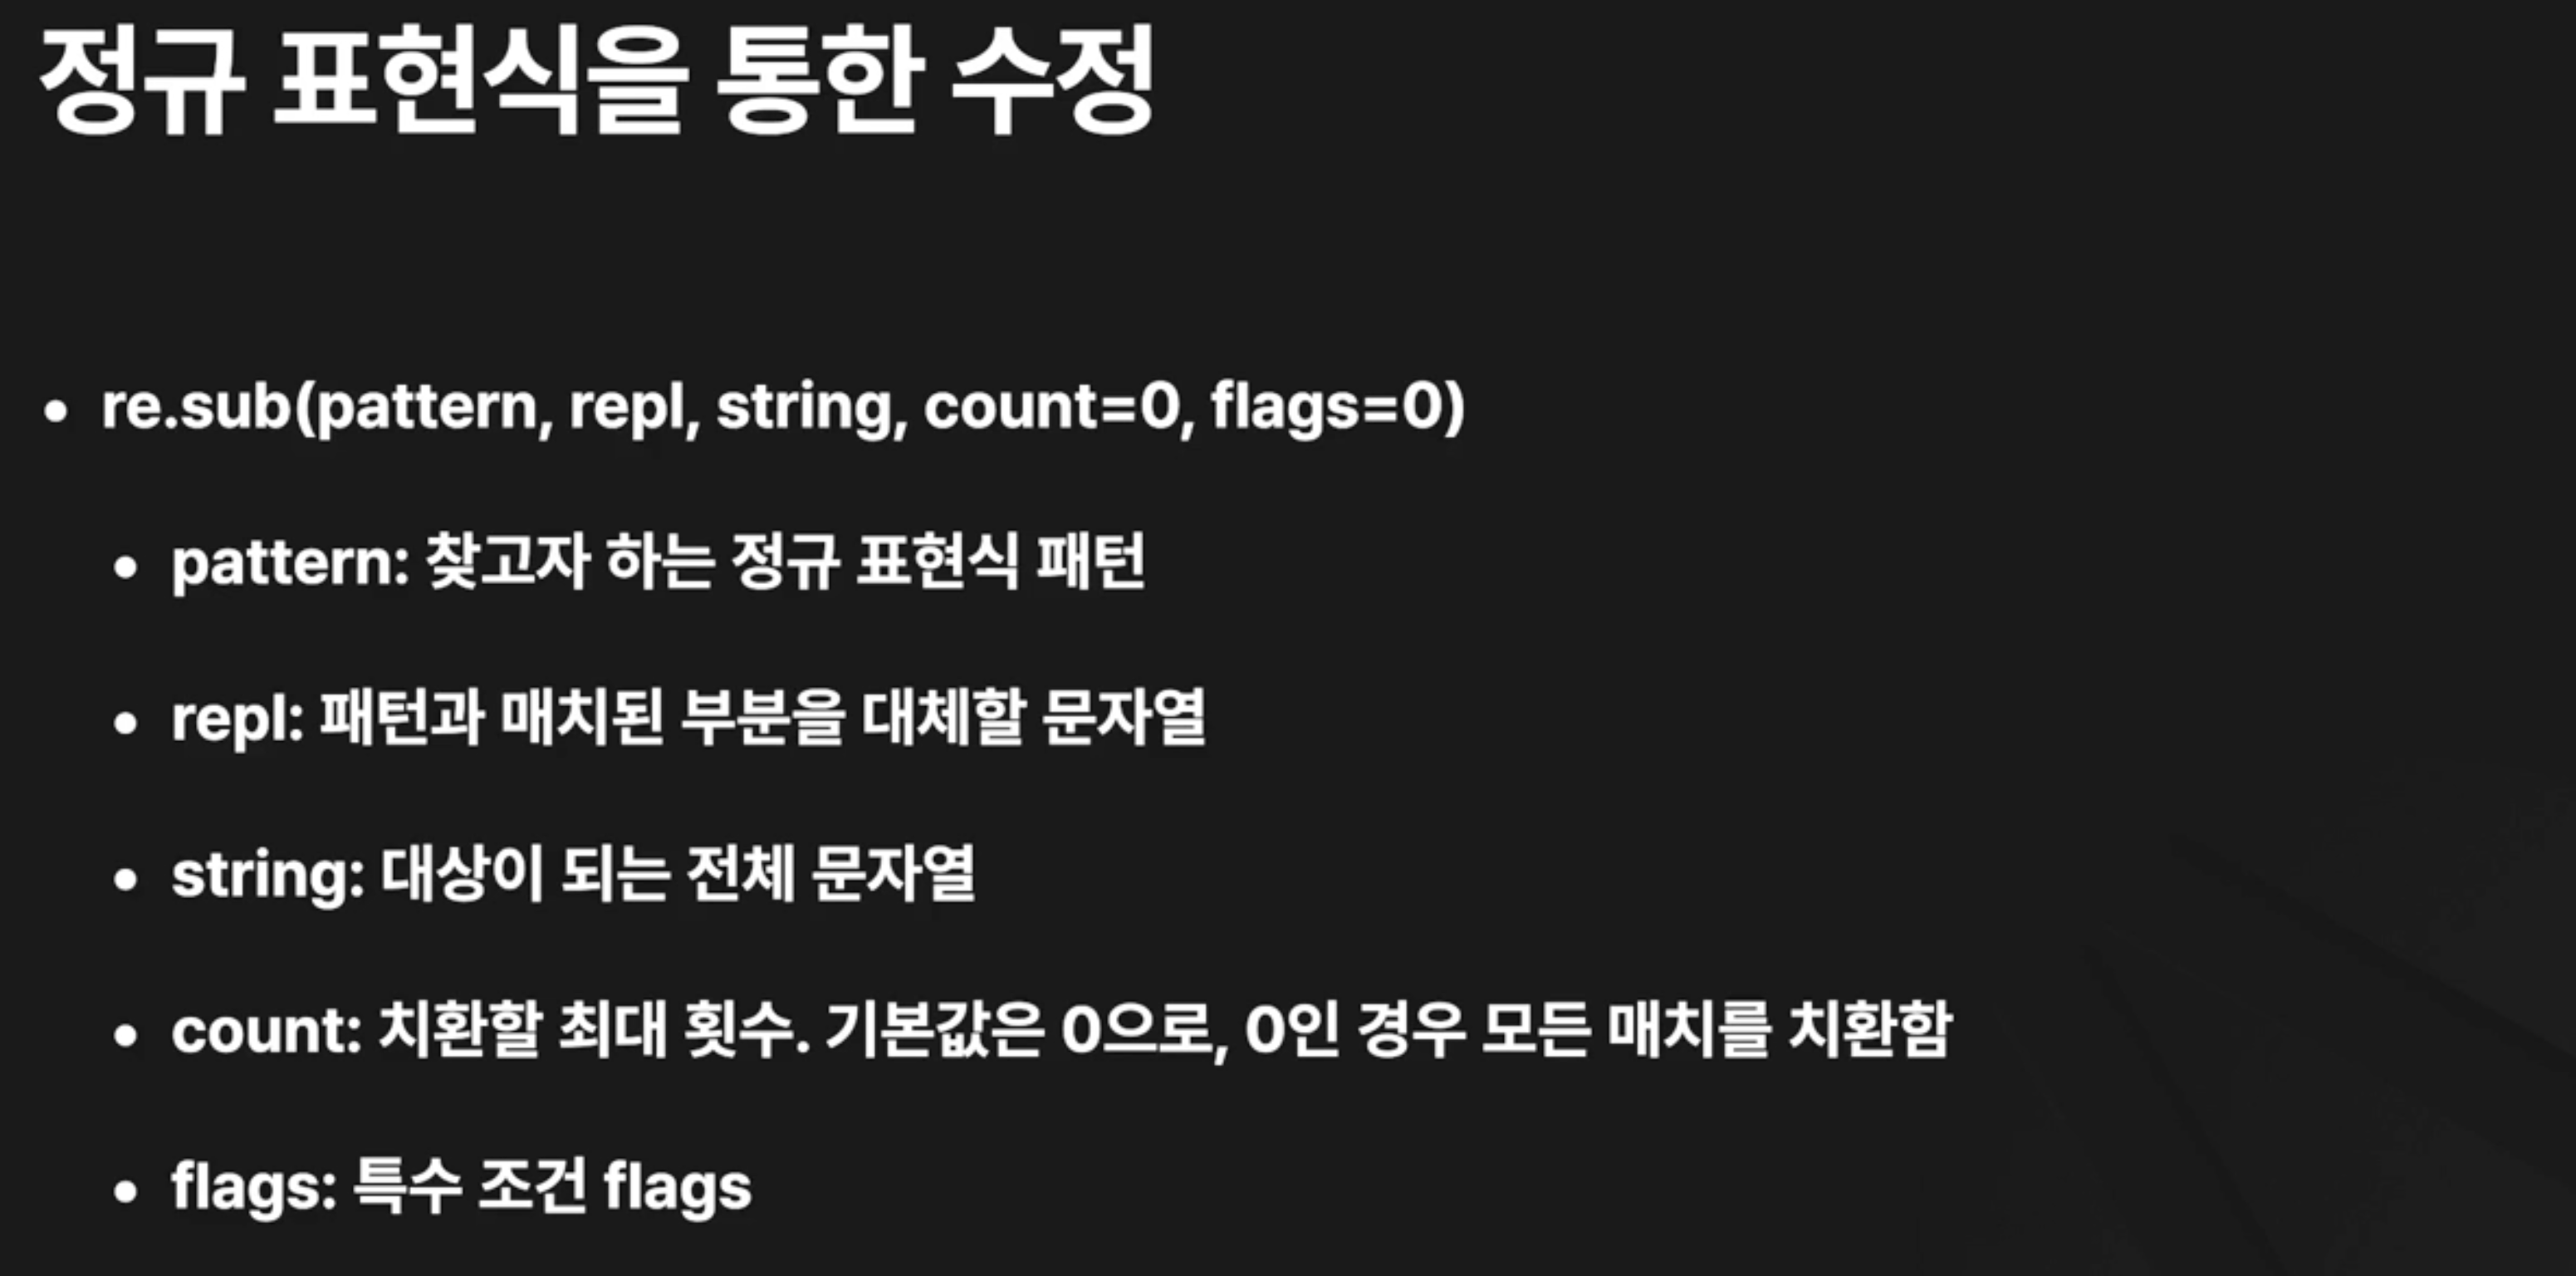
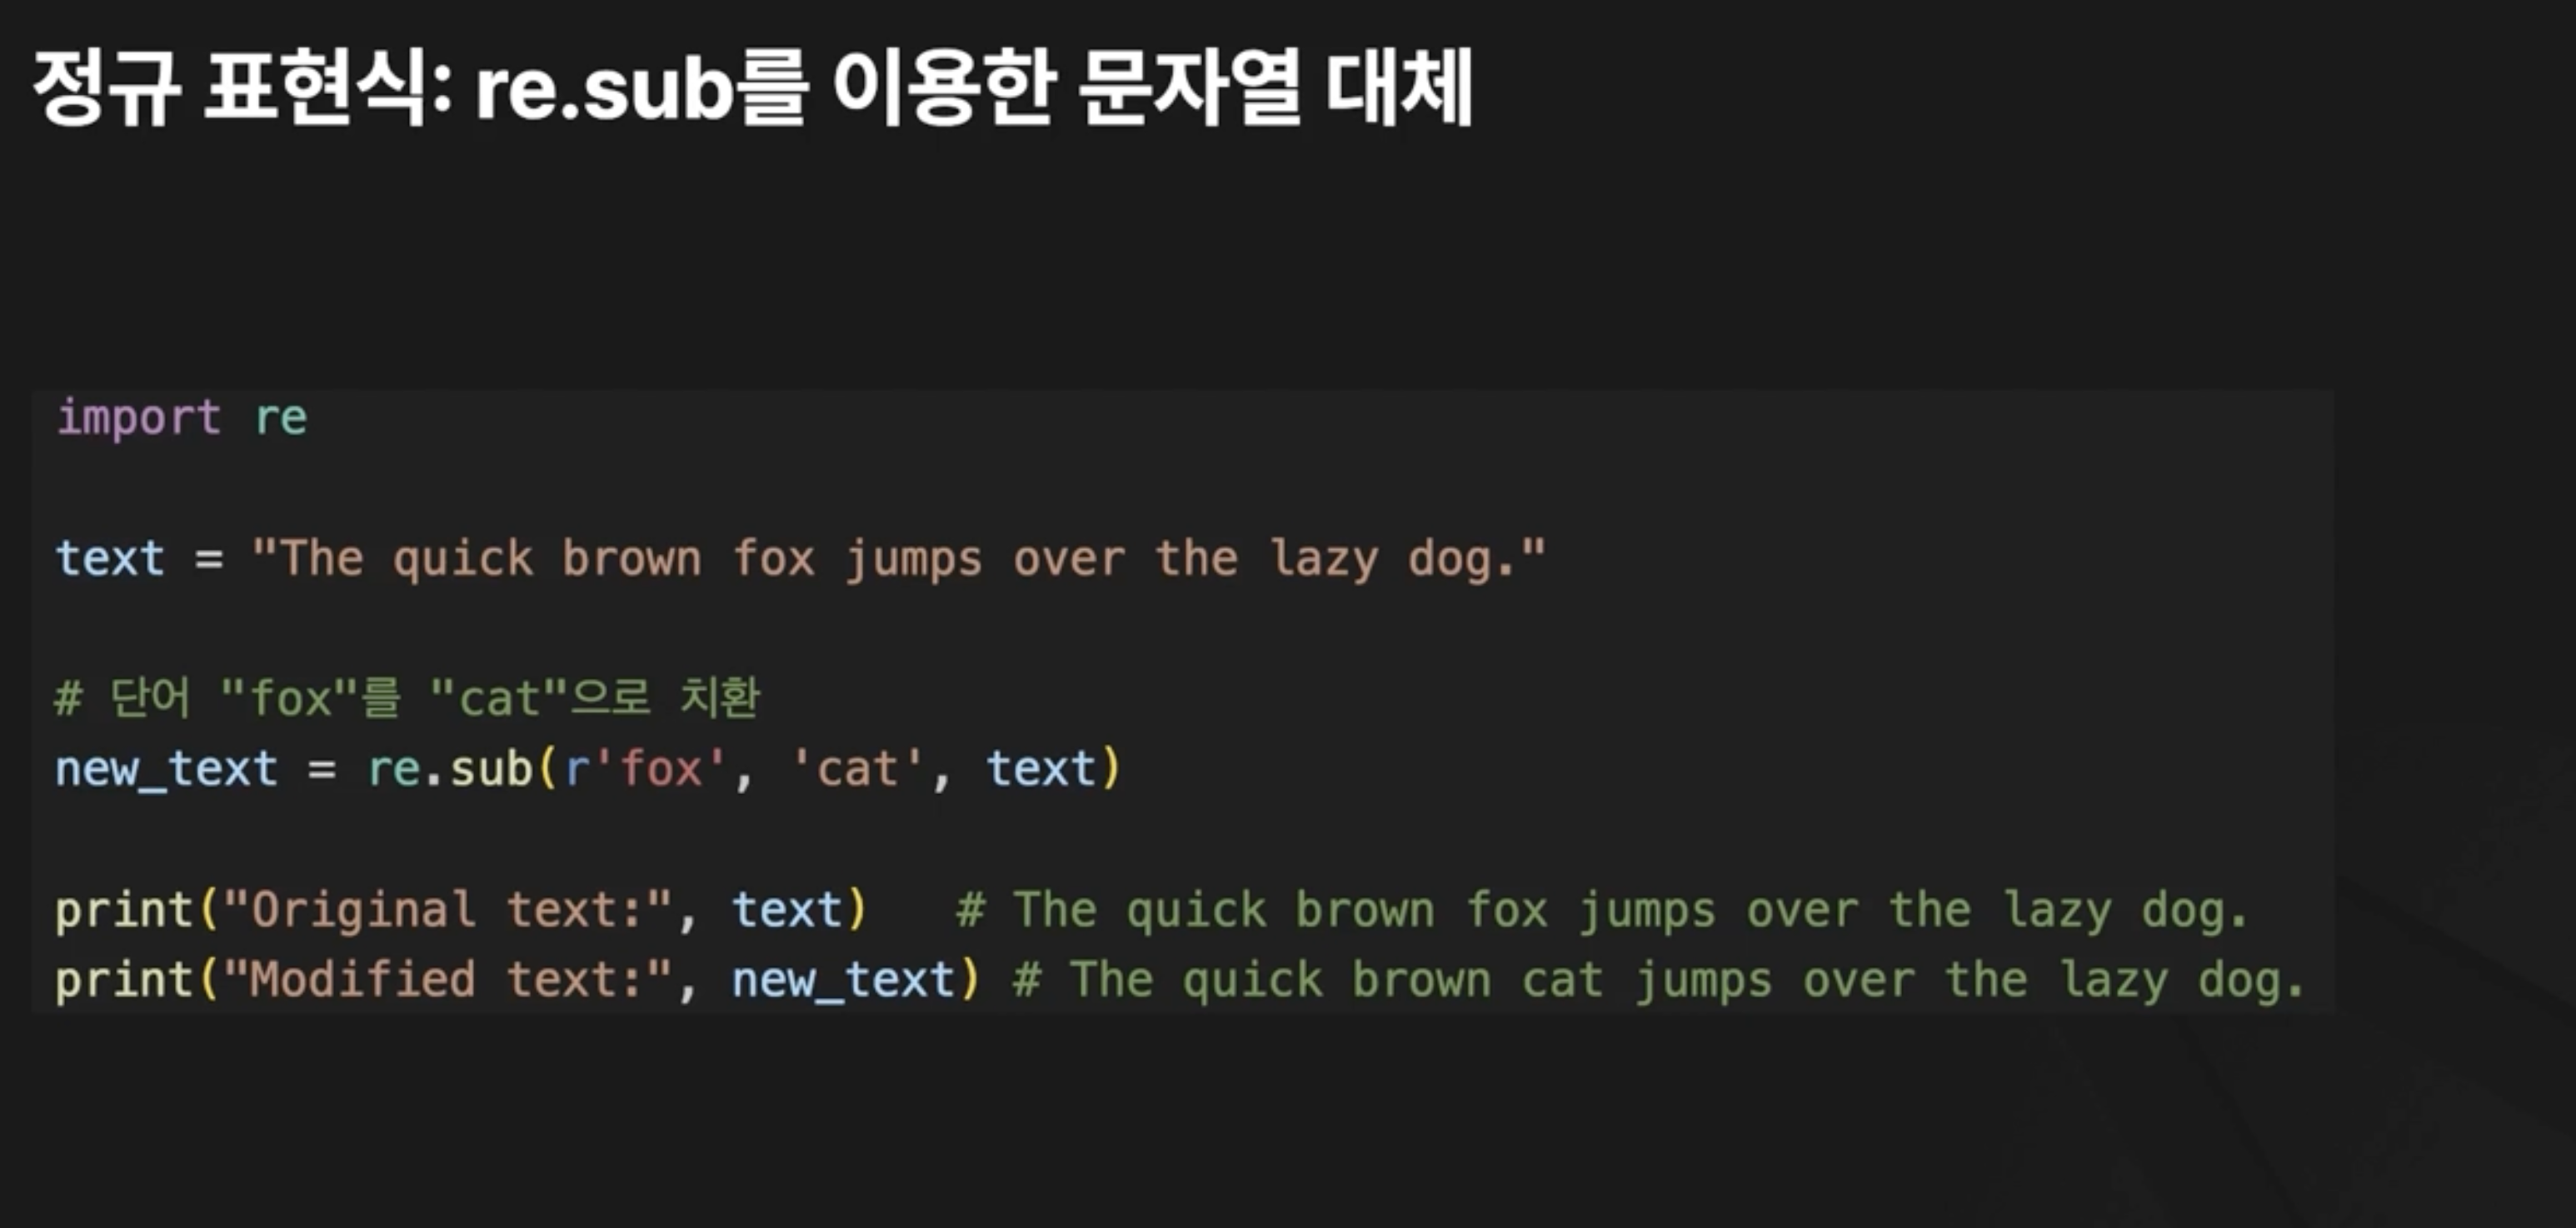

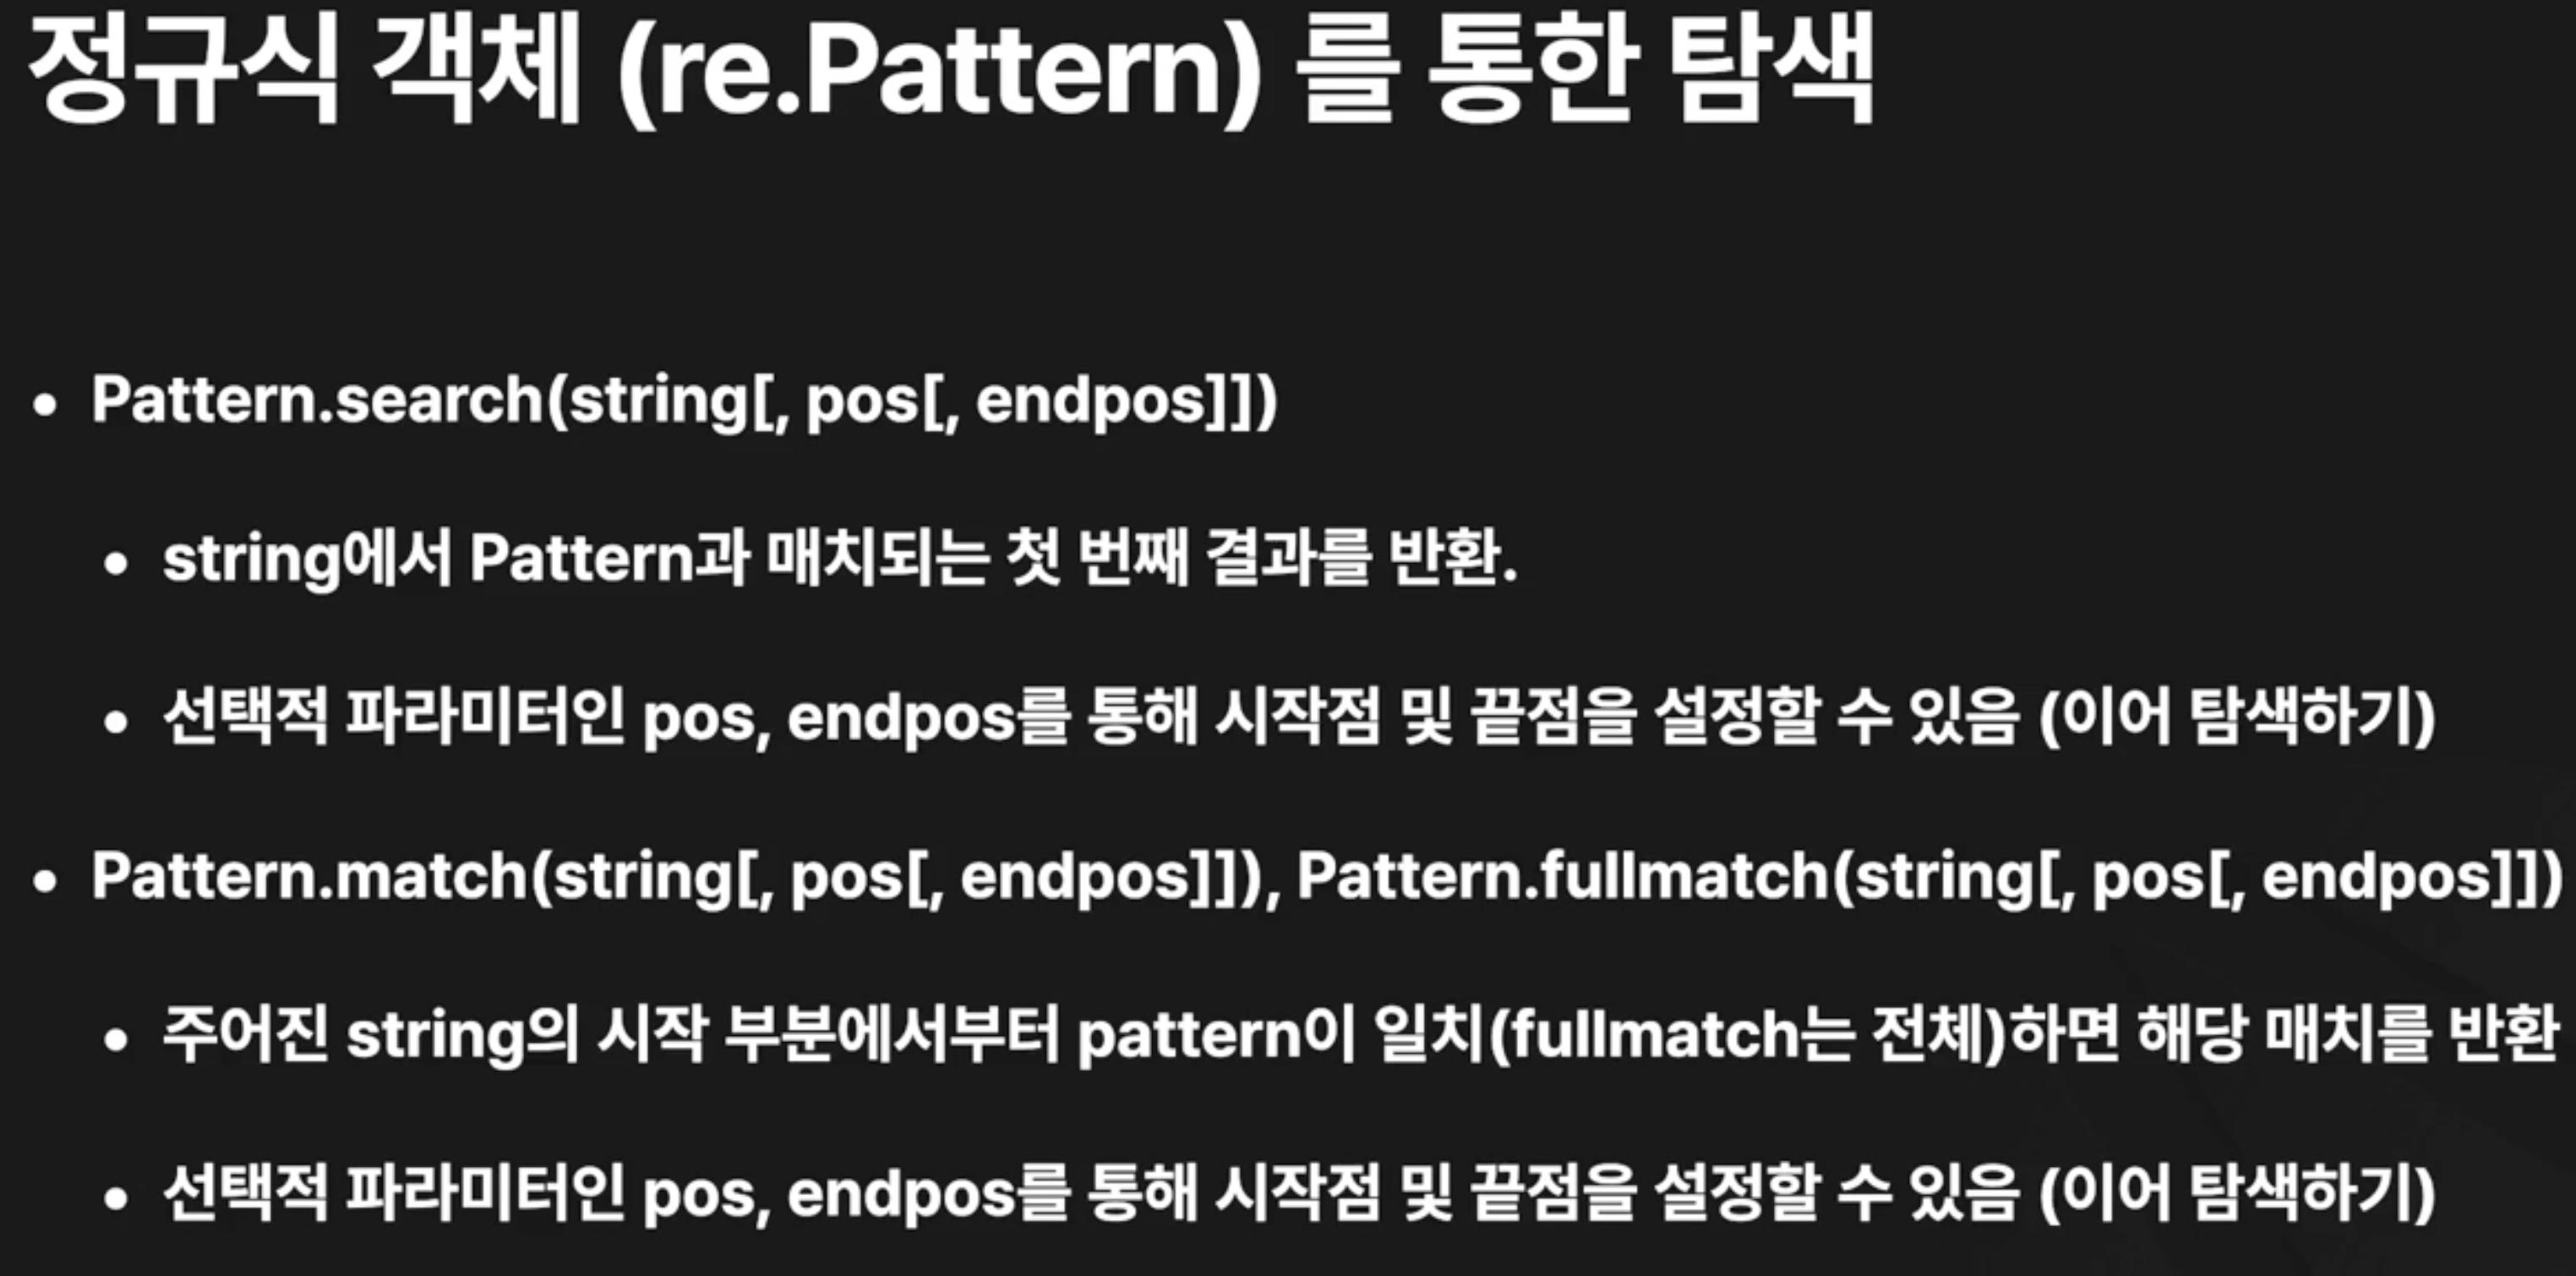
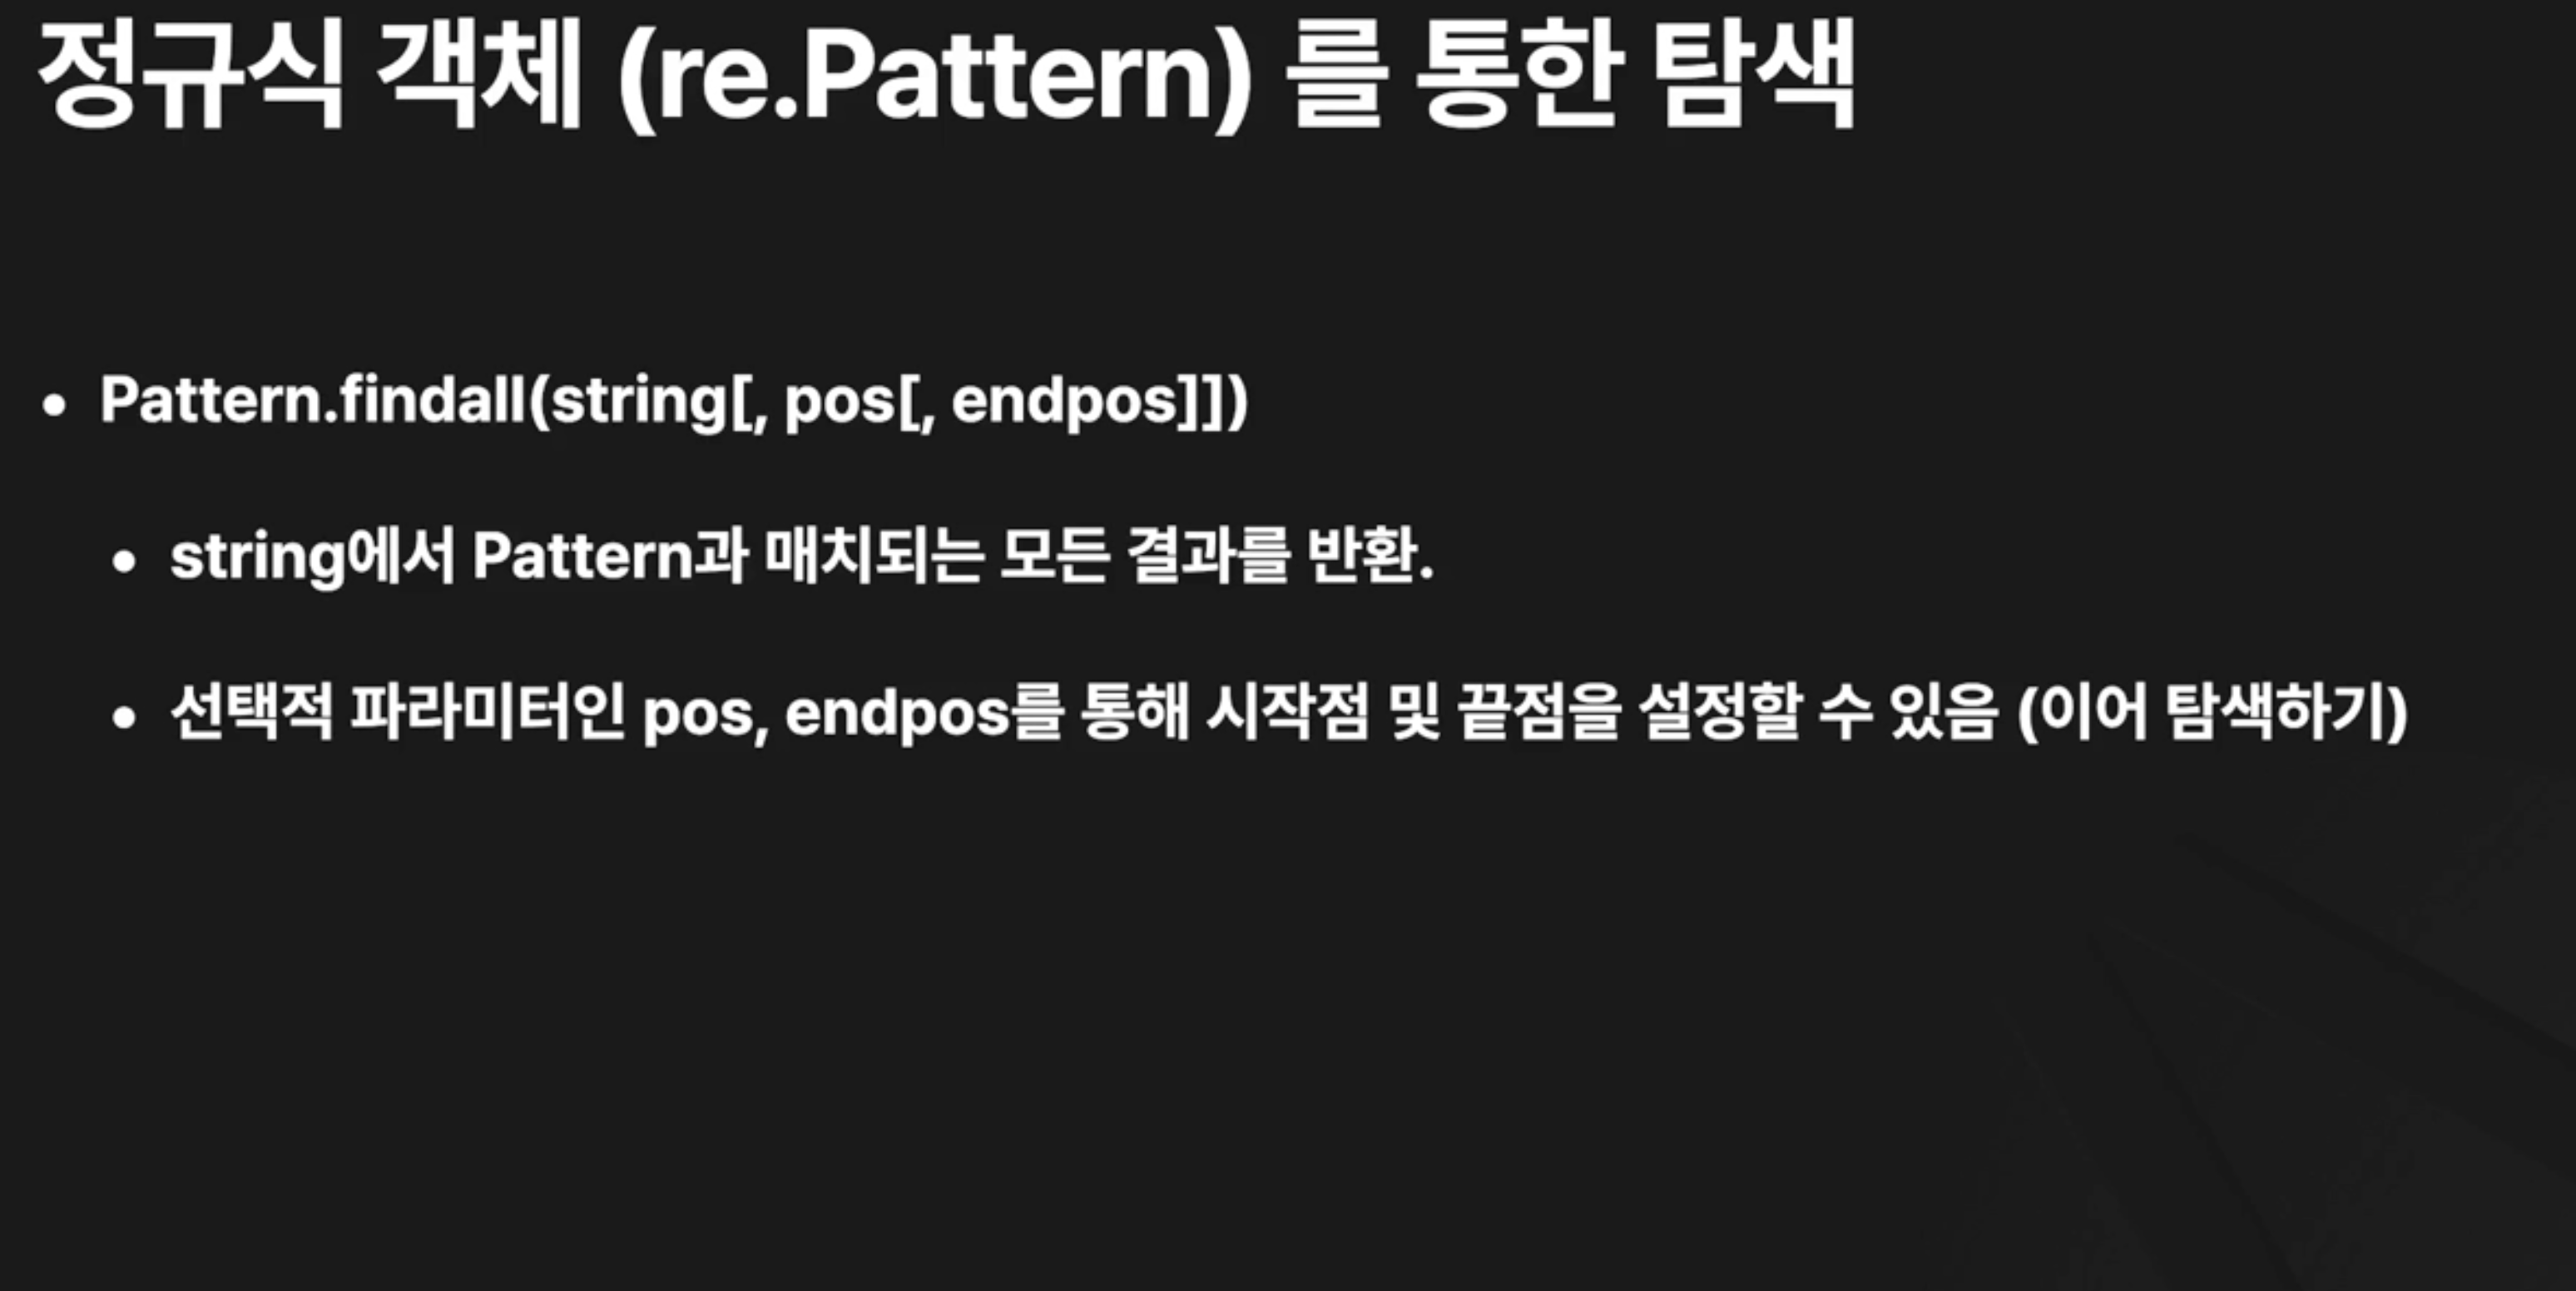

03. 정규 표현식 활용하기


csv 파일에서 4번째 값과 6번째 값 불러오기


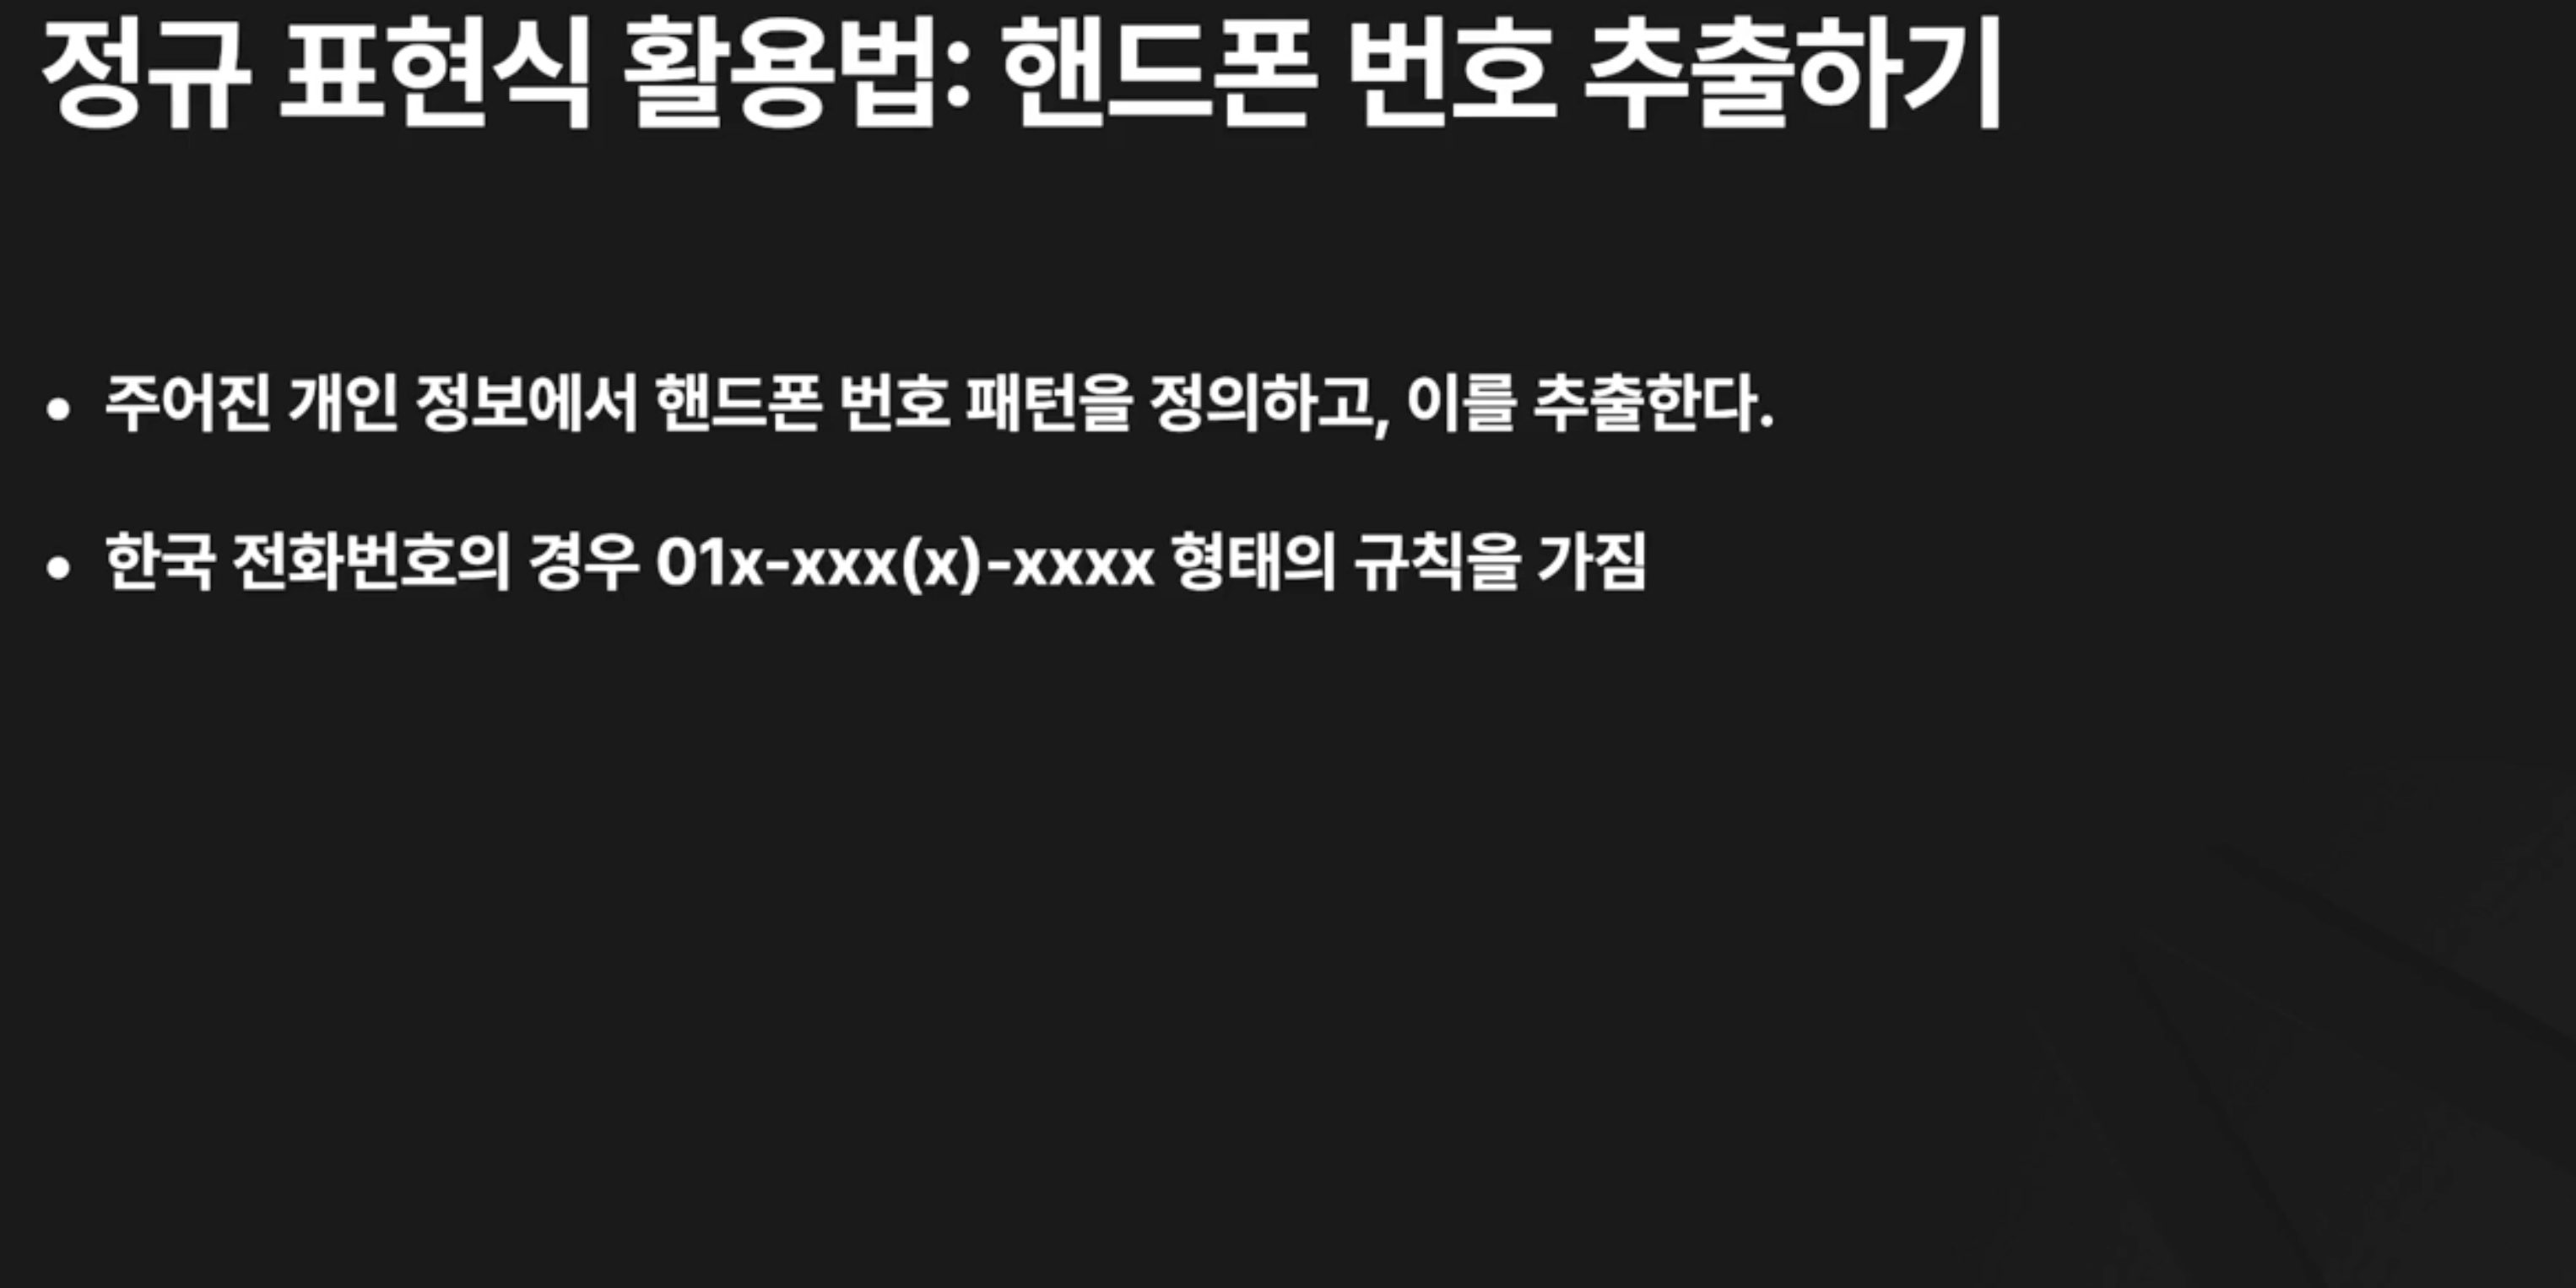
휴대폰 번호 마스킹하기


정규표현식 테스트 사이트: https://regexr.com/
엔진마다 문법이 약간 다를 수 있다.
python 이라면 PCRE 를 체크해서 체크한다.
파이썬에서 플래그를 썼던 것 처럼 /i (대소문자 구문 x) 플래그를 넣을 수 있다.
개인정보 데이터를 넣고 잘 동작하는지 확인해보자.

정규표현식 레퍼런스도 볼 수 있다.

Ch 9. 웹 개발 기초
Ch 10. 챗봇용 데이터 수집하기
01. 웹 크롤러와 웹 스크래퍼


사람이 수동으로 할 수도 있고, 봇으로 할 수도 있다.


데이터 수집 시 유의할 점
- 로봇 표준 준수
- 저작권 및 이용 정책 확인
- 서버 부하 최소화
- 개인 정보 보호
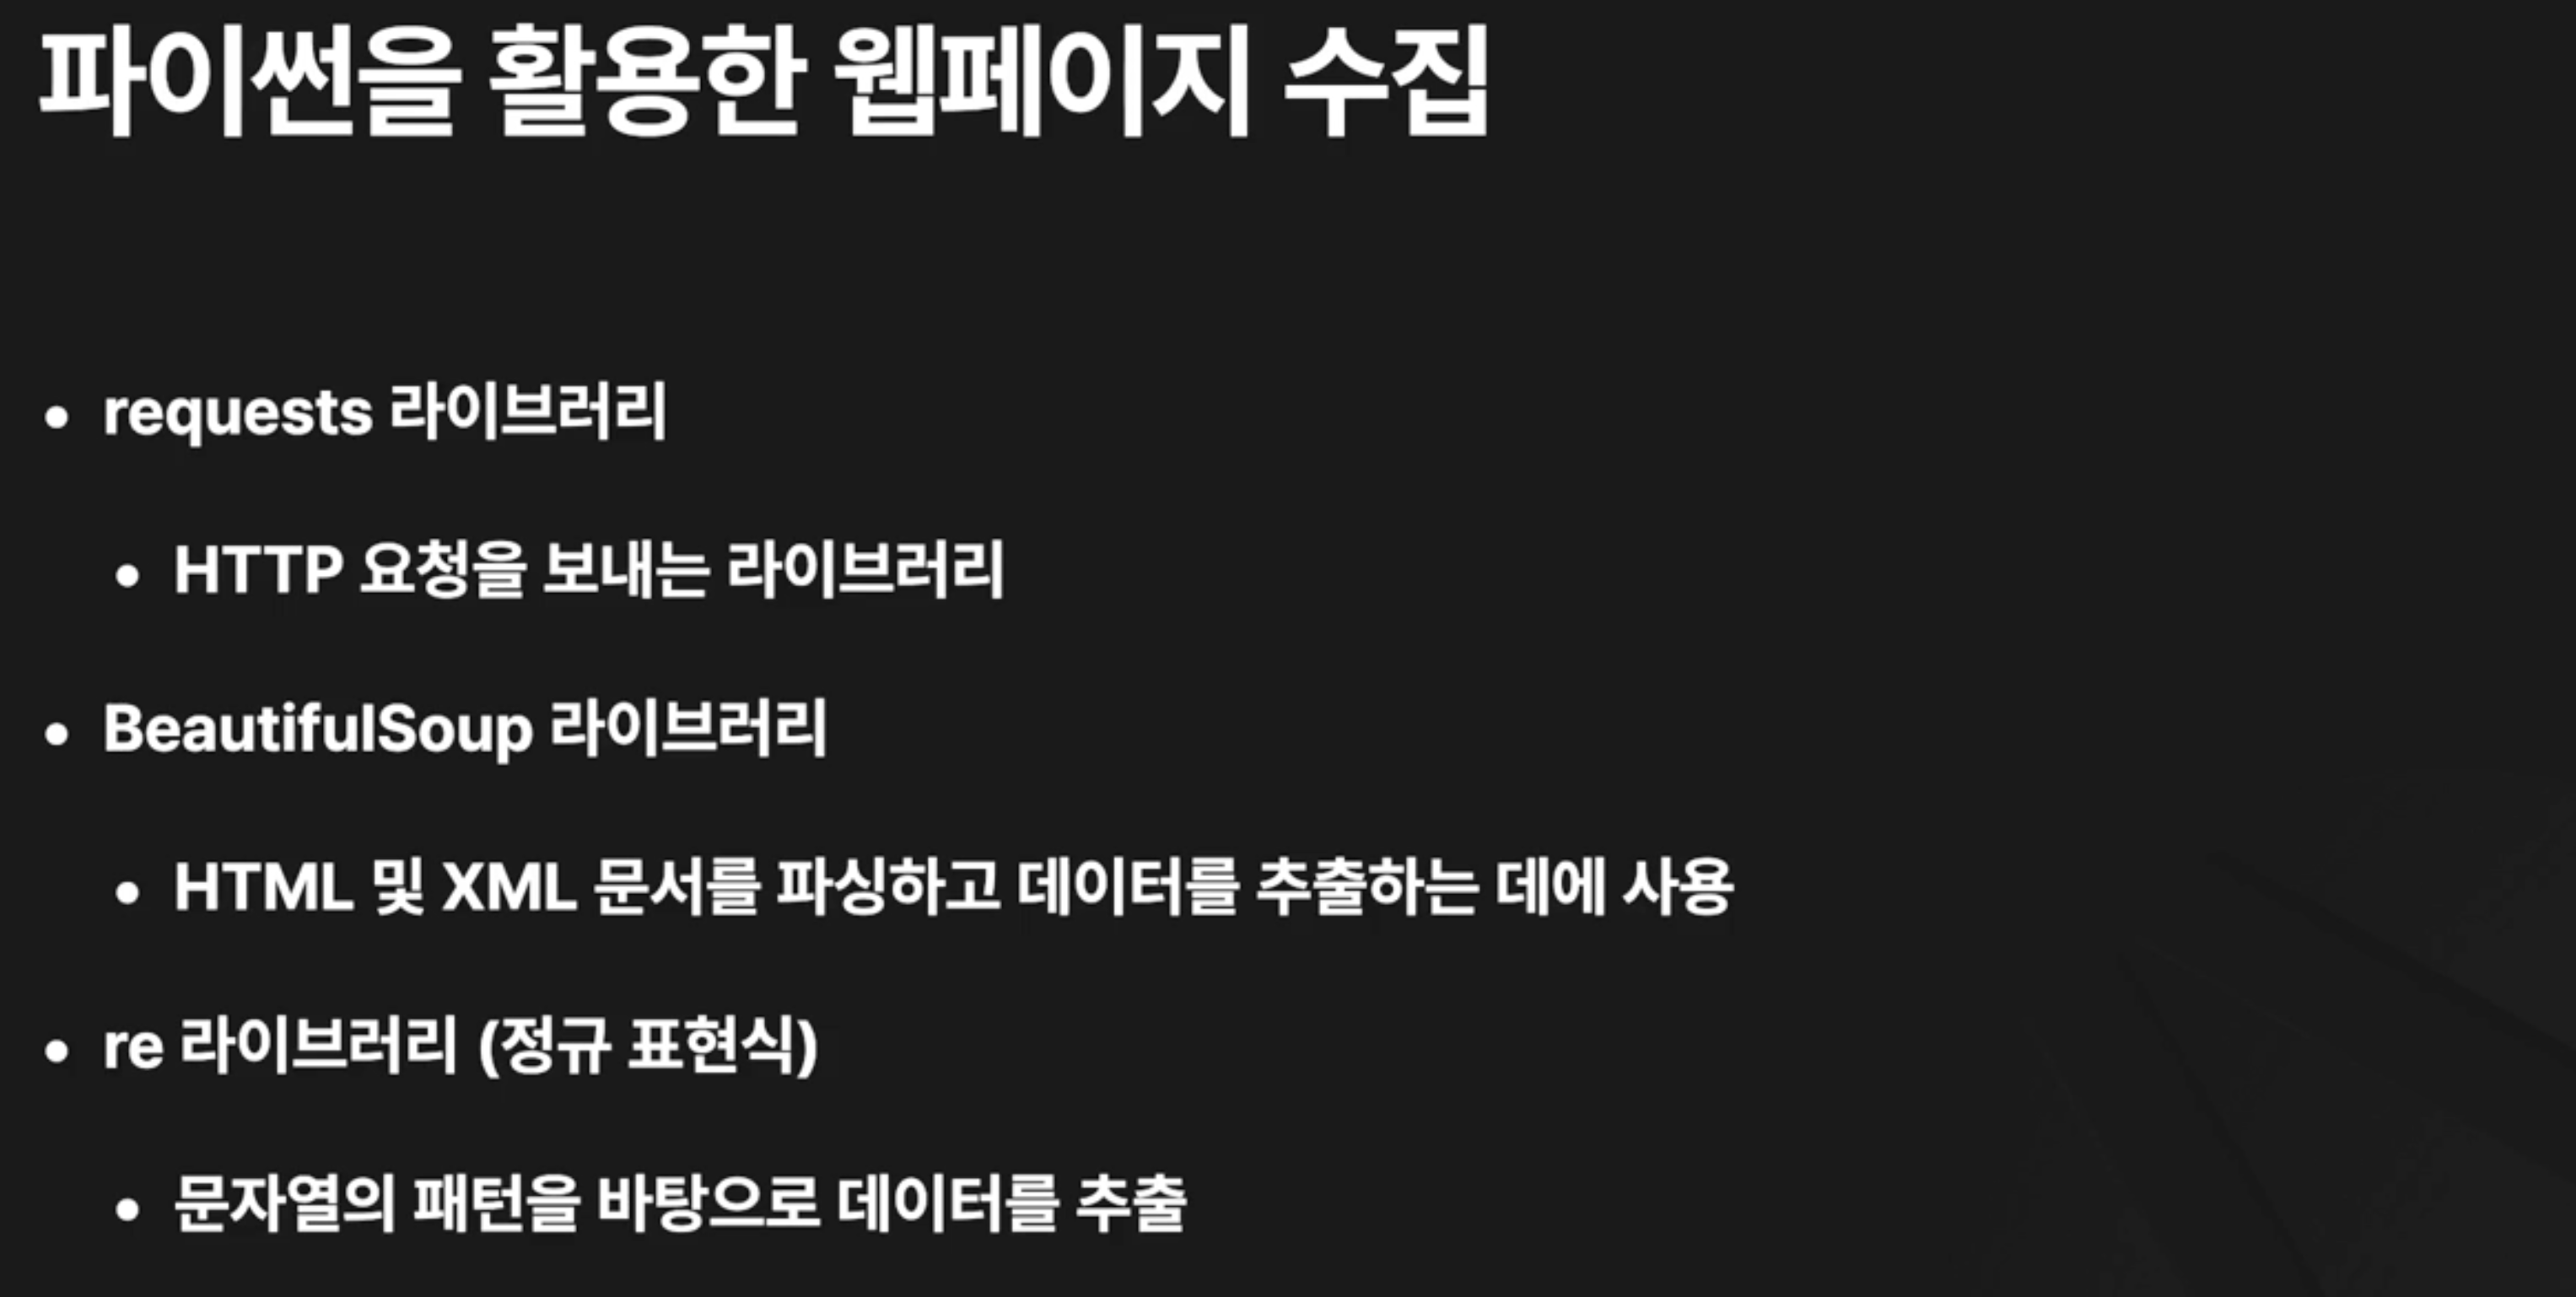
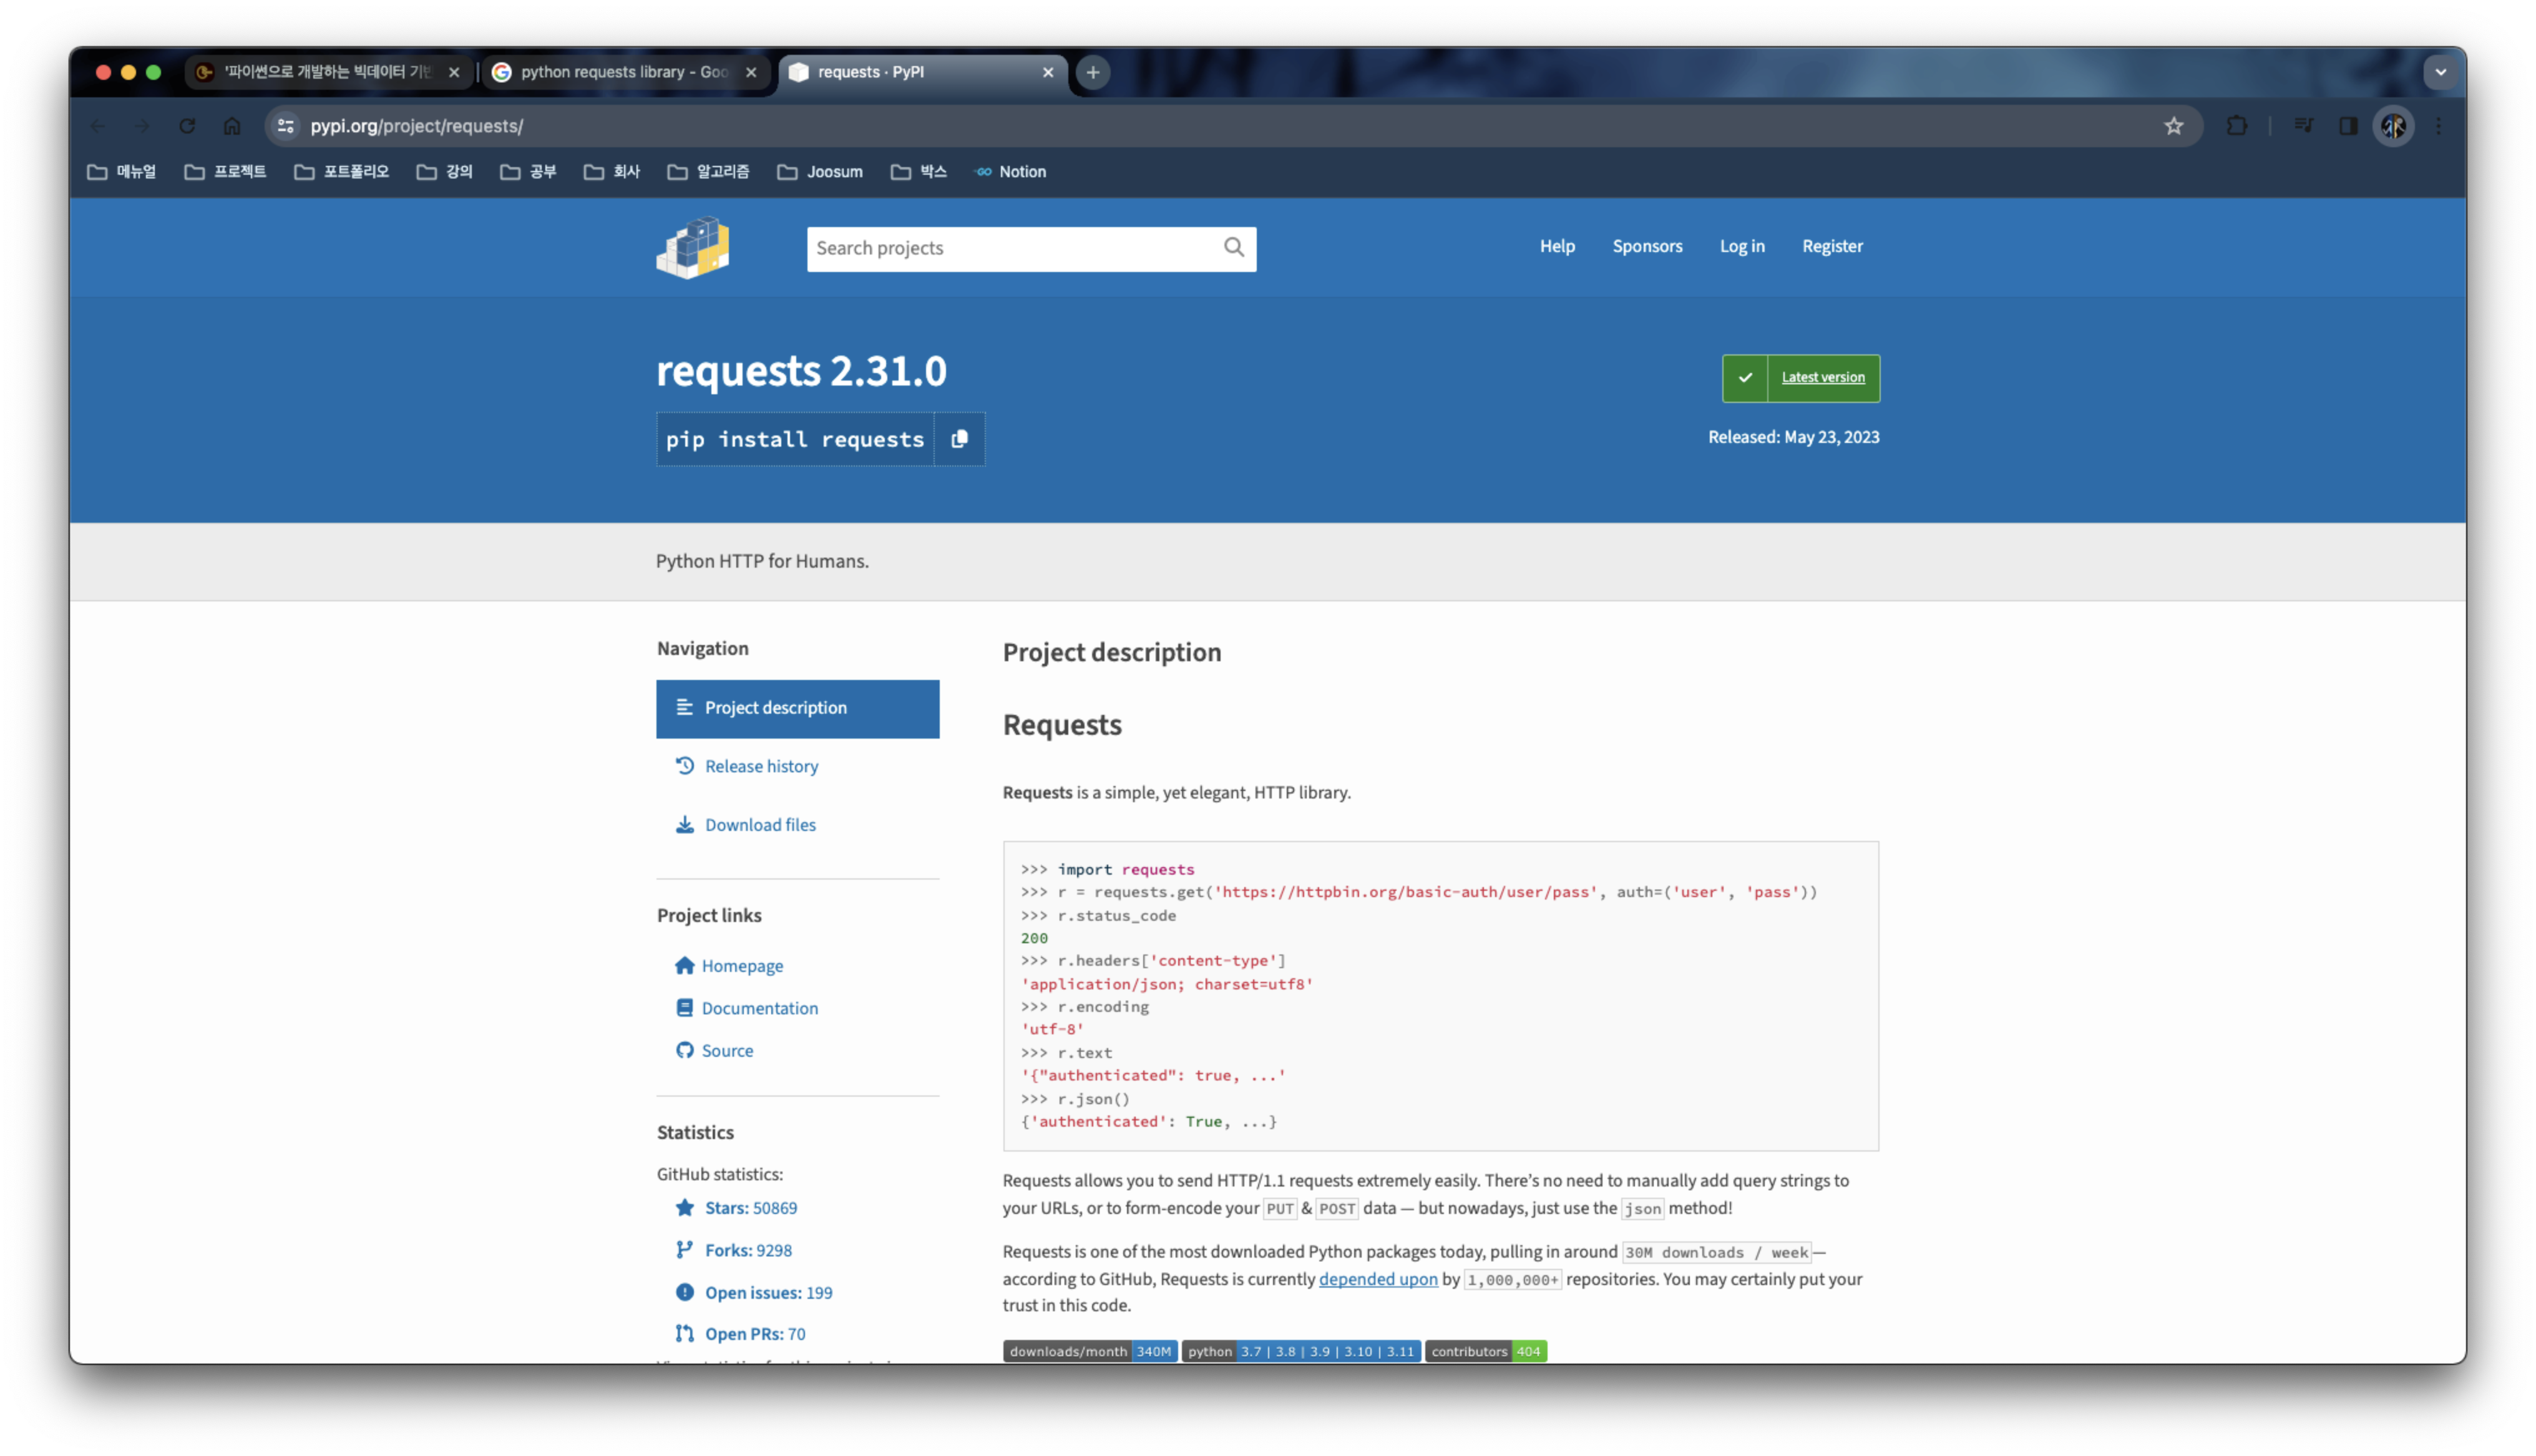
02. requests, BeautifulSoup 라이브러리 살펴보기
공식문서: https://pypi.org/project/requests/

Quickstart

beautiful soup 알아보기


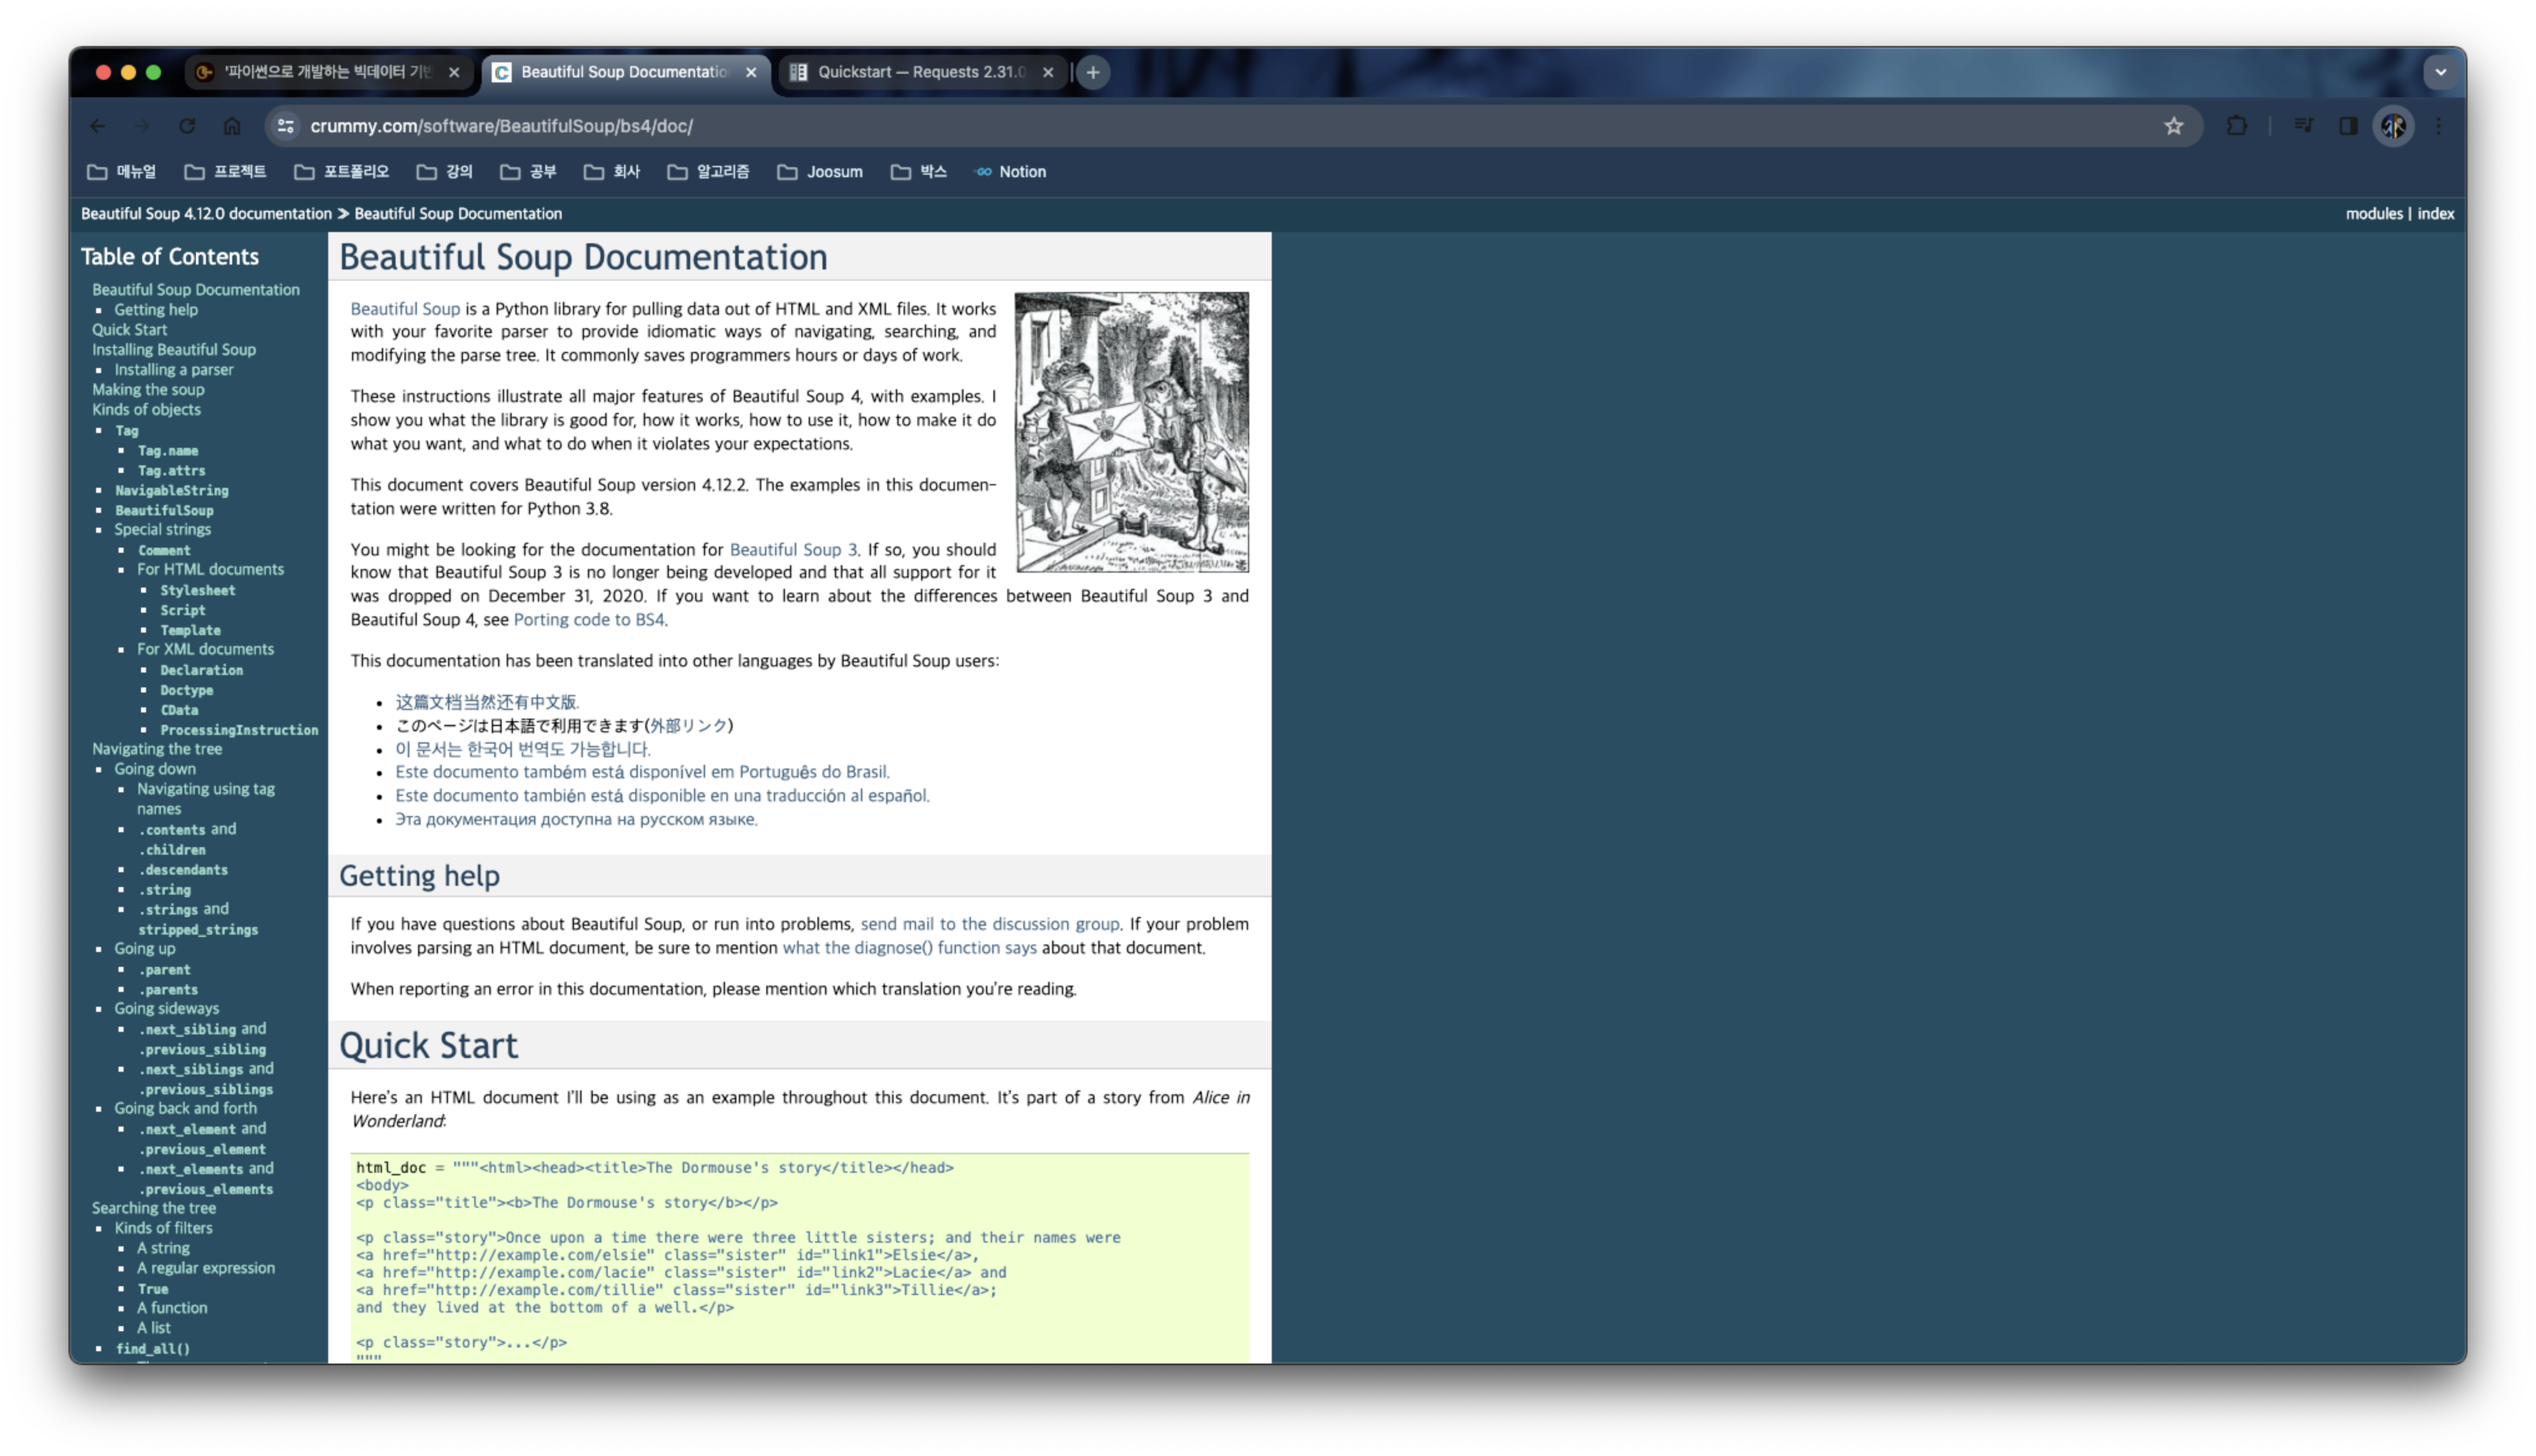
공식문서: https://www.crummy.com/software/BeautifulSoup/bs4/doc/

태그는 하나만 찾아온다.
모두 찾아오고 싶다면 find_all('a') 와 같이 쓴다.

이 내용들은 스크래퍼를 만들면서 다시 확인해볼 것이다.
03. 웹 페이지 가져오기
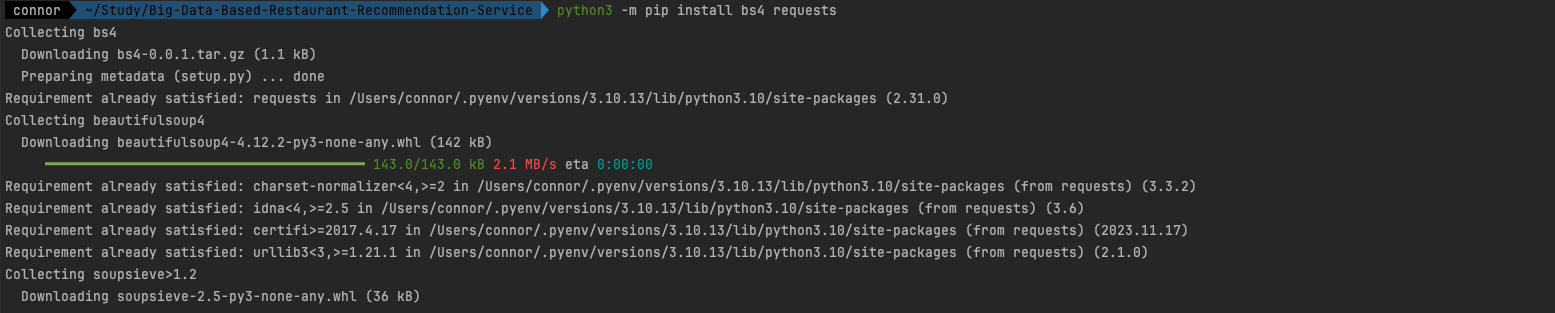
여러개의 라이브러리 함께 설치하기
python3 -m pip install bs4 requests
from bs4 import BeautifulSoup
import requests
url = 'https://www.musinsa.com/app/contents/onsale'
params = {
'd_cat_cd': '018',
'page_kind': 'onsale',
'list_kind': 'small',
'sort': 'pop_category',
'page': '1',
'display_cnt': '90',
'sale_fr_rate': '70',
'sale_yn': 'Y',
'sale_dt_yn': 'Y',
'sale_campaign_ym': 'N',
'chk_timesale': 'on',
}
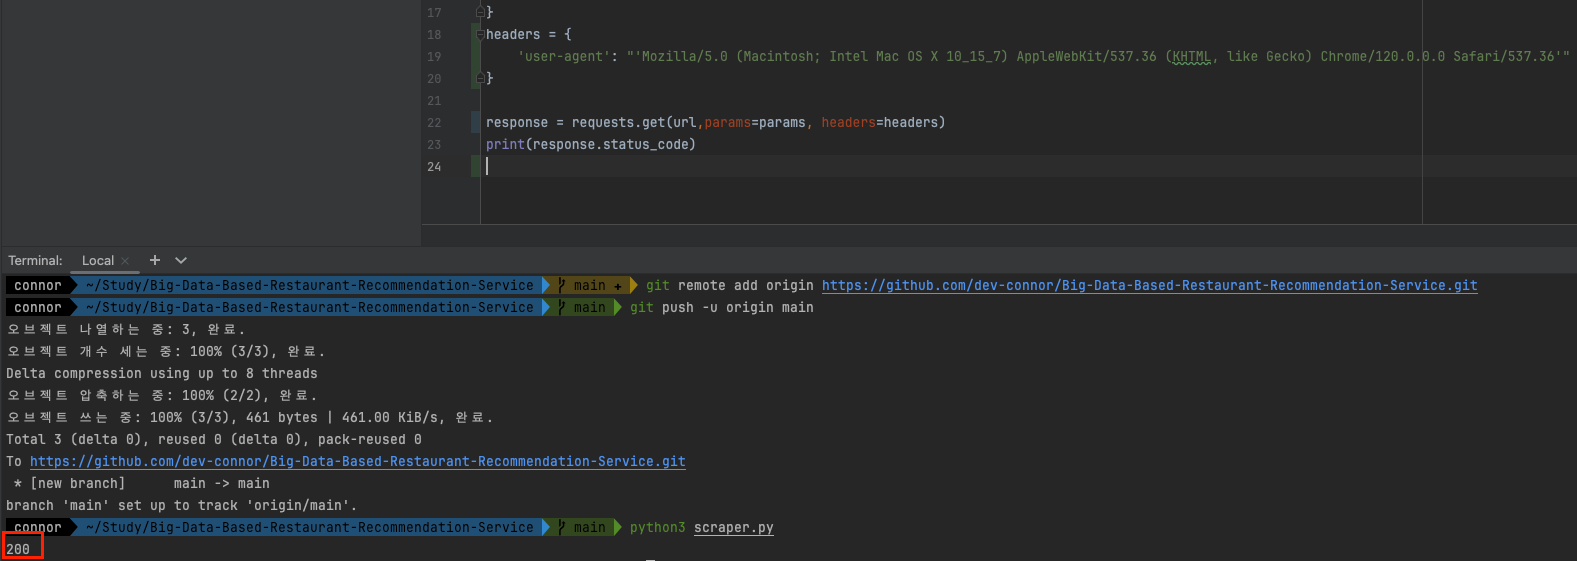
response = requests.get(url,params=params)
print(response.status_code)

기본적으로 사이트에서 차단해둔다.
대량의 봇들을 막기위해서이다.
웹브라우저가 보낸 것 처럼 유저 agent 값을 넣어야 한다.
개발자도구의 콘솔을 열고 navigator.userAgent 를 검색한다.

header 에 user-agent 값을 넣으면
response.text
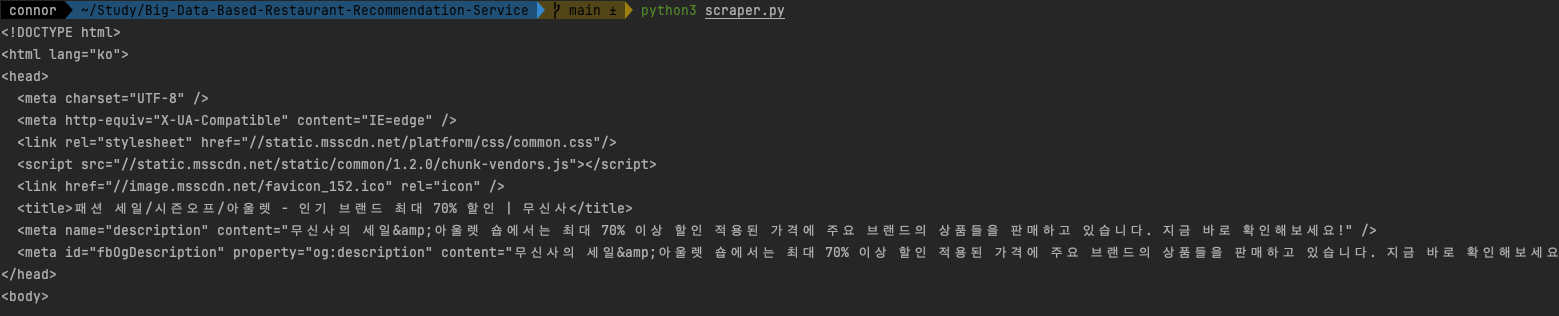
여기 상품 리스트부분을 가져와보자.

from bs4 import BeautifulSoup
import requests
url = 'https://www.musinsa.com/categories/item/018'
params = {
}
headers = {
'user-agent': "'Mozilla/5.0 (Macintosh; Intel Mac OS X 10_15_7) AppleWebKit/537.36 (KHTML, like Gecko) Chrome/120.0.0.0 Safari/537.36'"
}
response = requests.get(url, params=params, headers=headers)
soup = BeautifulSoup(response.text,'html.parser')
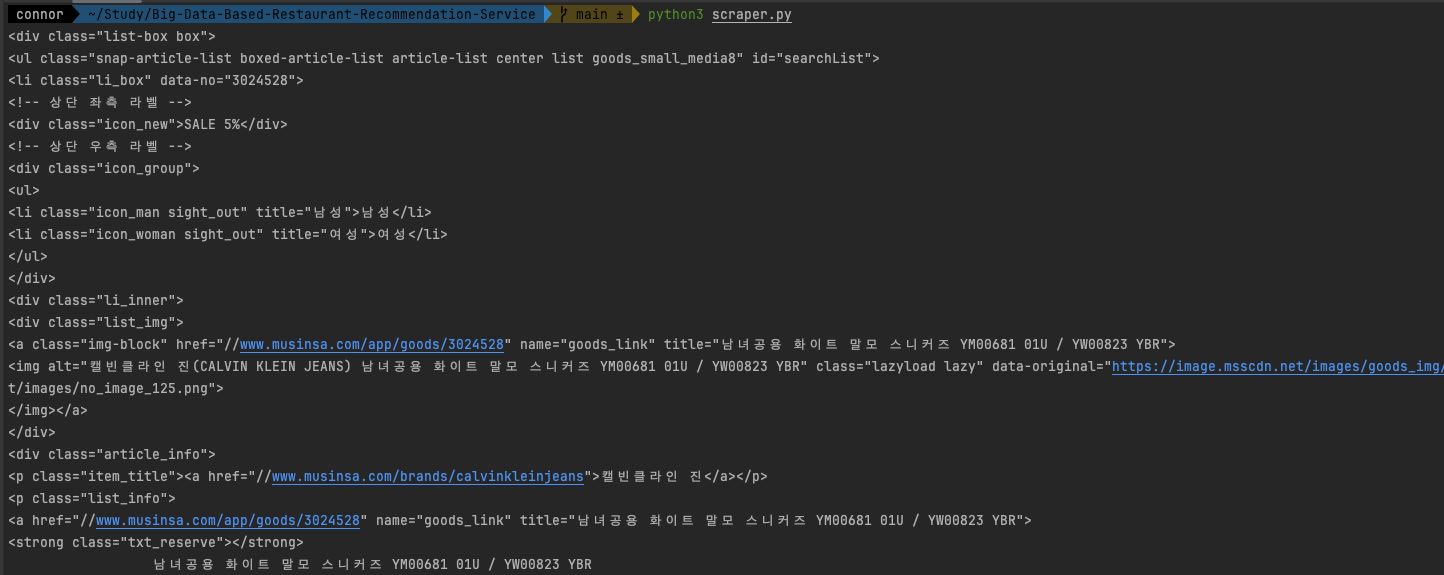
list_box = soup.find('div', class_='list-box')
print(list_box)
실행을 하면
response = requests.get(url, params=params, headers=headers)
soup = BeautifulSoup(response.text,'html.parser')
list_box = soup.find('div', class_='list-box')
item_boxes = list_box.find_all('li', class_='li_box')
for item_box in item_boxes:
    item_link = item_box.find('p',class_='list_info').findChild('a')
    name = item_link.text.strip()
    print(name)

for item_box in item_boxes:
    item_title = item_box.find('p', class_='item_title').findChild('a')
    brand = item_title.text

    item_link = item_box.find('p',class_='list_info').findChild('a')
    name = item_link.text.strip()
    url = item_link['href']

    item = {
        'brand': brand,
        'name': name,
        'url': url,
    }
    print(item)

가격 가져오기
    item_price = item_box.find('p',class_='price')

    prices = re.findall(r'[\d,]+원',item_price.text)
    print(prices)

정규표현식은 컴파일해서 쓰는 것이 더 좋으므로 아래와 같이 수정하면,
price_pattern = re.compile(r'[\d,]+원')

for item_box in item_boxes:
    item_title = item_box.find('p', class_='item_title').findChild('a')
    brand = item_title.text

    item_link = item_box.find('p',class_='list_info').findChild('a')
    name = item_link.text.strip()
    url = item_link['href']

    item_price = item_box.find('p',class_='price')
    prices = price_pattern.findall(item_price.text)

    img_box = item_box.find('div',class_='list_img').find('img')
    print(img_box['data-original'])

최종코드
from bs4 import BeautifulSoup
import requests
import re
# https://www.musinsa.com/categories/item/018?d_cat_cd=018&brand=&list_kind=small&sort=pop_category&sub_sort=&page=1&display_cnt=90&group_sale=&exclusive_yn=&sale_goods=×ale_yn=Y&ex_soldout=&plusDeliveryYn=&kids=&color=&price1=&price2=&shoeSizeOption=&tags=&campaign_id=&includeKeywords=&measure=
url = 'https://www.musinsa.com/categories/item/018'
params = {
'd_cat_cd':'018',
'list_kind':'small',
'sort':'pop_category',
'page':'1',
'display_cnt':'90',
'timesale_yn':'Y',
}
headers = {
'user-agent': "'Mozilla/5.0 (Macintosh; Intel Mac OS X 10_15_7) AppleWebKit/537.36 (KHTML, like Gecko) Chrome/120.0.0.0 Safari/537.36'"
}
response = requests.get(url, params=params, headers=headers)
soup = BeautifulSoup(response.text,'html.parser')
list_box = soup.find('div', class_='list-box')
item_boxes = list_box.find_all('li', class_='li_box')
price_pattern = re.compile(r'[\d,]+원')
for item_box in item_boxes:
item_title = item_box.find('p', class_='item_title').findChild('a')
brand = item_title.text
item_link = item_box.find('p',class_='list_info').findChild('a')
name = item_link.text.strip()
url = item_link['href']
item_price = item_box.find('p',class_='price')
prices = price_pattern.findall(item_price.text)
img_box = item_box.find('div',class_='list_img').find('img')
item = {
'brand': brand,
'name': name,
'url': 'https:' + url,
'original_price': prices[0],
'sale_price': prices[1],
'image':img_box['data-original'],
}
print(item)

04. 코드 정리하기
from bs4 import BeautifulSoup
import requests
import re
class Scraper:
def __init__(self):
# https://www.musinsa.com/categories/item/018?d_cat_cd=018&brand=&list_kind=small&sort=pop_category&sub_sort=&page=1&display_cnt=90&group_sale=&exclusive_yn=&sale_goods=×ale_yn=Y&ex_soldout=&plusDeliveryYn=&kids=&color=&price1=&price2=&shoeSizeOption=&tags=&campaign_id=&includeKeywords=&measure=
self.__url = 'https://www.musinsa.com/categories/item/018'
self.__params = {
'd_cat_cd':'018',
'list_kind':'small',
'sort':'pop_category',
'page':'1',
'display_cnt':'90',
# 'timesale_yn':'Y',
}
self.__headers = {
'user-agent': "'Mozilla/5.0 (Macintosh; Intel Mac OS X 10_15_7) AppleWebKit/537.36 (KHTML, like Gecko) Chrome/120.0.0.0 Safari/537.36'"
}
self.__price_pattern = re.compile(r'[\d,]+원')
def do(self):
response = requests.get(self.__url, params=self.__params, headers=self.__headers)
soup = BeautifulSoup(response.text, 'html.parser')
list_box = soup.find('div', class_='list-box')
item_boxes = list_box.find_all('li', class_='li_box')
result = []
for item_box in item_boxes:
# 브랜드명 가져오기
item_title = item_box.find('p', class_='item_title').findChild('a')
brand = item_title.text
# 아이템 이름, URL 가져오기
item_link = item_box.find('p', class_='list_info').findChild('a')
name = item_link.text.strip()
url = 'https:' + item_link['href']
# 가격정보 가져오기
item_price = item_box.find('p', class_='price')
prices = self.__price_pattern.findall(item_price.text)
sale_price = prices[1] if len(prices) >= 2 else prices[0]
# 이미지 가져오기
img_box = item_box.find('div', class_='list_img').find('img')['data-original']
item = {
'brand': brand,
'name': name,
'url': url,
'original_price': prices[0],
'sale_price': sale_price,
'image': img_box,
}
result.append(item)
return result
if __name__ == '__main__':
scraper = Scraper()
items = scraper.do()
print(items)

Ch 11. 챗봇 제작하기
01. 챗봇이란
제작할 디스코드 챗봇을 살펴보자.
discord.py 라이브러리도 살펴보자.
챗봇 (Chatbot)


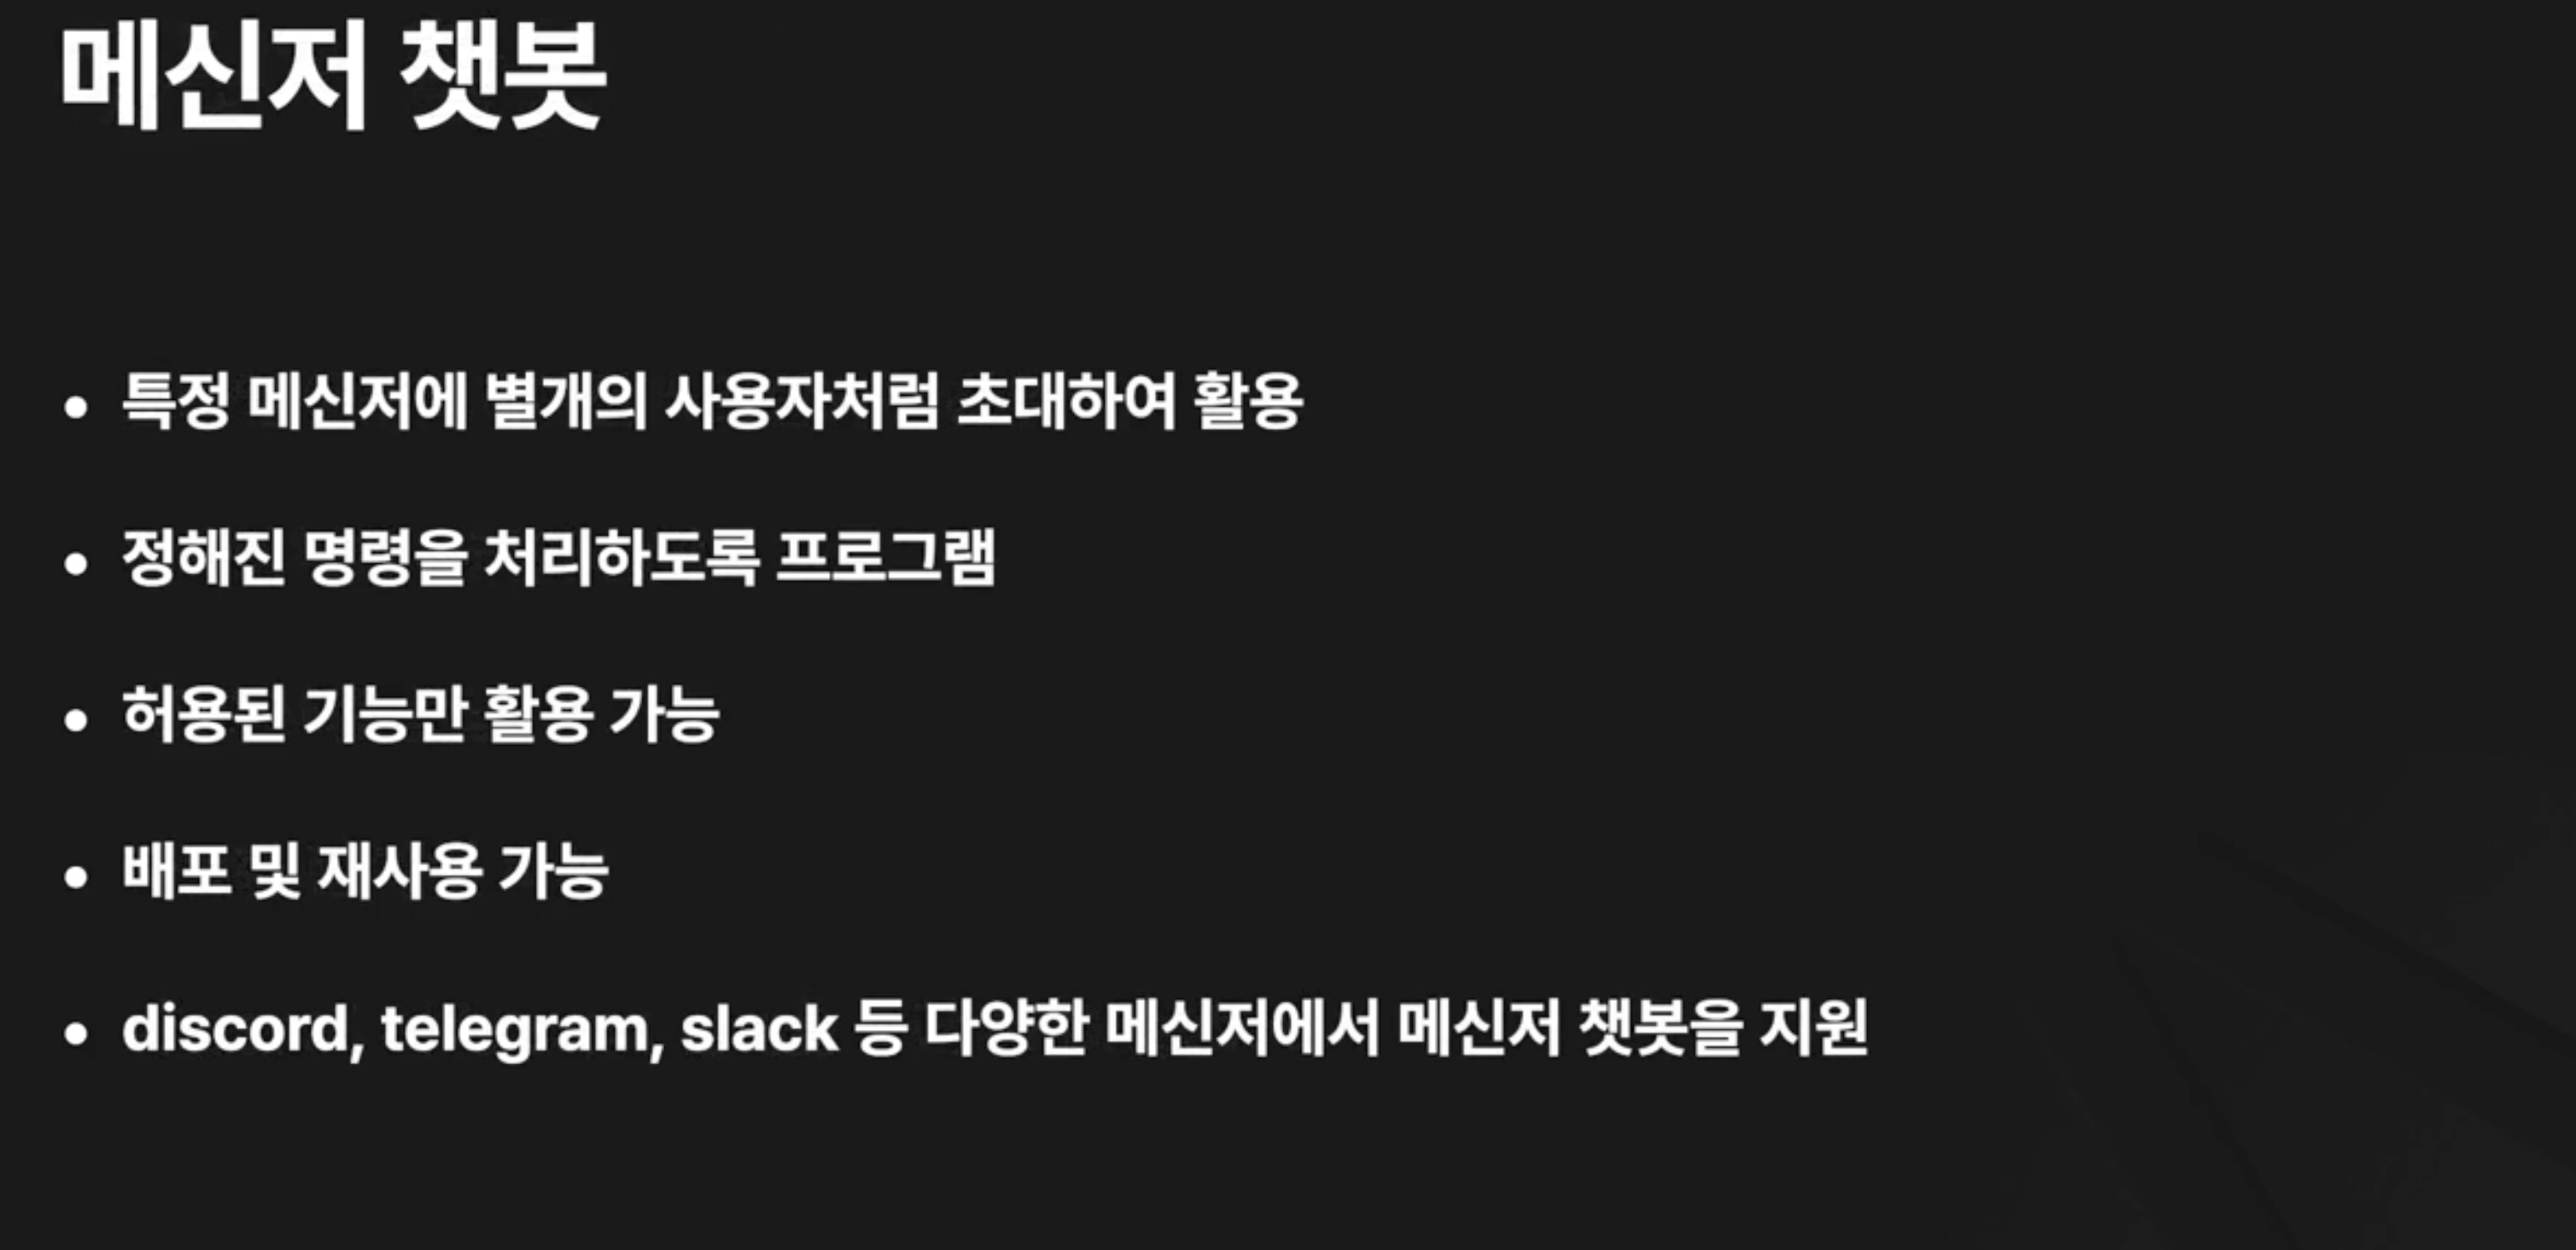
02. 디스코드 챗봇 등록하기
디스코드 개발자 사이트: https://discord.com/developers/docs/intro

create app 을 한 후

왼쪽의 사이드메뉴의 bot 으로 접근한다.
봇의 사용량에 따라 실제 과금이 일어나므로 토큰 값은 유출되지 않아야 한다.
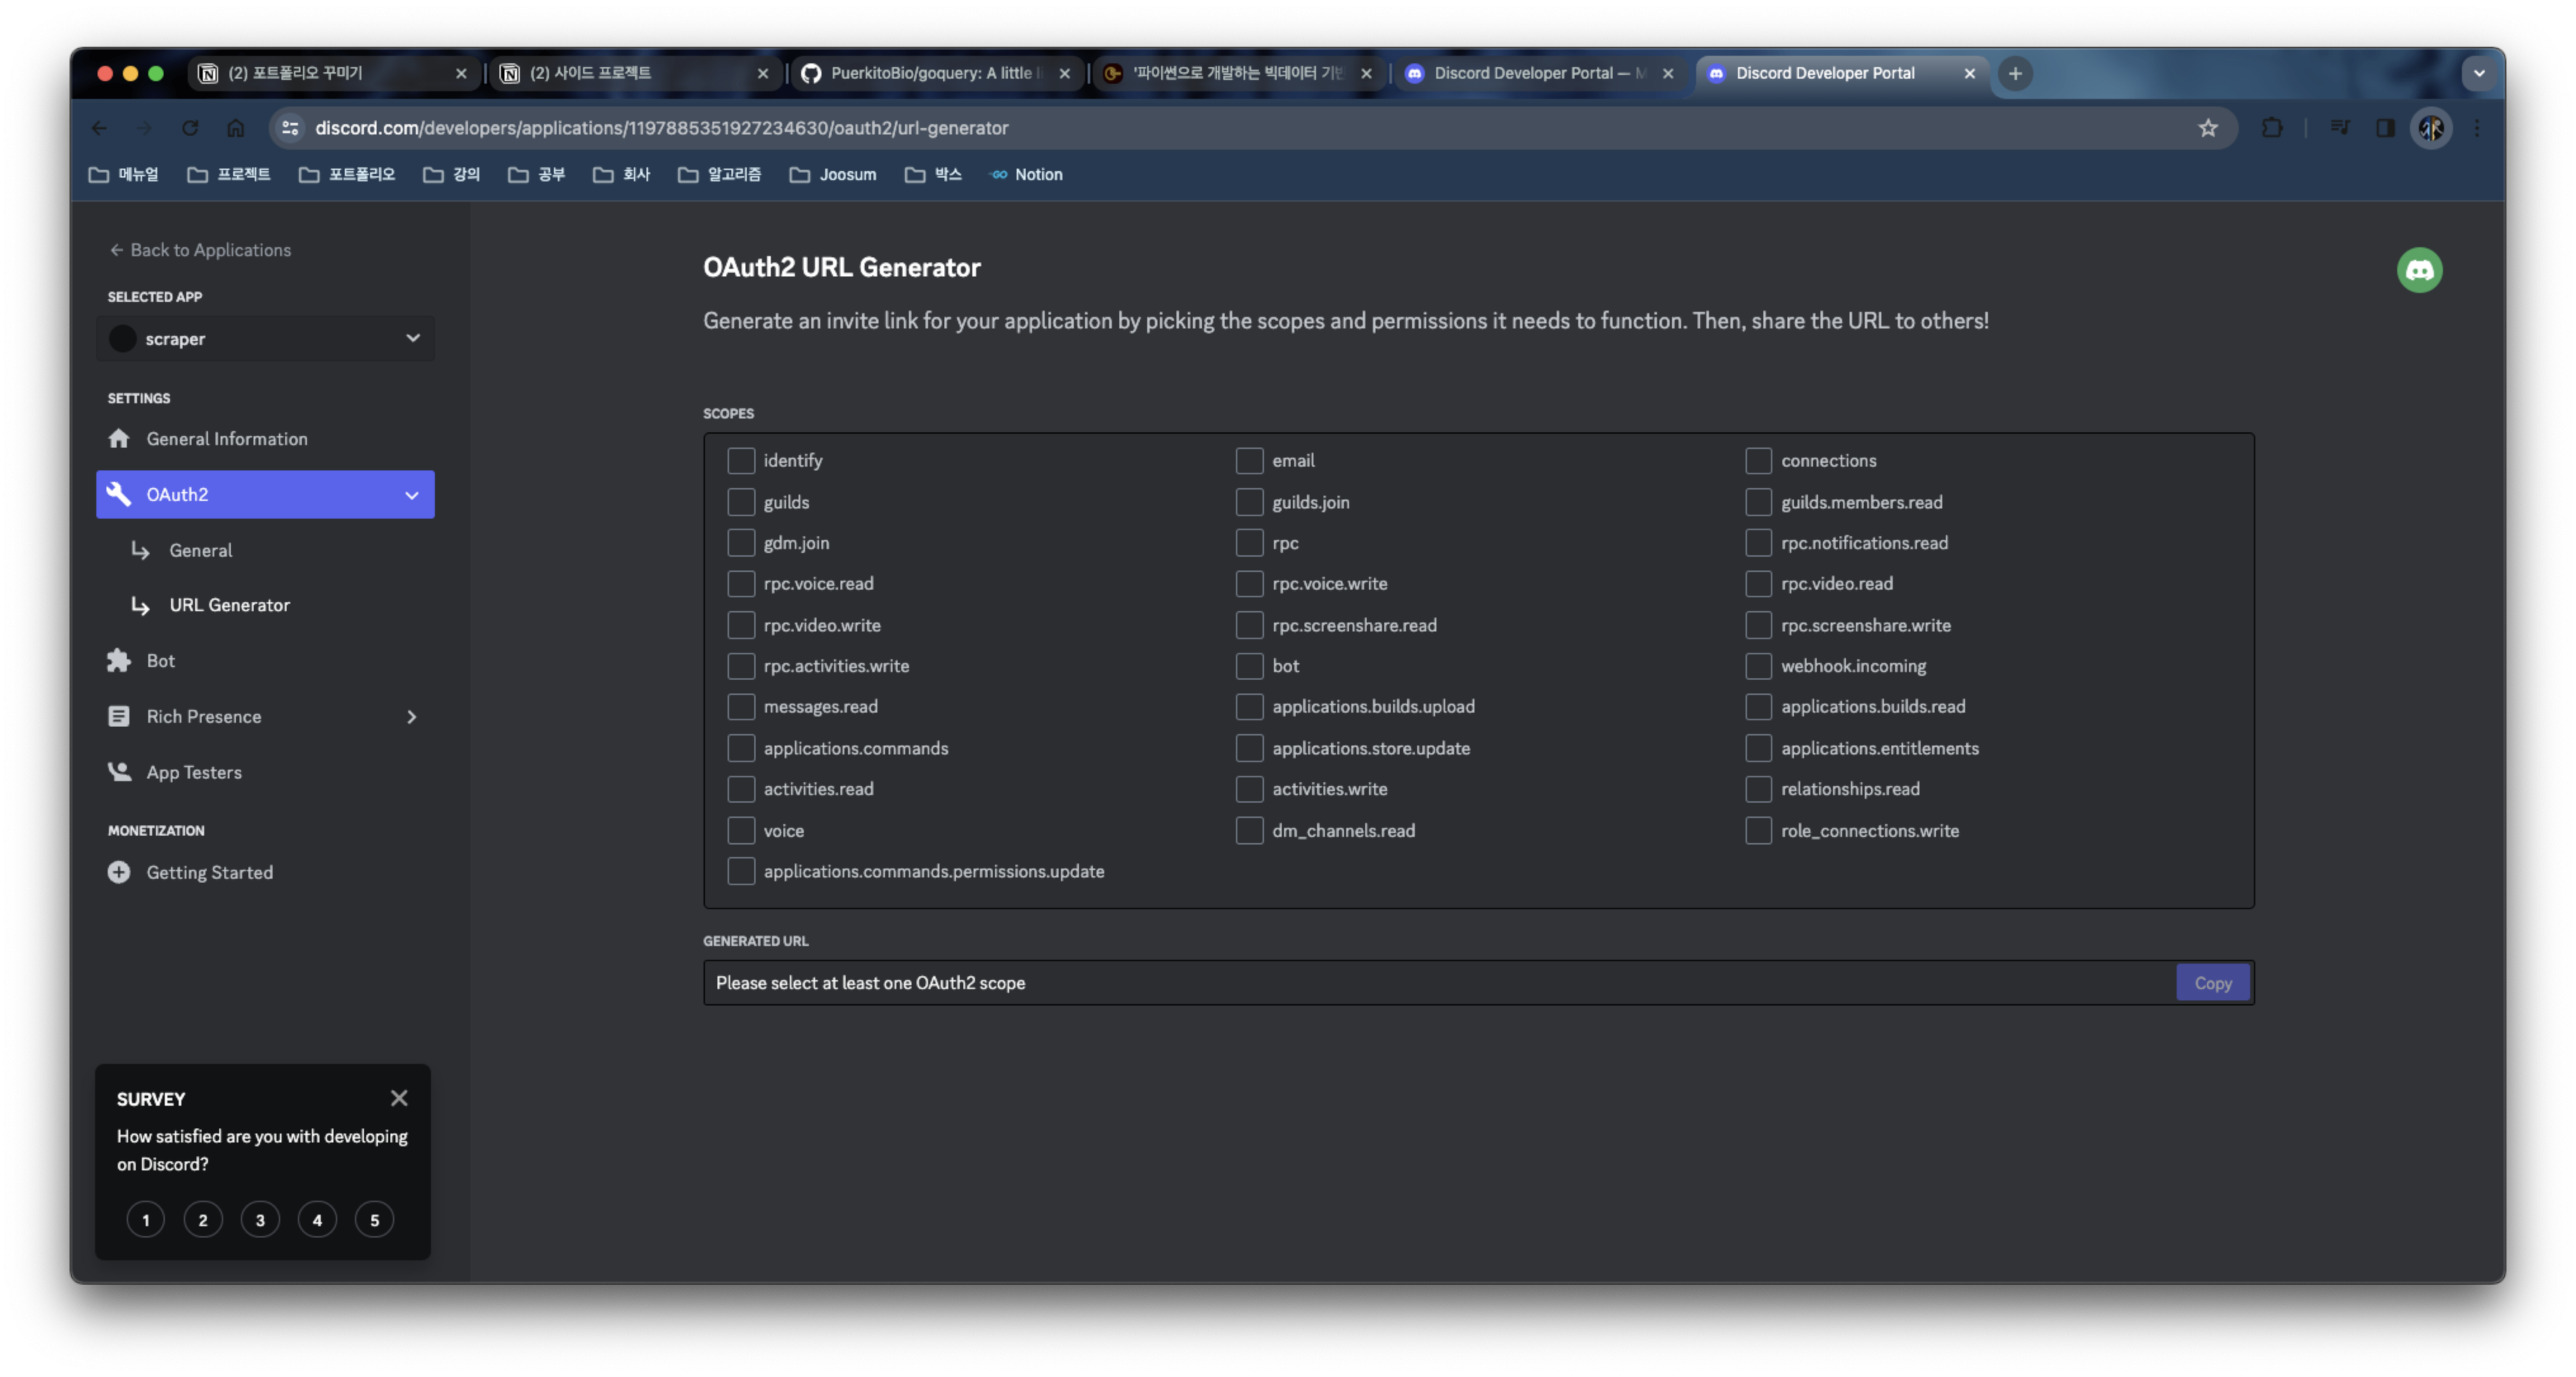
OAuth2 로 이동 후 URL 제네레이터로 이동한다.
bot scope 를 추가한다.
send message 를 보내는 기능을 허용한다.

bot 과 send message 만 체크한다.
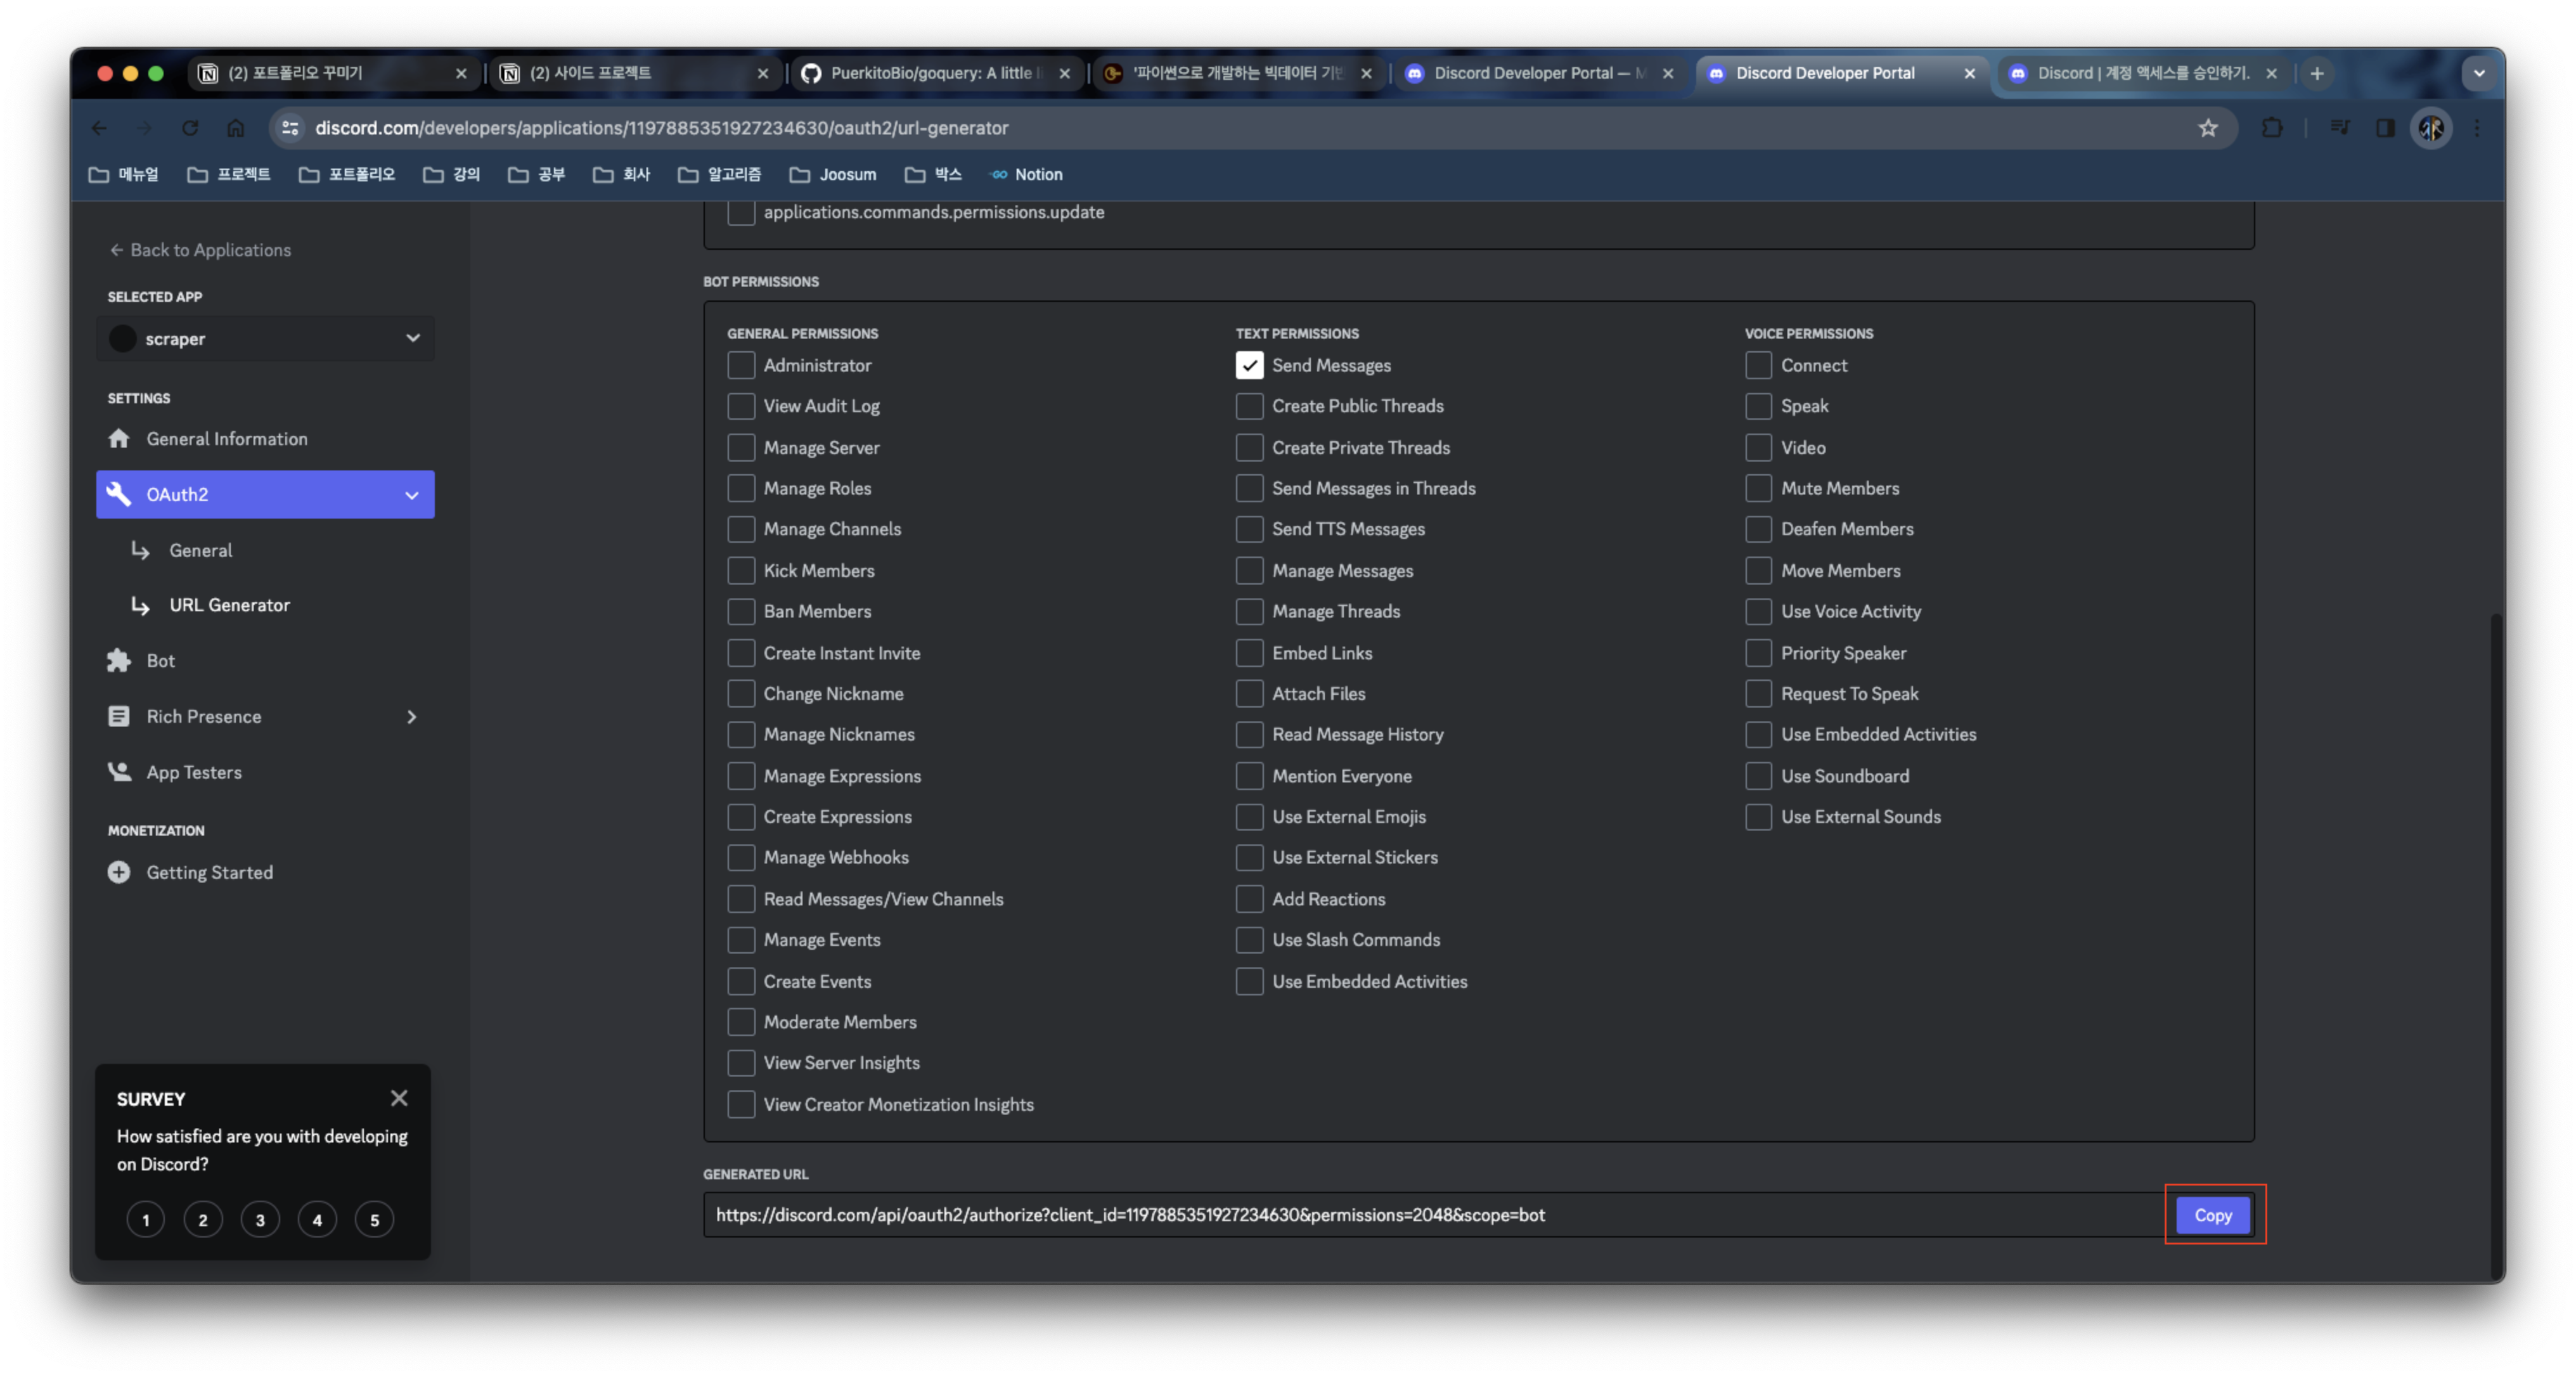
아래 url 을 복사해 새로운 링크로 열면 봇을 서버에 추가할 수 있다.
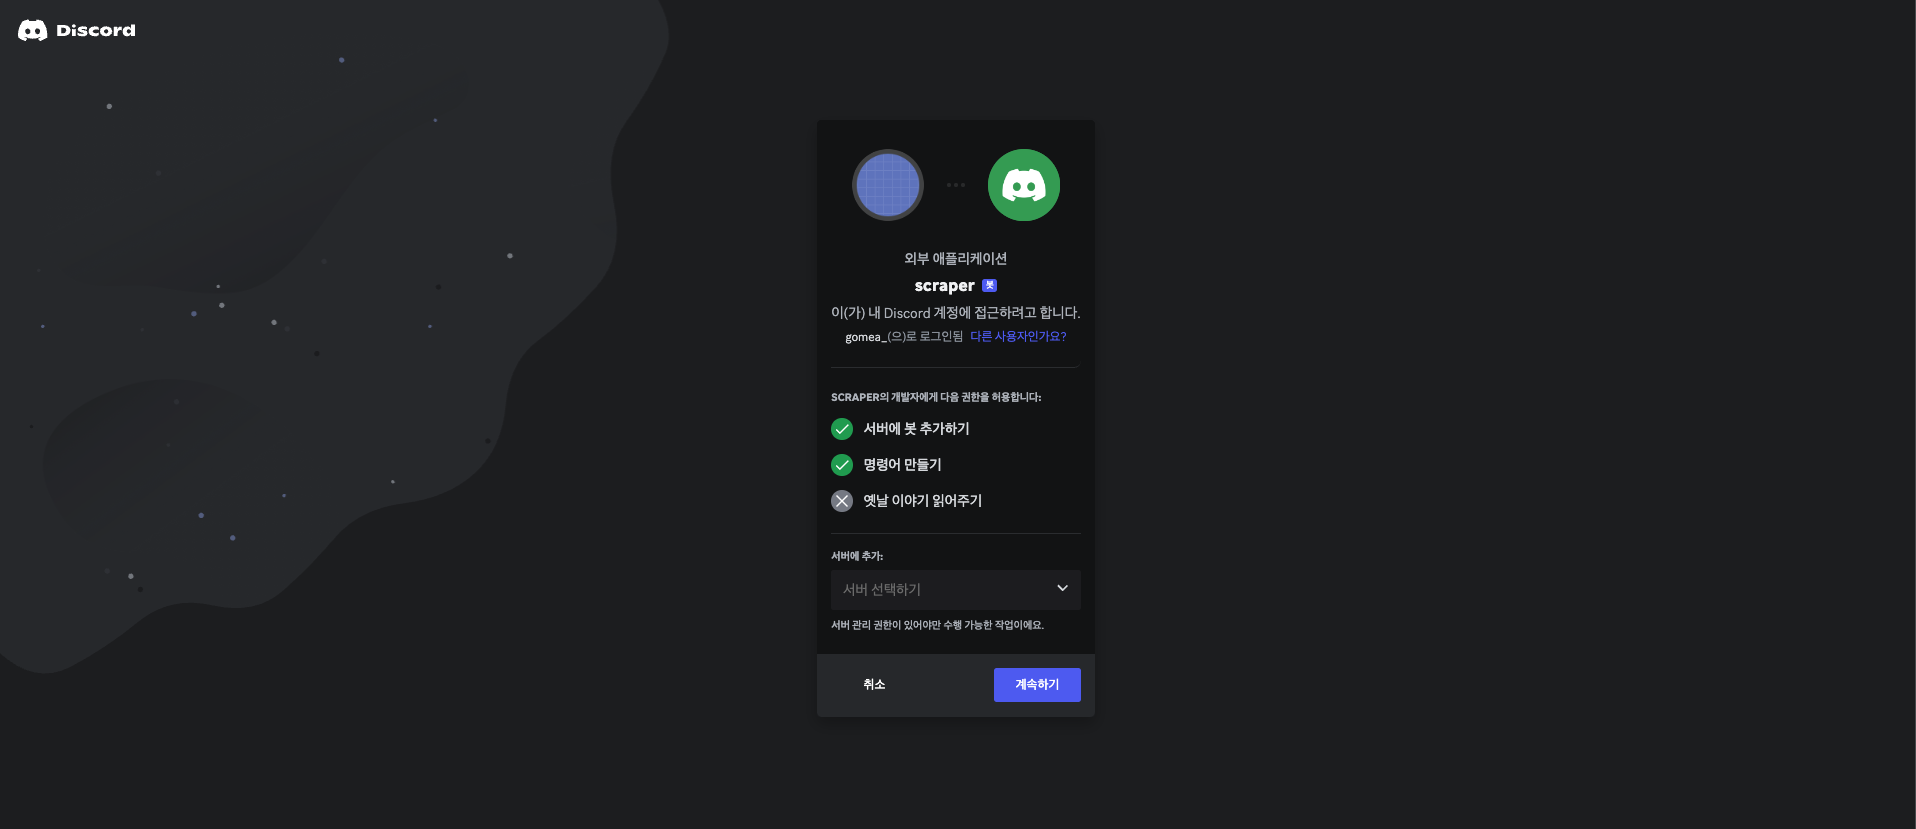

이어서 애플리케이션을 봇에 추가해보자.
봇에게 파이썬 코드를 집어넣기 위해 discord.py 를 사용해보자.
03. 챗봇 기능 연동하기
사이드탭의 Bot 으로 넘어가보자.
공식문서: https://discordpy.readthedocs.io/en/stable/#
설치
python3 -m pip install -U discord.py

minimal bot 코드를 복사해 실행해보자.

권한을 모두 준 후 변경사항을 저장해준다.

메서드
on_ready: 봇이 사용가능해졌을 때 메시지 출력
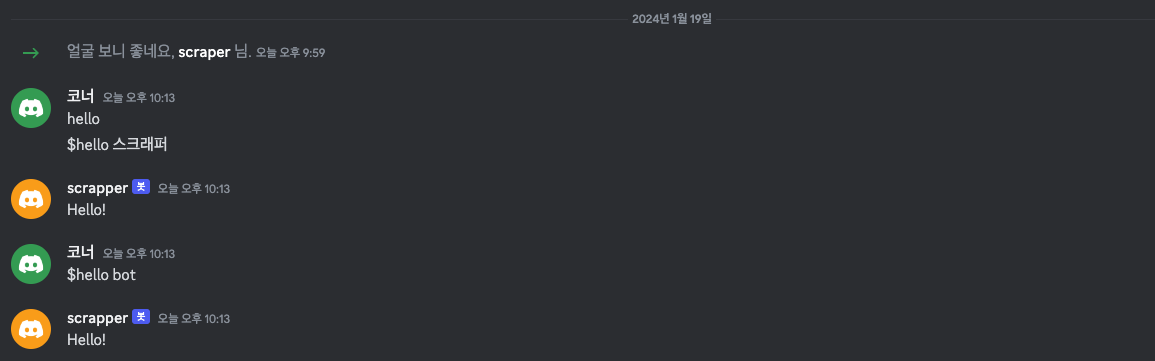
on_message: 봇이 있는 채널에서 메시지가 전달되었을 때 실행되는 함수
$hello 로 시작하는 메시지를 보내면

임베드라고 하는 타입의 객체를 사용해보자.

embed 메뉴얼: https://discordpy.readthedocs.io/en/stable/api.html?highlight=embed#discord.Embed

디스코드 메뉴얼에서 embed 타입의 종류를 볼 수 있다.

우리는 rich 라는 타입을 사용해 볼 것 이다.
@client.event
async def on_message(message):
if message.author == client.user:
return
if message.content.startswith('$hello'):
await message.channel.send('Hello!')
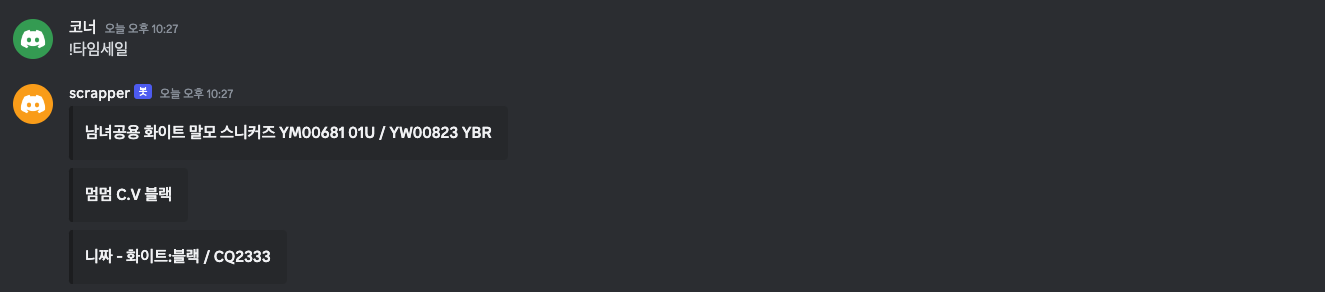
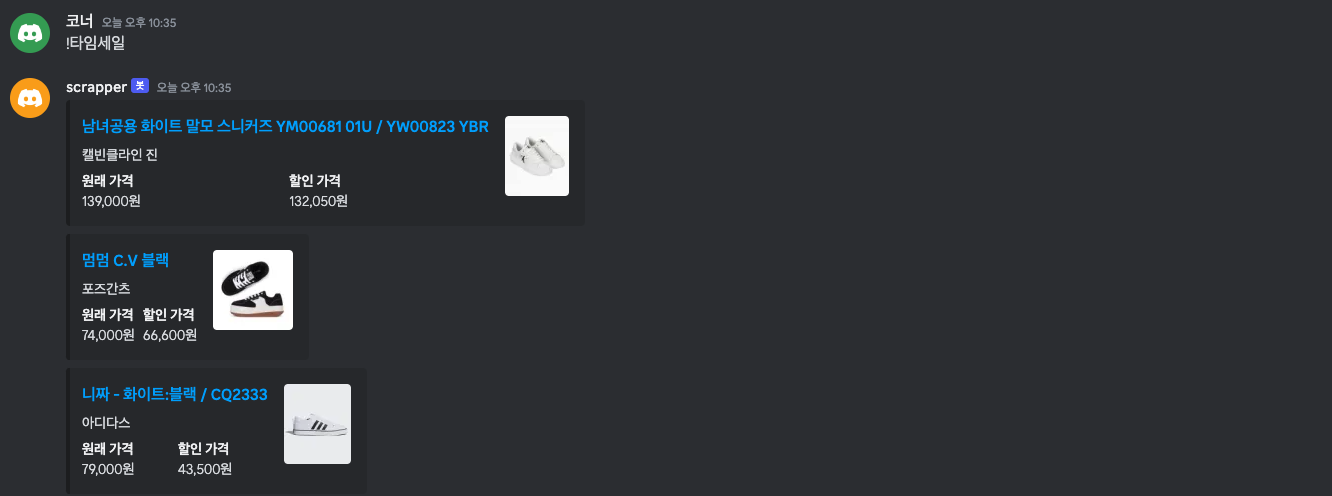
if message.content.startswith('!타임세일'):
# 무신사 타임세일 결과를 출력한다.
scraper = Scraper()
results = scraper.do()
for item in results:
embed = discord.Embed(type='rich', title=item['name'])
embed.description = item['brand']
embed.set_thumbnail(url=item['image'])
embed.url = item['url']
await message.channel.send(embed=embed)

마지막으로 가격정보를 추가해보자.
bot.py 전체코드
# This example requires the 'message_content' intent.

import discord
from scraper import Scraper

intents = discord.Intents.default()
intents.message_content = True

client = discord.Client(intents=intents)

@client.event
async def on_ready():
    print(f'We have logged in as {client.user}')

@client.event
async def on_message(message):
    if message.author == client.user:
        return

    if message.content.startswith('$hello'):
        await message.channel.send('Hello!')

    if message.content.startswith('!타임세일'):
        # 무신사 타임세일 결과를 출력한다.
        scraper = Scraper()
        results = scraper.do()

        for item in results:
            embed = discord.Embed(type='rich', title=item['name'])
            embed.description = item['brand']
            embed.set_thumbnail(url=item['image'])
            embed.url = item['url']
            embed.add_field(name='원래 가격',value=item['original_price'],inline=True)
            embed.add_field(name='할인 가격',value=item['sale_price'],inline=True)

            await message.channel.send(embed=embed)

client.run('your token here')
04. 코드 정리하기
embed 생성구문을 함수화하고 .env 파일에 토큰을 담았다.
# This example requires the 'message_content' intent.
import os

import discord
from scraper import Scraper
from dotenv import load_dotenv

intents = discord.Intents.default()
intents.message_content = True

client = discord.Client(intents=intents)

def build_message(item):
    embed = discord.Embed(type='rich', title=item['name'])
    embed.description = item['brand']
    embed.set_thumbnail(url=item['image'])
    embed.url = item['url']
    embed.add_field(name='원래 가격', value=item['original_price'], inline=True)
    embed.add_field(name='할인 가격', value=item['sale_price'], inline=True)
    return embed


@client.event
async def on_ready():
    print(f'We have logged in as {client.user}')

@client.event
async def on_message(message):
    if message.author == client.user:
        return

    if message.content.startswith('$hello'):
        await message.channel.send('Hello!')

    if message.content.startswith('!타임세일'):
        # 무신사 타임세일 결과를 출력한다.
        scraper = Scraper()
        results = scraper.do()
        embeds = []

        for item in results:
            embeds.append(build_message(item))
        await message.channel.send(embeds=embeds)

load_dotenv()
client.run(os.getenv('token'))Part 2. Django 필수 개념 & 실전 프로젝트 (맛집 추천 사이트의 어드민 만들기)
'Backend > 스터디' 카테고리의 다른 글
| 러닝 타입스크립트 (0) | 2024.03.30 |
|---|---|
| NestJS로 API 만들기 (1) | 2024.03.26 |
| FastAPI 를 사용한 파이썬 웹 개발 (2) | 2023.12.01 |
| 고랭 애플로그인 구현 (golang apple login) (0) | 2023.05.06 |
| Go 프로젝트 디렉토리 구조 잡기 (0) | 2023.04.30 |